Stuck with dull concrete floors? You’re not alone. Many homeowners struggle to jazz up this tough surface. But here’s the thing: concrete floors can be stunning. This article will show you 7 clever tricks to transform your concrete from blah to beautiful.
Get ready to turn heads with your new floor!
Key Takeaways
Concrete floors can be transformed with techniques like acid staining, polishing, epoxy coatings, and concrete dyes, costing between $0.50 to $25 per square foot depending on the method.
Proper surface preparation is crucial before applying finishes, including thorough cleaning, repairing cracks, and priming the concrete.
Creative techniques like faux wood finishes, stenciling, and concrete stamps can add unique designs to concrete floors for $2-$20 per square foot.
Regular maintenance is key – daily dust mopping, weekly wet mopping, and addressing spills immediately help keep concrete floors looking good long-term.
Common issues like discoloration, cracks, and uneven surfaces can be fixed with methods such as acid washes, epoxy fillers, and self-leveling compounds.
Table of Contents
Preparing Your Concrete Floor
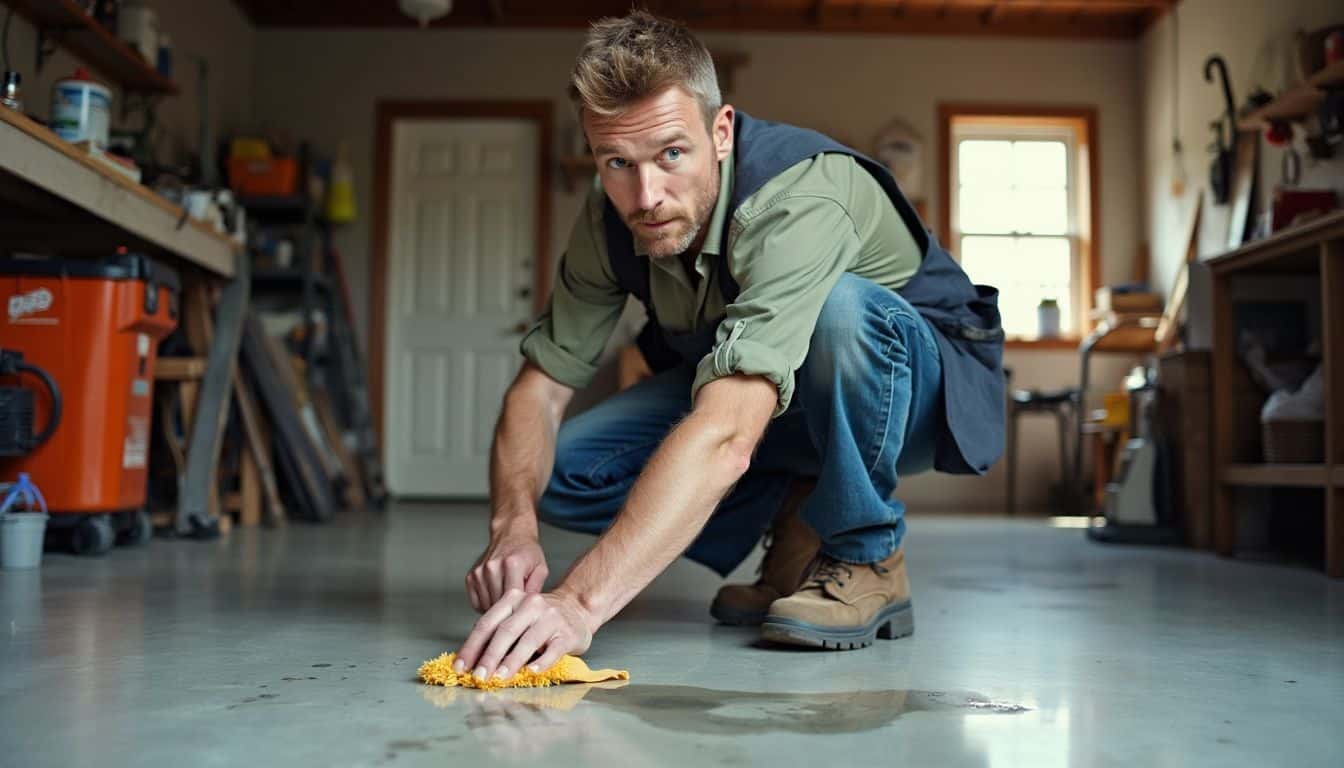
Ready to jazz up your concrete floor? First things first – let’s get that surface ship-shape. A clean, smooth base is key to making your concrete floor look like a million bucks.
Grab your cleaning gear and patch up any dings… it’s time to roll up those sleeves!
Clean and Repair
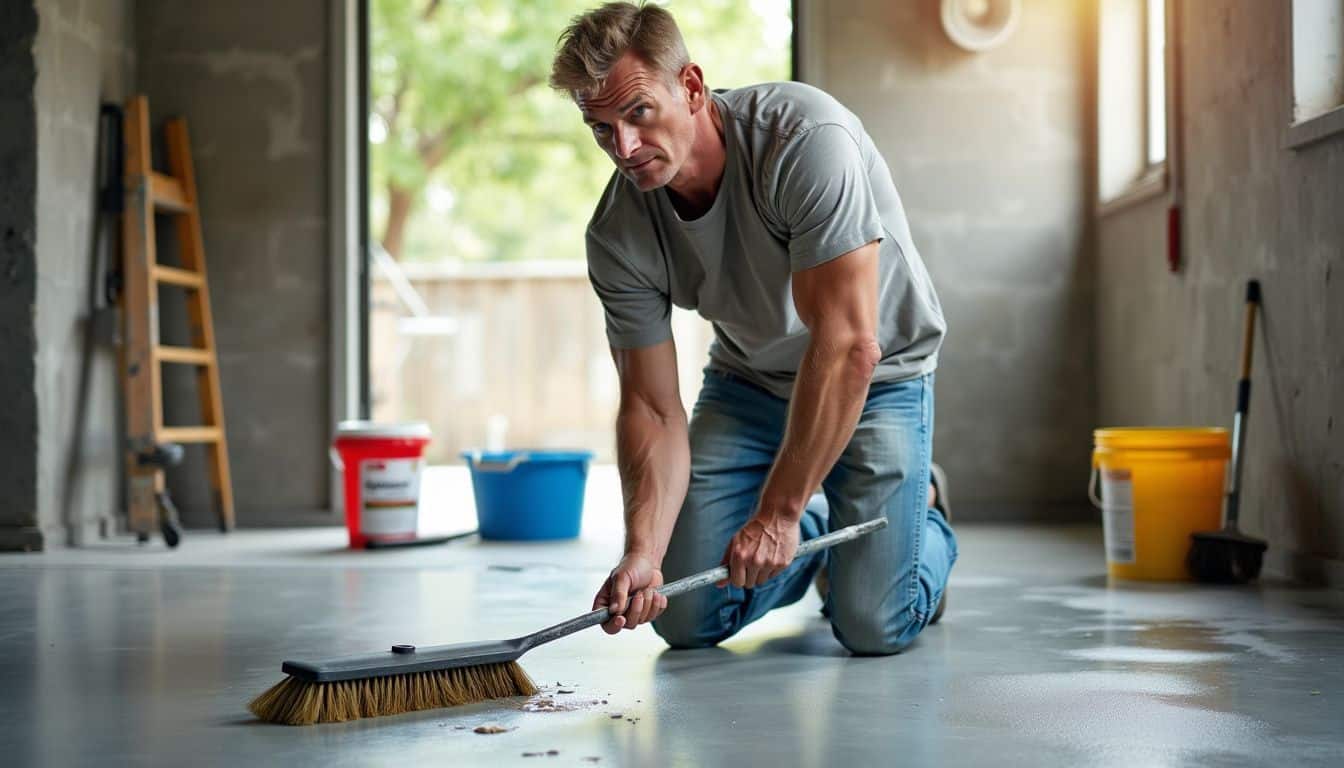
Concrete floors need a good scrub before they shine. Let’s dive into the nitty-gritty of cleaning and fixing up your concrete canvas.
- Sweep it clean: Grab a sturdy broom and go to town on that floor. Dust and debris are your enemies here.
- Scrub-a-dub-dub: Mix up some trisodium phosphate with water. This tough cleaner will cut through grime like a hot knife through butter.
- Patch it up: Fill those pesky holes with Quickrete. Pro tip: overfill slightly for a smooth finish.
- Sand it down: Use 80-grit sandpaper to smooth things out. Go over the floor three times, changing direction each pass.
- Tackle stubborn stains: Got carpet glue? No sweat. Dab on some lacquer thinner, cover with plastic, and watch that gunk melt away.
- Vacuum like you mean it: Suck up every speck of dust. A clean floor is key for any finish to stick.
- Degrease the scene: Hit those oil spots with a heavy-duty degreaser. Elbow grease required, folks.
- Rinse and repeat: Give your floor a good wash with clean water. Make sure all cleaning products are gone.
Prime the Surface
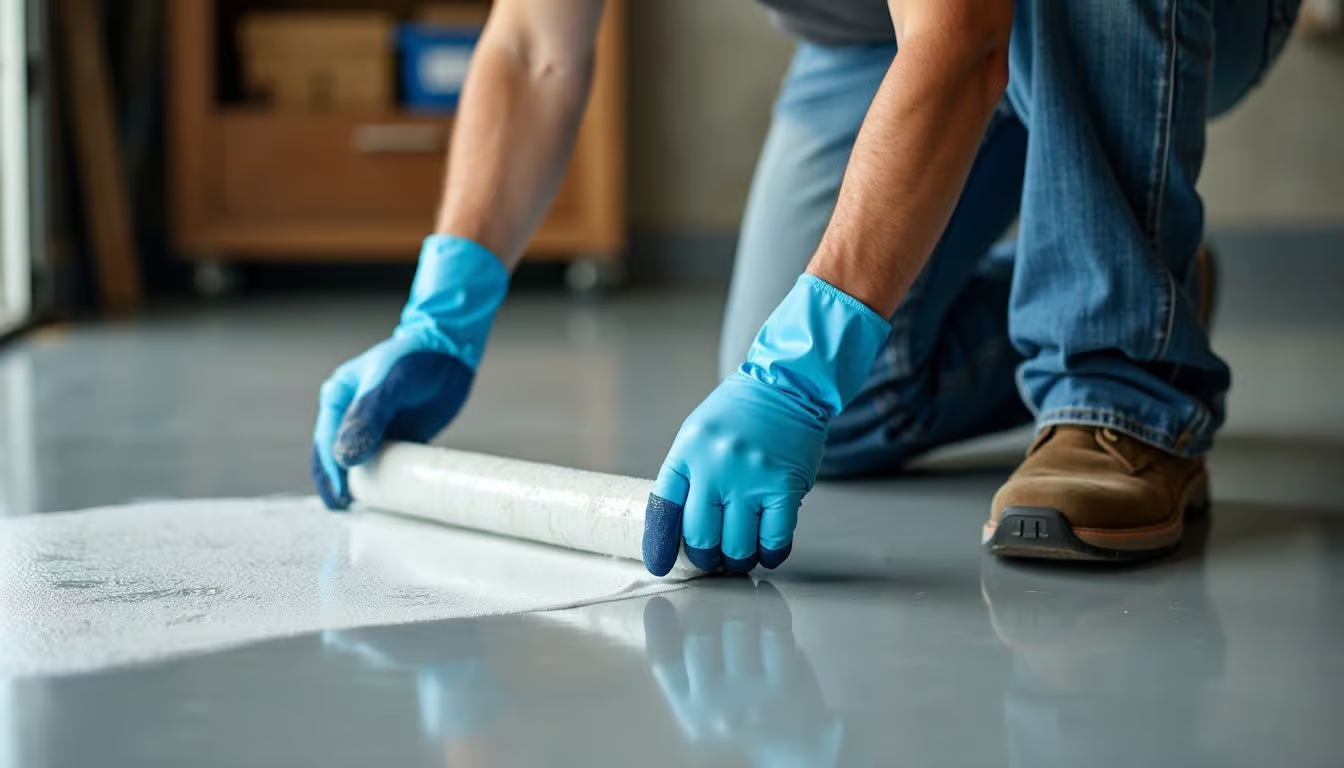
Priming your concrete floor is a crucial step in the makeover process. It prepares the surface for a stunning finish that’ll make your friends jealous. Here’s how to do it right:
- Clean thoroughly: Sweep and mop that floor until it’s spotless. No dirt, no grime – just clean concrete.
- Repair imperfections: Fill any cracks. Smooth out any bumps. Your floor should be as flat as possible.
- Allow to dry: Give your floor time to air dry. Patience is important, guys.
- Select your primer: Choose one that suits your end goal. Epoxy primer? Acrylic? Research your options.
- Prepare the mixture: Follow the instructions on the can. Don’t guess – measure accurately.
- Apply thinly and evenly: Use a roller for smooth coverage. Think of it like painting your car – steady strokes get the best results.
- Allow curing time: Give it time to set. Rushing this step can lead to problems later.
- Sand if required: Some primers need a light sanding. Check the instructions and use sandpaper if needed.
Now that your floor’s primed and ready, it’s time to consider finishes. Let’s look at acid-stained concrete – it’s a great option, believe me.
Choosing Finishes for Concrete Floors

Concrete floors offer a world of possibilities. From sleek and shiny to rustic and textured, you’ve got options galore.
Explore Acid-Stained Finishes
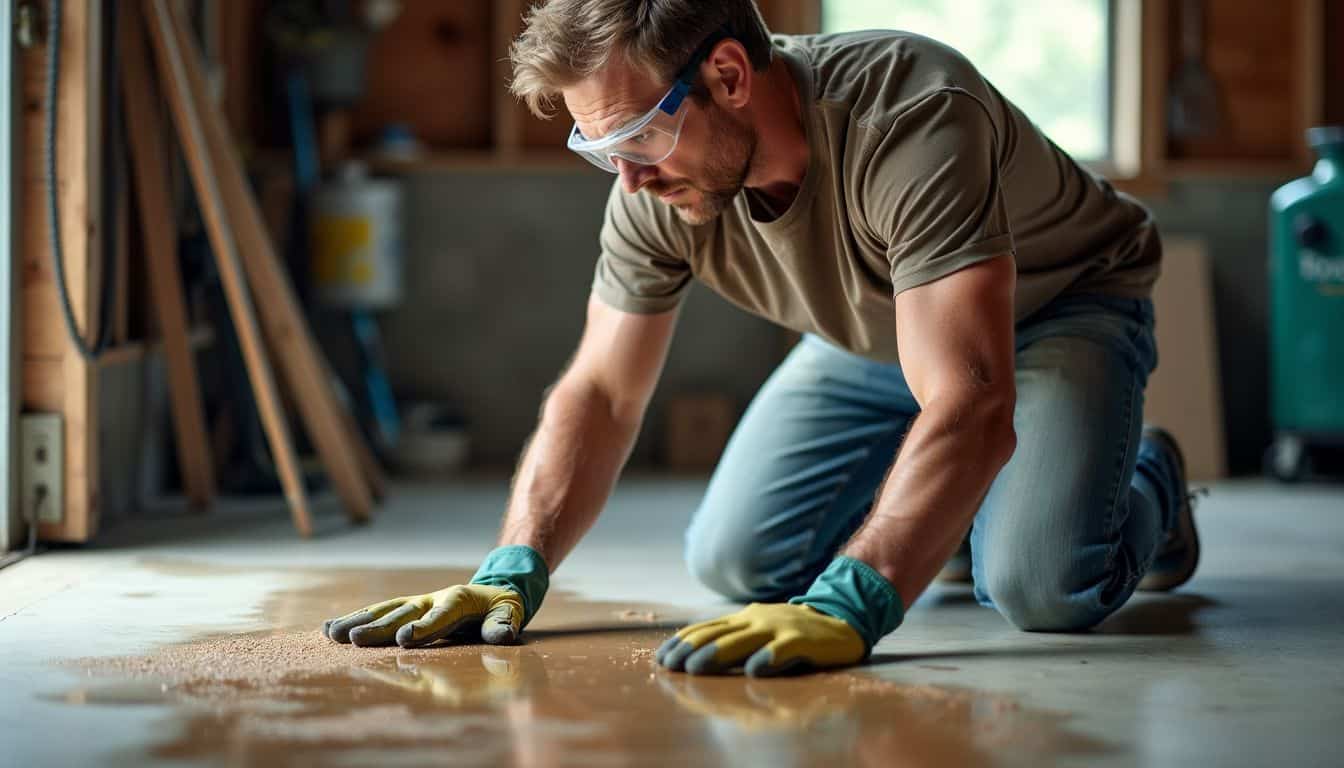
Acid-stained finishes can turn dull concrete into a work of art. This method uses a mix of water, acid, and metal salts to create cool patterns that look like stone or marble. It’s not just for show – the acid actually bites into the concrete, making the color last.
Guys, this isn’t your average paint job. It’s a chemical reaction that gives each floor its own look.
Safety first, though. You’ll need goggles, gloves, and good airflow when doing this. The cost? About $25 per square foot. Not cheap, but the results are worth it. Plus, it’s pretty low-maintenance.
Just clean with mild soap and reseal now and then. Easy-peasy.
Acid staining is like giving your concrete floor a badass tattoo – permanent and totally unique.
Discover Polished Concrete

Moving from acid-stained finishes, let’s talk about polished concrete. This sleek option is becoming popular for floors in homes, shops, and eateries – it’s not just for warehouses anymore! Polished concrete uses special diamond tools to grind the surface, resulting in a smooth, glossy look that’s super durable.
Polished concrete is a real game-changer for your floors. It comes in different shine levels – from matte to super glossy. The best part? It’s budget-friendly, costing $3 to $8 per square foot when done by DIY enthusiasts. For professional results, you might want to consider hiring concrete polishing professionals. They have the expertise and specialized equipment to achieve a flawless finish, though it may cost a bit more.
That’s a great deal for a floor that’ll last for years. Just make sure to keep it clean to avoid stains. With polished concrete, your floor will definitely get people talking… in a good way!
Consider Epoxy Coatings
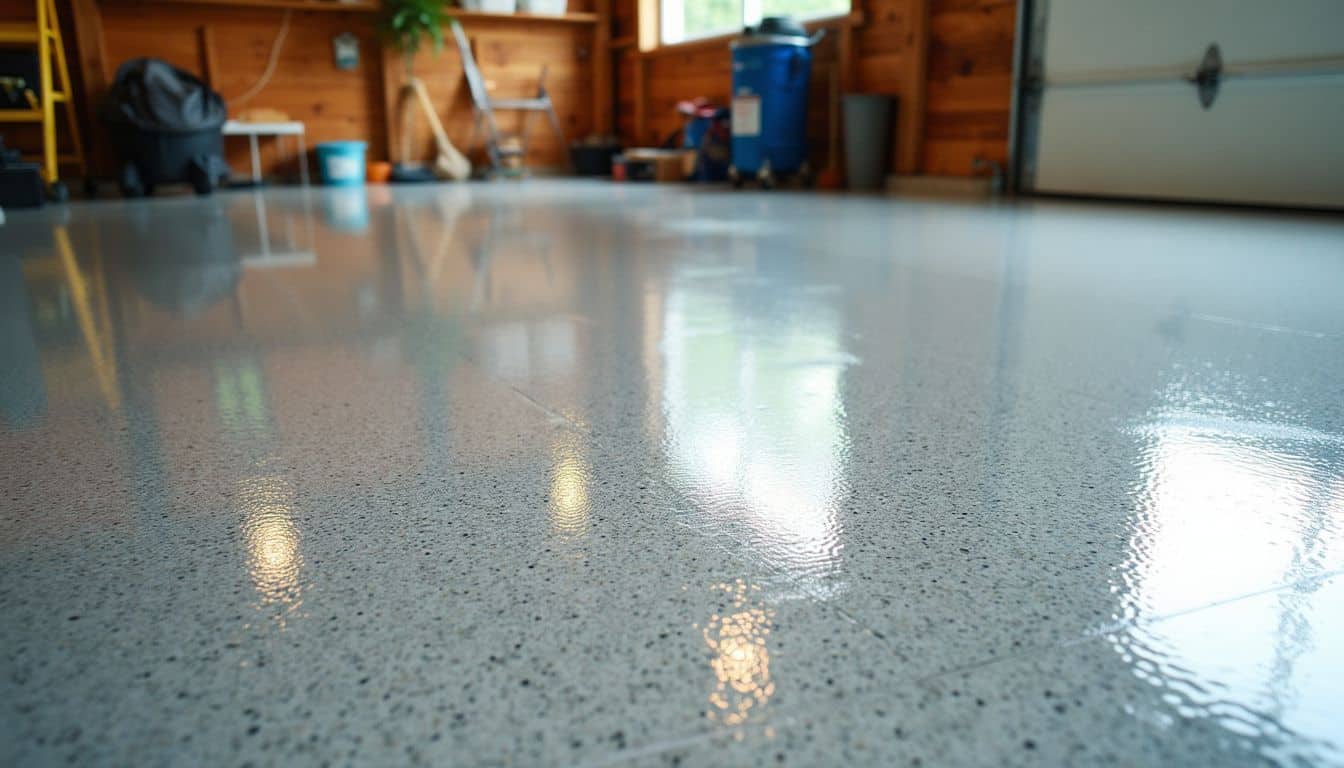 Epoxy coatings are a game-changer for concrete floors. They bond tight to the surface and harden into a tough shell. This makes them perfect for garage floors that take a beating. Rust-Oleum’s RockSolid kit is a top pick – it stands up to chemicals and wear like a champ.
For an easy DIY job, KILZ One-Part Epoxy paint is hard to beat. It goes on smooth and keeps you from slipping.
The best part? Epoxy won’t break the bank. You can coat your floor for as little as 50 cents per square foot. That’s a steal for something that’ll make your garage look sharp and last for years.
Plus, it’s a quick way to add value to your home. Just clean up, roll it on, and boom – you’ve got a pro-looking floor that can handle whatever you throw at it.
Use Concrete Dyes
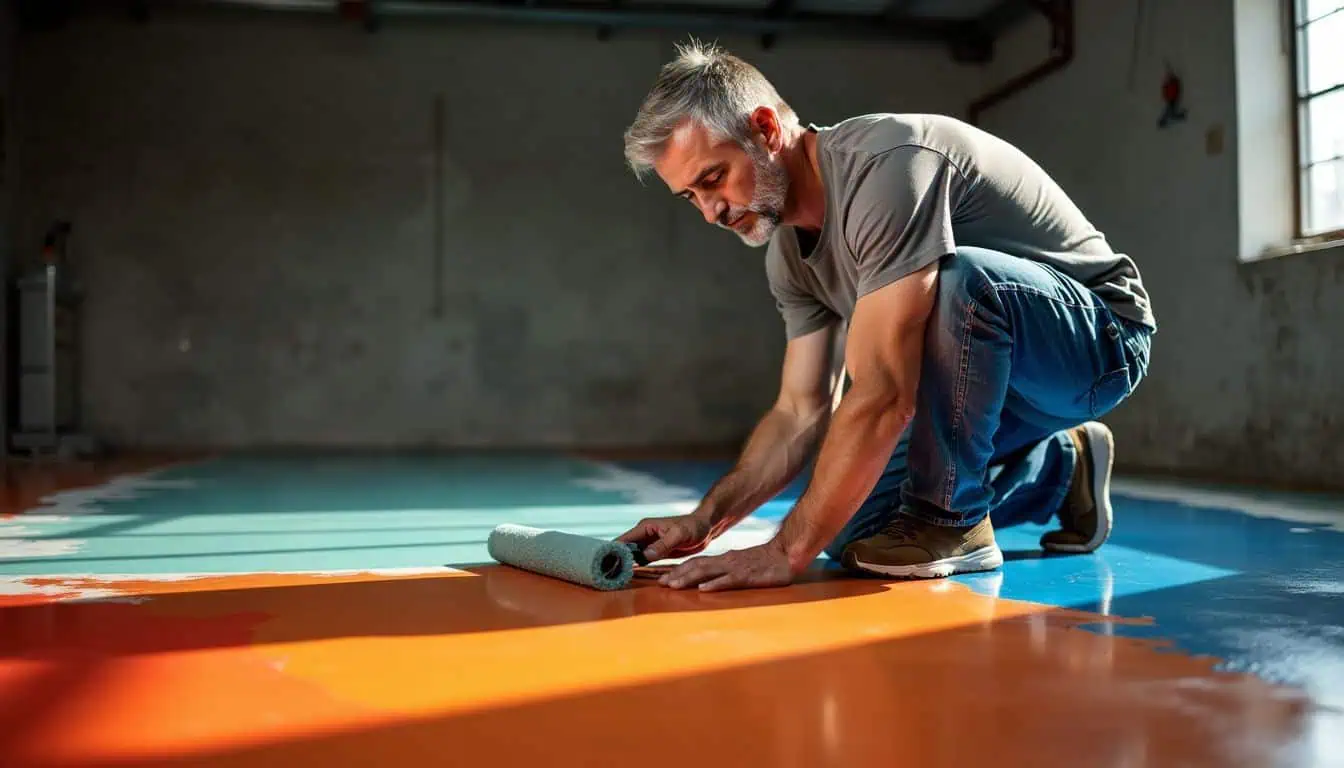 Concrete dyes pack a punch when it comes to brightening up dull floors. These liquid wonders seep into concrete’s pores, giving it a rich, lasting color. Vibrance™ Dye, an acetone-based champ, works wonders on indoor and outdoor surfaces alike.
It’s super durable and brings floors to life with vivid hues.
Dyeing concrete isn’t just cheap – it’s a steal. You’ll spend $3 to $15 per square foot, way less than fancy tiles or wood. A real-life project used 6 gallons of dye to cover 800 square feet.
That’s some serious value! The whole process took five days, perfect for a long weekend project. So grab some dye and transform that boring slab into something amazing.
Creative Techniques to Beautify Concrete Floors
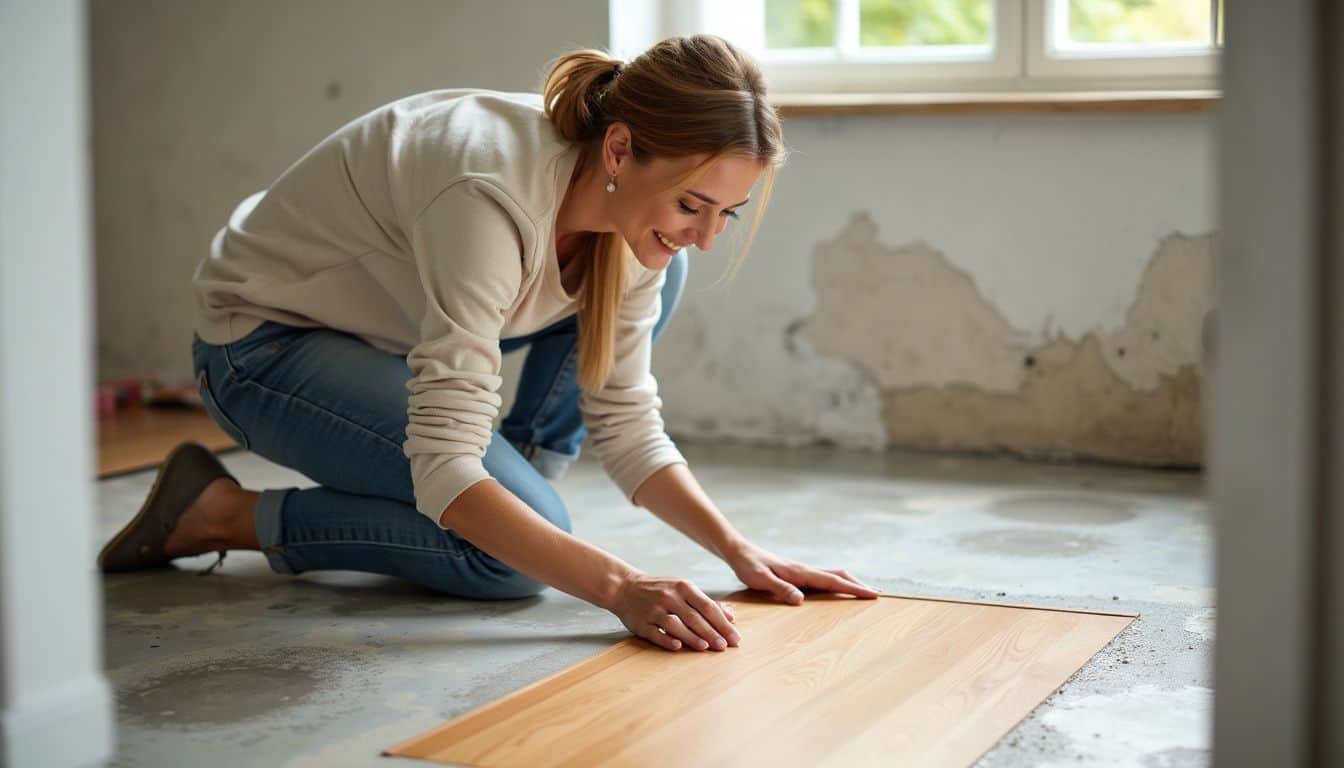
Want to jazz up your concrete floors? Let’s dive into some cool tricks! From faux wood to eye-catching stamps, there’s a world of options to explore. Keep reading to uncover the secrets of stunning concrete floors.
Apply a Faux Wood Finish
Faux wood finish on concrete floors? It’s a game-changer, fellas. A rugged, wood-like look without the hassle of real timber. I tried it myself last month – took five days, but man, was it worth it! First, I cleared out the old junk and gave the floor a good scrub.
Then, I used a 6″ x 4′ board to mark straight lines. The secret sauce? Valspar Porch and Floor Latex Paint in Weathered Oak. It’s like magic in a can.
Here’s the kicker – this DIY project only costs $2 to $4 per square foot. That’s a steal compared to real hardwood! After the base coat dried, I added some Valspar Semi-Transparent Concrete Stain in Vaquero Brown.
It gave the floor that rich, deep tone you’d expect from aged wood. Trust me, your buddies won’t believe it’s not the real deal. Next up, let’s talk about another cool trick – stenciling your concrete floor.
Implement Stenciling
Stenciling can turn dull concrete into a work of art. It’s a fun way to add flair to your floor without breaking the bank. You’ll need a custom stencil, some paint, and a bit of patience.
We once used a Pinterest image to make our own stencil. The result? A floor that’s still turning heads seven years later!
Costs for stenciling range from $9 to $20 per square foot. That’s a small price for a big impact. The best part? You can do it yourself. Just pick a design, lay down your stencil, and start painting.
It’s like coloring for grown-ups… but on your floor! With some care, your stenciled floor will look great for years to come.
Use Concrete Floor Stamps
Concrete floor stamps can jazz up your boring slab. They’re like giant cookie cutters for your floor. You press them into wet concrete to make cool patterns. Want your floor to look like brick or stone? Stamps can do that.
Brickform offers over 175 stamp designs. That’s a lot of options!
Stamped concrete isn’t just for looks. It’s tough and costs less than real stone or brick. Plus, you can get creative. How about a stamped compass on your patio? It’ll give your guests something to talk about.
Next up, we’ll explore how to add some flair with stenciling.
Add Microtopping
Stamps can jazz up your floor, but microtopping takes it up a notch. This thin layer of cement-based material can cover up old, worn concrete – it’s like giving your floor a facelift! Microtopping costs about $3 to $7 per square foot…
a small price for a big change.
I tried microtopping in my garage last year. It was a game-changer! The smooth finish hid all the cracks and stains. Plus, it’s tough as nails. My buddy spilled oil on it, and it wiped right off – no stains, no fuss.
Here’s a pro tip:
Prep is key. Clean that floor like your life depends on it. A clean base means a flawless finish.
Keep in mind, a little goes a long way with microtopping. You don’t need much to make a big impact.
Step-by-Step Guide to Applying Concrete Finishes
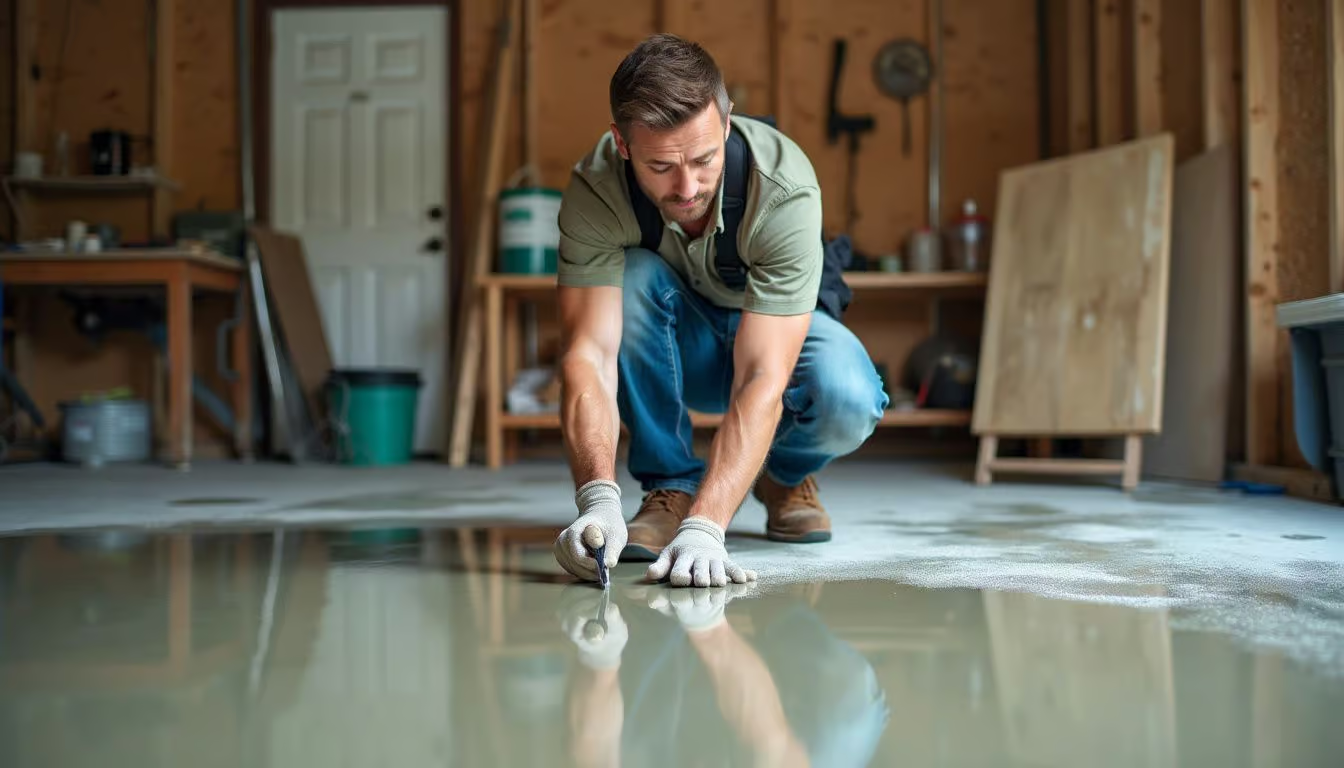
Applying concrete finishes isn’t rocket science. With the right tools and know-how, you can transform your dull floor into a showstopper – no sweat!
Prepare the Surface
Getting your concrete floor ready is key to a great finish. Here’s how to prep like a pro:
- Sweep it clean: Grab a stiff broom and go to town. Get rid of all the dirt and dust.
- Scrub away grime: Mix up some soapy water and use a mop or scrub brush. Don’t be shy – really get in there.
- Rinse thoroughly: Hose it down or use a wet vac to remove all soap residue.
- Fix any cracks: Fill small cracks with concrete filler. For bigger ones, you might need to call in the pros.
- Smooth it out: Sand down any rough spots with a concrete grinder. Wear a mask – that dust is no joke.
- Vacuum again: Suck up all that leftover dust and debris. Every speck counts.
- Degrease if needed: For garage floors, use a degreaser to tackle oil stains.
- Let it dry: Give your floor time to dry completely. Patience pays off here, guys.
Now that your surface is prepped, let’s talk about choosing the right finish for your concrete floor.
Apply the Finish
Now that your surface is prepped, it’s time to bring your concrete floor to life. Let’s dive into applying the finish – this is where the magic happens, fellas.
- Choose your weapon: Grab your preferred finish. Could be acid stain, epoxy, or concrete dye.
- Gear up: Don safety goggles and gloves. Trust me, you’ll thank me later.
- Mix it up: If using a two-part finish, blend it well. Follow the maker’s instructions to a T.
- Start at the edges: Use a brush to cut in along walls and corners. It’s like painting, but cooler.
- Cover the main area: Pour the finish onto the floor. Spread it evenly with a roller or squeegee.
- Work in sections: Don’t bite off more than you can chew. Tackle small areas at a time.
- Keep it moving: Maintain a wet edge to avoid lap marks. It’s all about smooth, steady strokes.
- Let it dry: Give it time to set. No rushing – good things come to those who wait.
- Add another coat: Most finishes need two layers for the best look. Patience pays off, guys.
- Seal the deal: Once dry, apply a sealer. It’ll protect your hard work and make it shine.
Seal and Protect the Floor
Sealing your concrete floor is crucial. It guards against moisture and enhances the look and feel of your space.
- Clean the surface thoroughly. Vacuum and mop to remove all dirt and debris.
- Conduct a water drop test. This checks if your floor is bare or already sealed.
- Choose the right sealer. INSL-X TuffCrete® or Benjamin Moore® Floor & Patio Latex Enamel work well.
- Apply the sealer evenly. Use a roller or sprayer for smooth coverage.
- Let it dry completely. This usually takes 24 to 48 hours.
- Add a second coat if needed. This boosts protection and durability.
- Test adhesion on a small area. This is key when re-coating sealed floors.
- Maintain your sealed floor. Regular cleaning keeps it looking great.
Proper sealing protects your floor and home from moisture issues. Next, let’s look at how to keep your concrete floor in top shape.
Maintenance Tips for Concrete Floors
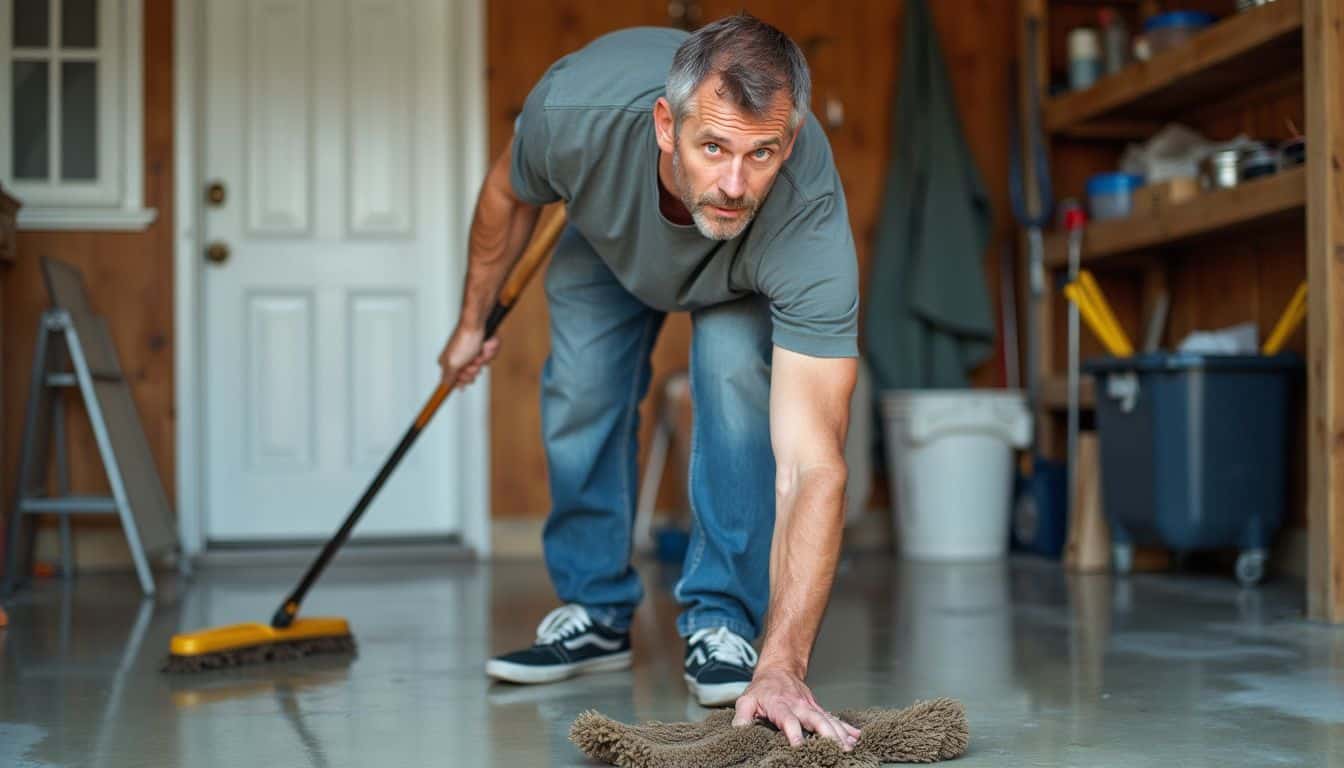
Keeping your concrete floors in top shape isn’t rocket science. A little TLC goes a long way – and trust me, your floors will thank you. Want to know more? Keep reading!
Establish Routine Cleaning Practices
Keeping your concrete floor clean is key to its longevity and looks. Let’s dive into some easy cleaning habits that’ll keep your floor in top shape.
- Daily dust mop: Grab a microfiber pad and give your floor a quick once-over daily. This stops dirt from building up and scratching the surface.
- Weekly wet mop: Use a neutral pH cleaner once a week. Let it sit for a bit to break down grease and grime before you mop it up.
- Tackle spills fast: Don’t let spills hang around. Wipe them up right away to prevent stains and stop liquids from soaking into the concrete.
- Vacuum regularly: Use a soft brush attachment to get rid of loose dirt and dust in corners and cracks.
- Avoid harsh cleaners: Stick to pH-neutral products. Harsh chemicals can damage your floor’s finish.
- Use doormats: Place mats at entrances to catch dirt before it hits your floor. It’s an easy way to cut down on cleaning time.
- Schedule deep cleans: Every few months, give your floor a thorough scrub. This keeps it looking fresh and extends its life.
- Protect high-traffic areas: Use rugs in spots that see lots of foot traffic. This helps prevent wear and tear on your floor.
By following these steps, you’ll keep your concrete floor looking great for years. And who knows? Maybe you’ll even start to enjoy cleaning… or at least hate it less. If you’re feeling really ambitious, you might even consider how to live in a warehouse with polished concrete floors!
Address Spills and Stains Immediately
Regular cleaning keeps your concrete floor looking sharp. But spills and stains need quick action. Here’s how to tackle them:
- Act fast: The sooner you clean a spill, the less likely it’ll stain. Concrete’s like a sponge – it soaks up liquids fast.
- Blot, don’t rub: Use a clean cloth to soak up as much of the spill as you can. Rubbing might spread the mess.
- Use soap and water: For most spills, a mix of dish soap and warm water works great. Scrub gently with a soft brush.
- Try laundry detergent: Tough stains? Liquid laundry soap can be a game-changer. Apply it directly, let it sit, then scrub.
- Rinse well: After cleaning, rinse the area with clean water. You don’t want soap residue attracting more dirt.
- Dry thoroughly: Use a fan or open windows to speed up drying. This helps prevent water marks.
- Seal after cleaning: Once the floor’s dry, apply a sealer. It’ll make future cleanups easier and protect your floor.
Reseal Periodically
Concrete floors need love too. Resealing keeps them looking sharp and lasting longer.
- Pick the right stuff: AmeriPolish is top-notch for stain-guarding concrete floors.
- Don’t overdo it: Spread the stain-guard thin – 2000 sq ft per gallon max.
- Set a schedule: Mark your calendar for resealing every few years.
- Prep the surface: Sweep and mop before applying new sealant.
- Apply evenly: Use a roller or sprayer for smooth coverage.
- Let it dry: Give the floor time to soak up the sealant.
- Test it out: Drop some water on the floor – if it beads up, you’re good to go.
Now, let’s talk about fixing common concrete floor problems.
Troubleshooting Common Concrete Floor Issues
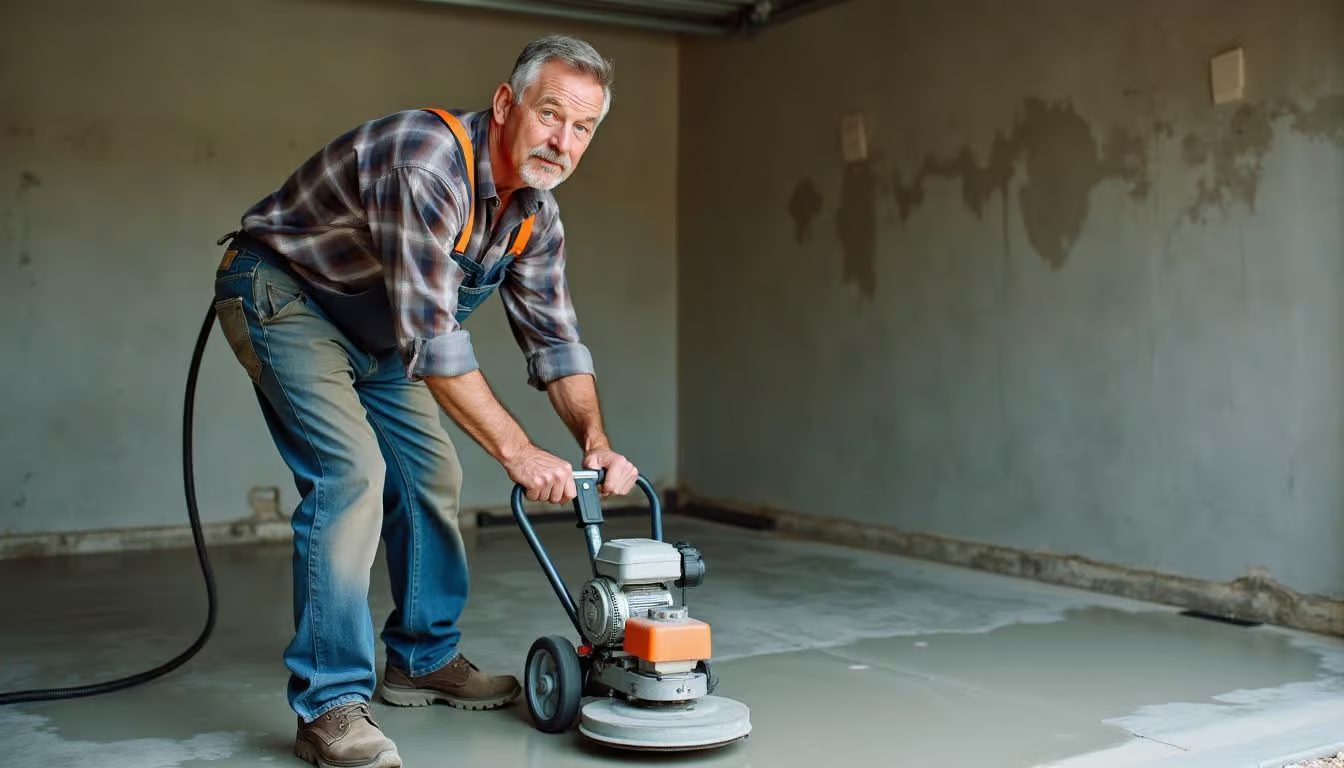
Concrete floors can be tough, but they’re not invincible. Even the best floors might face some hiccups down the road – discoloration, cracks, or uneven spots. Don’t sweat it though! With a bit of know-how and elbow grease, you can fix these issues and get your floor looking sharp again.
Fix Discoloration
Concrete floors can lose their shine over time. Discoloration often appears, making your once-beautiful floor look dull and lifeless. But don’t worry, guys – we’ve got some tricks to fix this! Hot water washes can work wonders for minor stains.
Just grab a mop and some elbow grease, and you’re set. For tougher spots, an acid wash might help. It’s like giving your floor a facial… but with chemicals.
Sometimes, though, the issue goes deeper. Maybe moisture got in, or the sun damaged your floor. In these cases, you might need to call in experts. Stained concrete can give your floor a new look, hiding discoloration under a fresh coat of color.
Or, if you want something fancier, try a cement overlay. It’s like putting a new skin on your floor – instant facelift! Just keep in mind, fellas: whatever method you pick, make sure you’re ready to put in the effort.
Your floor will thank you for it.
Repair Cracks and Chips
Cracks and chips in concrete floors can be a real pain. But don’t worry, guys – we’ve got some tricks up our sleeves to fix ’em up good as new.
- Spot the damage: Look for cracks wider than 2 inches. These big boys need special care.
- Clean it up: Sweep and vacuum the area. Get rid of all that dust and grime.
- Cut it out: For big cracks, use a grinder to widen the gap. This helps the new stuff stick better.
- Fill ‘er up: Mix up some Fast Setting Repair Mortar. It’s like concrete’s cool cousin.
- Smooth it over: Use a trowel to spread the mortar. Make it level with the rest of the floor.
- Let it dry: Give it time to set. Usually takes about 24 hours.
- Sand it down: Once dry, sand the area. Make it smooth as a baby’s bottom.
- Seal the deal: Apply a concrete sealer. This keeps water out and makes your fix last longer.
- For smaller cracks: Use a flexible sealant. It moves with the floor, so the crack won’t come back.
- Chips and pits: Fill these with epoxy filler. It’s tough stuff that’ll stand up to wear and tear.
Correct Uneven Finishes
Uneven concrete floors can be a real pain. They’re not just ugly – they can trip you up too. Fixing them isn’t as hard as you might think. First, figure out what caused the problem.
Was it bad pouring? Maybe the weather messed things up. Once you know, you can tackle it head-on.
For small bumps, grinding them down works wonders. Bigger issues? You might need to pour a new layer of concrete. Self-leveling compounds are great for this. They spread out on their own, filling in low spots.
Just make sure the floor is clean and dry before you start. And don’t forget to seal it when you’re done. That’ll keep your newly smooth floor looking good for years to come.
People Also Ask
How can I jazz up my boring concrete floor?
Got a dull concrete floor? No sweat! Try epoxy painting for a glossy finish. Or go wild with dyes to add pops of color. You can even etch cool patterns into the surface. The sky’s the limit!
Is it possible to cover up my concrete floor without replacing it?
Absolutely! Pavers are a great option to hide that concrete. They come in various styles and colors. Another trick is using cementitious overlays. These can transform your floor into a work of art.
What’s the best way to prep my concrete floor before sprucing it up?
First things first, give that floor a good vacuum. Then, use abrasives with different grits to smooth out any rough spots. This prep work is key for any flooring makeover. It’s like giving your subfloor a spa day!
Can I engrave designs on my concrete floor?
You bet! Engraving is a cool way to add personality to your concrete. It’s like tattooing your floor! You can create intricate patterns or simple designs. Just make sure you’ve got steady hands or hire a pro.
What kind of paints work best on concrete floors?
Epoxy paints are top-notch for concrete. They’re tough as nails and look great. But don’t overlook regular floor paints either. They come in tons of colors and can really brighten up a room. It’s like giving your floor a new outfit!
References
https://vintagerevivals.com/how-to-paint-concrete-plus-my-secret/ (2013-06-24)
https://www.brickform.com/blog/concrete-floor-makeover-tips/
https://www.younghouselove.com/how-to-stain-a-concrete-floor/ (2018-08-21)
https://alittledelightful.com/how-to-acid-stain-a-simple-stained-concrete-floors/
https://directcolors.com/diy/acid-stained-concrete-floors/
https://aicoat.com/polished-concrete-the-complete-guide/
https://www.thisoldhouse.com/garages/22265086/garage-floor-coating
https://gearspace.com/board/studio-building-acoustics/1228302-metallic-epoxy-other-concrete-finishes-studio.html (2018-08-24)
https://directcolors.com/concrete-dye/
https://paradigmconcretefl.com/concrete-stain-vs-dye-which-is-better/
https://decorateandmorewithtip.com/how-i-turned-my-porch-concrete-to-look-like-a-wood-floor/
https://www.instructables.com/Faux-Wood-Concrete-Floors/
https://www.twelveonmain.com/how-to-stencil-on-concrete-floor/
https://wildfireinteriors.com/stenciling-a-concrete-floor-and-another-giveaway/ (2014-07-25)
https://www.brickform.com/blog/stamped-concrete-patios/
https://caddetailsblog.com/post/concrete-flooring-ideas-to-transform-any-space
https://www.build-review.com/how-to-make-your-concrete-floors-look-nicer/
https://www.designmom.com/bargain-diy-concrete-floor/ (2014-02-19)
https://todayshomeowner.com/flooring/guides/how-to-finish-concrete-floors/ (2024-04-11)
https://www.togal.ai/blog/how-to-finish-concrete-steps-techniques-tips
https://wildfireinteriors.com/all-about-our-diy-sealed-concrete-floors/ (2017-06-26)
https://www.usarenovations.com/blog/7-tips-maintaining-concrete-floors/ (2016-10-25)
https://thecleanstart.com/pro-tips-on-how-to-care-for-your-homes-concrete-floors/ (2023-11-30)
https://www.azfb.org/Article/Concrete-Cleaning-101-Tips-and-Tricks-for-a-Pristine-Finish
https://diy.stackexchange.com/questions/83186/cleaning-indoor-concrete-floor-without-damaging-it (2016-01-27)
https://caseycustomllc.com/blog/5-tips-to-maintain-concrete-stains-and-coatings-in-austin/
https://dnarestoringconcrete.com/2024/06/05/understanding-and-solving-concrete-floor-discoloration/
https://todayshomeowner.com/flooring/guides/concrete-flooring/ (2024-03-27)
https://blog.uvm.edu/cwcallah/2021/08/04/repairing-cracks-and-pitting-in-concrete-floors/
https://buckbros.com/blog/common-issues-with-industrial-concrete-flooring/
https://www.contractortalk.com/threads/need-recommendations-to-fix-newly-but-poorly-finished-concrete-floor.118306/ (2012-05-27)

