Ever dreamed of making your own CS2 skins but felt lost in the process? You’re not alone. Thousands of gamers want to create epic weapon art, but don’t know where to start. Well, good news! Learning how to make CS2 skins isn’t as tough as you might think.
This guide will walk you through 8 pro tips to level up your skin game. Ready to turn heads with your custom designs?
Key Takeaways
CS2 skin creation requires tools like Blender for 3D modeling, GIMP or Krita for texturing, and VTFEdit for file conversion.
Proper workspace setup includes installing required software, adjusting settings for optimal design, and configuring lighting and layers.
The CS2 Workbench allows creators to load, review, and fine-tune skin details before publishing.
Uploading skins to Steam Workshop involves submitting files, writing descriptions, choosing thumbnails, and setting visibility options.
Engaging with the community for feedback helps improve designs and learn advanced techniques like realistic textures and masking.
Table of Contents
Essential Tools for CS2 Skin Creation

Ready to make your mark in CS2? You’ll need the right tools for the job. Let’s dive into the must-have software that’ll turn your skin ideas into reality.
Blender: Modeling Basics

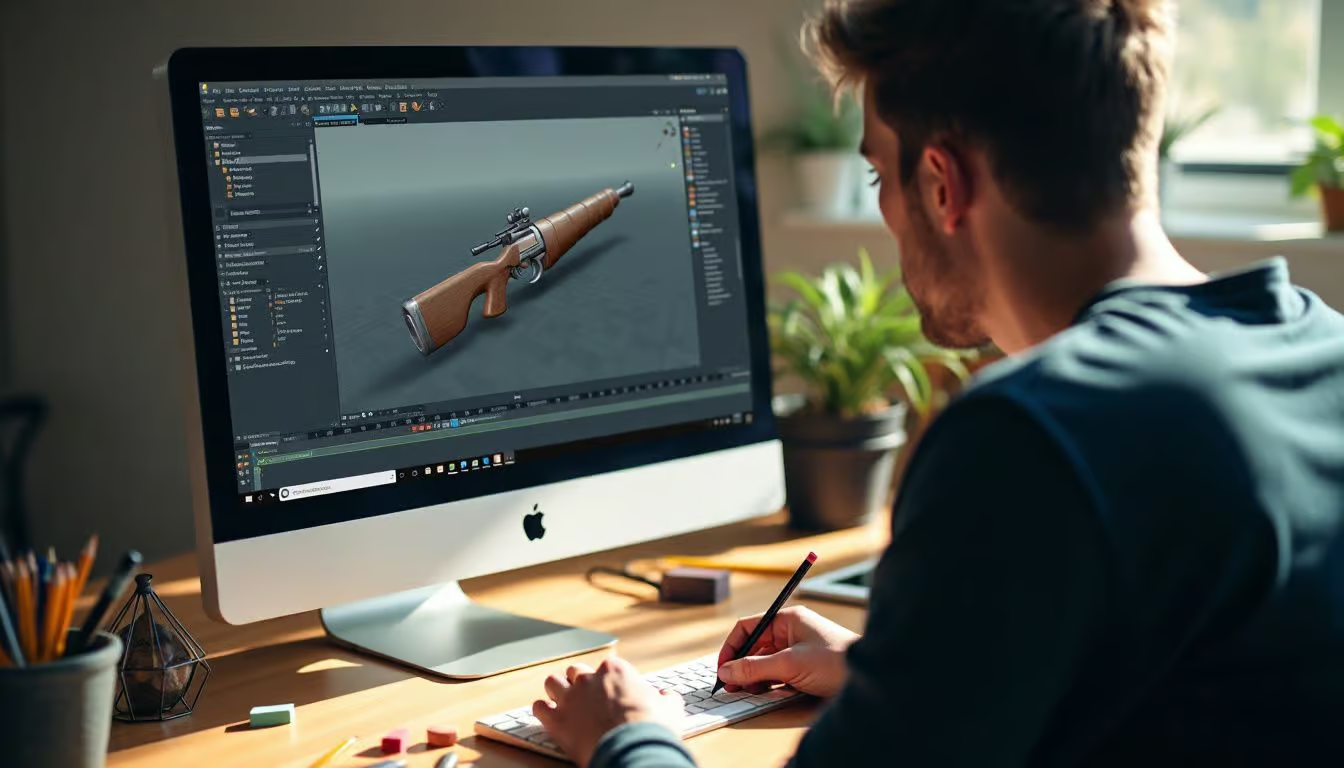
Blender is great for CS2 skin creation! This 3D software lets you import game materials and adjust them as much as you want. You’ll spend a lot of time in the Shader Editor – that’s where the magic happens.
Here, you can create new shaders and experiment with textures to make your weapon stand out.
Starting with Blender might seem challenging, but don’t worry. The key is balance – combine large and small elements in your design for an awesome look. And here’s a tip: contrast is your ally! Use light and dark areas to make your skin pop.
Once you’ve got the basics down, you can even create CS2 cases to show off your work. Want to explore texturing? Let’s look at GIMP and Krita next.
GIMP and Krita: Texturing Techniques

Now that you’ve got your model ready, it’s time to make it pop with some sweet textures. GIMP and Krita are great tools for this job. These free photo editors are excellent for crafting awesome CS2 skins.
Let’s get started. With GIMP or Krita, you can create custom textures that’ll make your weapons stand out. Want a sleek metallic finish? No problem. How about a rustic wooden look? You got it.
These apps let you blend different textures using masks. It’s pretty cool – you can mix and match to create something totally unique. I’ve spent many hours tweaking textures, and trust me, it’s addictive.
The magic’s in the details, and in CS2 skins, those details are in the textures.
VTFEdit: File Conversion Essentials
 VTFEdit is your go-to tool for CS2 skin creation. It’s a must-have for turning your artwork into game-ready files. This nifty program converts TGA files to VTF format – the secret sauce for getting your skins into CS2.
I’ve spent countless hours tweaking textures with VTFEdit, and trust me, it’s a game-changer.
Here’s the deal: you’ll save your textures as TGA files first. Then, VTFEdit works its magic to make them CS2-friendly. It’s like translating your art into a language the game understands.
Once you’ve mastered VTFEdit, you’ll be ready to rock the CS2 workbench. Let’s move on to setting up your workspace for skin design….
Steam Workshop: Leveraging Community Assets
 Steam Workshop is a treasure trove for CS2 skin creators. It’s filled with awesome content made by fellow players. You can find textures, models, and inspiration for your own designs.
It’s also a fantastic platform to showcase your work and receive feedback.
Using the Workshop is straightforward. Browse through the skins, pick what catches your eye, and download. You can combine different elements to create something unique. Giving credit to original creators is important.
The Workshop also allows you to test your skins in-game before sharing them with others. It’s an enjoyable way to improve and develop as a skin artist.
Configure Your CS2 Skin Creation Workspace

Ready to dive into CS2 skin creation? First, set up your digital art studio! Get your software installed and tweaked just right. It’s like prepping your canvas before painting… only cooler.
Want to know more? Keep reading!
Install Required Software

Setting up your CS2 skin creation workspace is crucial. Let’s dive into the software you’ll need to get started.
- CS2 Workshop Tools: Fire up CS2 and head to settings. Download and install these tools, then relaunch the game.
- Blender: This free 3D modeling software is perfect for crafting your weapon’s shape. It’s user-friendly and packed with features.
- GIMP or Krita: These open-source image editors are great for texturing. They’re powerful alternatives to pricey options like Adobe Photoshop.
- VTFEdit: You’ll need this to convert your textures to the right format. It’s a must-have for any CS2 skin creator.
- Steam Workshop Uploader: This tool comes with the CS2 Workshop Tools. It’s how you’ll share your masterpiece with the world.
- File Explorer: You probably already have this, but you’ll use it a lot. It helps manage your obj files and other assets.
- Web Browser: You’ll need this for research, tutorials, and uploading to the Steam Workshop. Chrome or Firefox work well.
- Text Editor: Notepad++ or Sublime Text are handy for tweaking any code or config files. They’re lightweight and easy to use.
Adjust Settings for Optimal Skin Design
Now that you’ve got your software installed, it’s time to fine-tune your settings. Proper adjustments can make or break your CS2 skin design. Let’s dive into the key tweaks that’ll set you up for success:
- Boost your resolution: Crank it up to at least 2048×2048 pixels. This gives you plenty of room to work your magic without losing detail.
- Pick the right color mode: RGB is your go-to for vibrant, eye-catching skins. It’ll make your designs pop on screen.
- Set your DPI: Aim for 300 DPI. This sweet spot balances quality and file size, perfect for Steam Workshop uploads.
- Choose your file format: Stick with .TGA (Targa) files. They play nice with CS2’s engine and keep your textures crisp.
- Tweak your brush settings: For clean lines, turn on pen pressure sensitivity. It’ll give you more control over your strokes.
- Adjust your blend modes: Play around with overlay and multiply. These can add depth and realism to your textures.
- Set up your layers: Create separate layers for each part of your skin. It’ll make editing a breeze later on.
- Configure your lighting: Good lighting can make your skin stand out. Experiment with different angles to highlight your design’s best features.
Design Your Custom CS2 Skin

Designing your CS2 skin is where the magic happens. You’ll bring your ideas to life using Blender for modeling and GIMP or Krita for texturing. It’s like painting a digital masterpiece – but way cooler.
Want to learn more tricks? Keep reading!
Model Your Skin in Blender
Blender’s a powerhouse for CS2 skin creation. Let’s dive into modeling your custom skin with this 3D software.
- Import your OBJ file. Plug in your USB drive and open Blender. Go to File > Import > Wavefront (.obj) and select your weapon file.
- Focus on the silencer. In Edit Mode, use the ‘L’ key to select all connected faces of the silencer part.
- Unwrap the UV map. Press ‘U’ and choose ‘Smart UV Project’ for automatic unwrapping. This lays out your texture coordinates.
- Add materials. In the Materials tab, create a new material for your skin. Assign it to the selected faces.
- Set up texture nodes. Switch to the Shader Editor. Add Image Texture nodes for your diffuse and normal maps.
- Paint your skin. Use Texture Paint mode to directly paint on your model. Get creative with patterns and colors!
- Save your work. Export your painted textures as separate image files – one for the diffuse map, another for the normal map.
- Preview your skin. Use the Material Preview mode to see how your skin looks in-game lighting conditions.
Apply Textures Using GIMP or Krita
Now that you’ve modeled your skin in Blender, it’s time to add some flair. Let’s dive into applying textures using GIMP or Krita. These powerful tools will help you create eye-catching designs for your CS2 weapons.
- Open your weapon model in GIMP or Krita.
- Create a new layer for each texture you want to apply.
- Use the brush tool to paint directly onto your model.
- Experiment with different brush sizes and opacities for varied effects.
- Try the clone stamp tool to copy existing textures and apply them elsewhere.
- Add metallic finishes by using gradient overlays and adjusting layer blending modes.
- Create wooden textures by layering different brown tones and adding grain patterns.
- Use the masking technique to blend multiple textures on a single material.
- Apply a bump map to add depth and realism to your textures.
- Save your work often to avoid losing progress.
- Export your finished texture as a .png file for easy importing into CS2.
- Test your texture in-game to see how it looks in action.
File Conversion and Preparation

Ready to turn your CS2 skin into game-ready gold? File conversion’s the secret sauce – it’s where the magic happens! Stick around to learn how to make your art shine in-game…
Convert Textures with VTFEdit
VTFEdit is a handy tool for texture conversion in CS2 skin creation. It’s straightforward yet powerful, and it’ll make your workflow smoother. Here’s how to use it:
- Open VTFEdit and click “File” then “Import”
- Select your TGA texture file from your computer
- Your texture will appear in the main window
- Click “File” again, but this time choose “Export”
- Select VTF as your output format
- Name your file and save it in an easy-to-find location
- Check that the conversion worked by opening the new VTF file
- Give yourself a pat on the back – you’ve just nailed a key step in CS2 skin making!
Quality textures are essential for great weapon designs. With VTFEdit, you’re on your way to creating eye-catching skins in the game. Keep at it, and soon you’ll be producing downloadable content like an expert!
Ensure Correct Format Compliance for CS2
CS2 skin creation demands precise format compliance. Let’s dive into the nitty-gritty of getting your custom skins ready for prime time.
- Check file types: CS2 only accepts specific formats. VTF for textures and VMT for material files are must-haves.
- Size matters: Stick to power-of-two dimensions (256×256, 512×512, etc.) for your textures. This keeps things running smooth.
- Alpha channels: Some skins need transparency. Make sure your alpha channels are set up right in your image editor.
- Naming conventions: Follow CS2’s strict naming rules. A wrong name can tank your whole project.
- Compression settings: VTFEdit lets you tweak compression. Find the sweet spot between quality and file size.
- Normal maps: If you’re using them, double-check they’re in the right format. CS2 can be picky about these.
- File structure: Organize your files in the exact folder structure CS2 expects. One slip-up here can cause big headaches.
- Test, test, test: Load your skin into the CS2 Workbench. This final check catches any format issues you might’ve missed.
Using the CS2 Workbench

The CS2 Workbench is your playground for skin magic. It’s where you’ll bring your digital art to life. Wanna see how your creation looks in-game? Stick around – we’ve got more cool tricks up our sleeve!
Load and Review Your Skin
Time to see your creation come to life! Let’s dive into loading and reviewing your skin in CS2.
- Open CS2 and head to the workbench. It’s your digital studio for skin inspection.
- Upload your skin file. Make sure it’s in the right format – VTF is key here.
- Play with lighting. Bright spots can show off your design’s best features.
- Crank up those graphics settings. Higher quality means you’ll catch every detail.
- Rotate the weapon model. Check out your skin from all angles – front, back, and sides.
- Zoom in on tricky spots. Some areas need extra attention, like the grip or barrel.
- Test different wear levels. See how your skin looks fresh… and battle-scarred.
- Try out animations. Watch how your skin moves during reloads or inspections.
- Compare with other skins. Put yours side-by-side with popular designs for inspiration.
- Take screenshots. Capture your best angles for sharing or further tweaking.
- Get feedback. Show your friends or post on forums – fresh eyes spot things you might miss.
- Make notes. Jot down areas that need work while it’s fresh in your mind.
Inspect and Fine-Tune Skin Details
CS2 skin inspection is crucial for perfecting your design. Let’s dive into the nitty-gritty of checking and tweaking your skin details.
- Open your inventory and right-click on the skin you want to inspect.
- Choose “Inspect” from the menu to get a closer look at your creation.
- Adjust your lighting settings to see how the skin looks in different environments.
- Bump up your graphics settings for a clearer view of fine details.
- Rotate the weapon to check all angles and surfaces.
- Look for any texture stretching or misalignment issues.
- Check how the skin looks with different wear levels.
- Pay attention to how the skin appears on different parts of the weapon.
- Test the skin in-game to see how it looks during actual gameplay.
- Make notes on areas that need improvement or refinement.
- Head back to your design software to make necessary tweaks.
- Re-upload your modified skin and inspect again.
- Repeat this process until you’re happy with the result.
- Be patient – fine-tuning can take time, but it’s worth it for a top-notch skin.
Publish Your CS2 Skin

Ready to show off your CS2 skin? Upload it to Steam Workshop and watch the likes roll in! It’s your time to shine – read on to learn how to make your skin stand out from the crowd.
Upload to Steam Workshop
Time to showcase your CS2 skin creation! Sharing on Steam Workshop allows others to see your work. Here’s the process:
- Open your Steam library and locate CS2
- Click the gear icon, then “Properties” and “Additional Content”
- Select the boxes for CS2 and CS2 Workshop
- Press the “Workshop” button in CS2’s main menu
- Select “Create New Item” and choose your skin type
- Upload your skin files, including textures and models
- Write an item description with engaging details
- Choose an eye-catching thumbnail image
- Select relevant tags to improve discoverability
- Click “Submit” and await Valve’s approval
Community feedback can refine your skin. Keep track of comments and ratings to improve your next design!
Set Up Your Skin’s Display Page
After uploading your skin, it’s time to make it shine on its display page. This crucial step can make or break your skin’s success. Let’s dive into setting up a killer display page for your CS2 masterpiece:
- Craft a catchy name: Pick something that grabs attention and reflects your skin’s style.
- Write a snappy description: Tell the story behind your design in a few punchy sentences.
- Choose eye-catching screenshots: Show off your skin from different angles and in action.
- Set visibility options: Decide who can see and vote on your creation.
- Add tags: Use relevant keywords to help users find your skin easily.
- Select a thumbnail: Pick the best image to represent your skin in search results.
- Fill out legal info: Confirm you own the rights to all elements in your design.
- Preview in-game: Double-check how your skin looks before hitting publish.
- Verify your email: Make sure your Steam account is ready for publishing.
- Hit that publish button: Send your creation out into the world and watch the votes roll in!
Conclusion and Next Steps

Ready to level up your CS2 skin game? Dive into advanced techniques and join the community – your epic designs await! Let’s go!
Explore Advanced Design Techniques
Ready to level up your CS2 skin game? Let’s dive into some pro tricks! First, nailing realistic wood and metal textures is key. I’ve found that using nodes and textures in Blender can create awesome rough wood effects.
It’s all about playing with that Factor value to mix textures just right.
Here’s a cool tip from my own experience: use masking to separate materials. This lets you slap two textures on the same material – pretty slick, right? Oh, and don’t forget to grab the node Wrangler add-on.
It’s a game-changer for managing textures. Stay tuned for more tips on engraving designs and tweaking texture nodes. Your skins are about to get epic!
Engage with the Community for Feedback
Feedback is gold in the CS2 skin world. Your fellow players can spot things you might miss. They’ll tell you what works and what doesn’t. Don’t be shy – share your designs on forums and social media.
Ask for honest opinions. You might even find free CS2 skins to inspire you. The community is full of creative folks who love to help.
Listen to what others say, but trust your gut too. Not everyone will love your work, and that’s okay. Use the feedback to make your skins better. Keep tweaking and improving. The more you engage, the more you’ll learn.
Soon, you’ll be crafting skins that turn heads and win hearts in the game.
People Also Ask
How can I get started with making CS2 skins?
Jump in headfirst! Start by watching YouTube tutorials on skin creation. They’re a goldmine of tips and tricks. Next, familiarize yourself with Wavefront OBJ files. These are the building blocks of your digital masterpiece.
What’s the secret to nailing the shading on CS2 skins?
Shading is where the magic happens. It’s like painting with light and shadow. Play around with different techniques. Remember, practice makes perfect. Don’t be afraid to experiment – that’s how you’ll find your style.
How important is it to make my CS2 skin stand out?
Making your skin salient is key. It’s gotta pop! Think of it like this: your skin is competing for attention in a sea of digital art. Use bold colors, striking patterns, or unique concepts to catch the eye. But don’t go overboard – balance is crucial.
Can I modify existing CS2 skins?
Absolutely! Modification is a great way to learn the ropes. Start with an existing skin and tweak it. Change colors, add details, or completely overhaul the design. It’s like remixing a song – you’re creating something new from something familiar. Just remember to respect copyright laws!
References
https://www.youtube.com/watch?v=TGeppxoFsIM
https://www.youtube.com/watch?v=N7Kz_2KA34s
https://steamcommunity.com/sharedfiles/filedetails/?id=3153779275
https://bo3.gg/articles/how-to-create-cs2-skins
https://steamcommunity.com/sharedfiles/filedetails/?id=3043081914 (2023-09-29)
https://medium.com/@markvddam/making-your-own-cs2-skin-61a205ac9a07
https://www.kiwibox.com/how-to-make-skins-in-cs2-creative-guide/ (2023-10-13)
https://www.youtube.com/watch?v=sJaqkaTgCNE
https://steamcommunity.com/sharedfiles/filedetails/?l=french&id=401030440
https://www.youtube.com/watch?v=W2XclIdpWCM
https://www.ecokey.shop/blog/inspect-skins-in-cs2/ (2024-09-19)
https://www.thevaultohio.com/post/cs2-skins-and-sticker-crafts-unlocking-your-unique-style-in-counter-strike-2 (2024-09-15)

