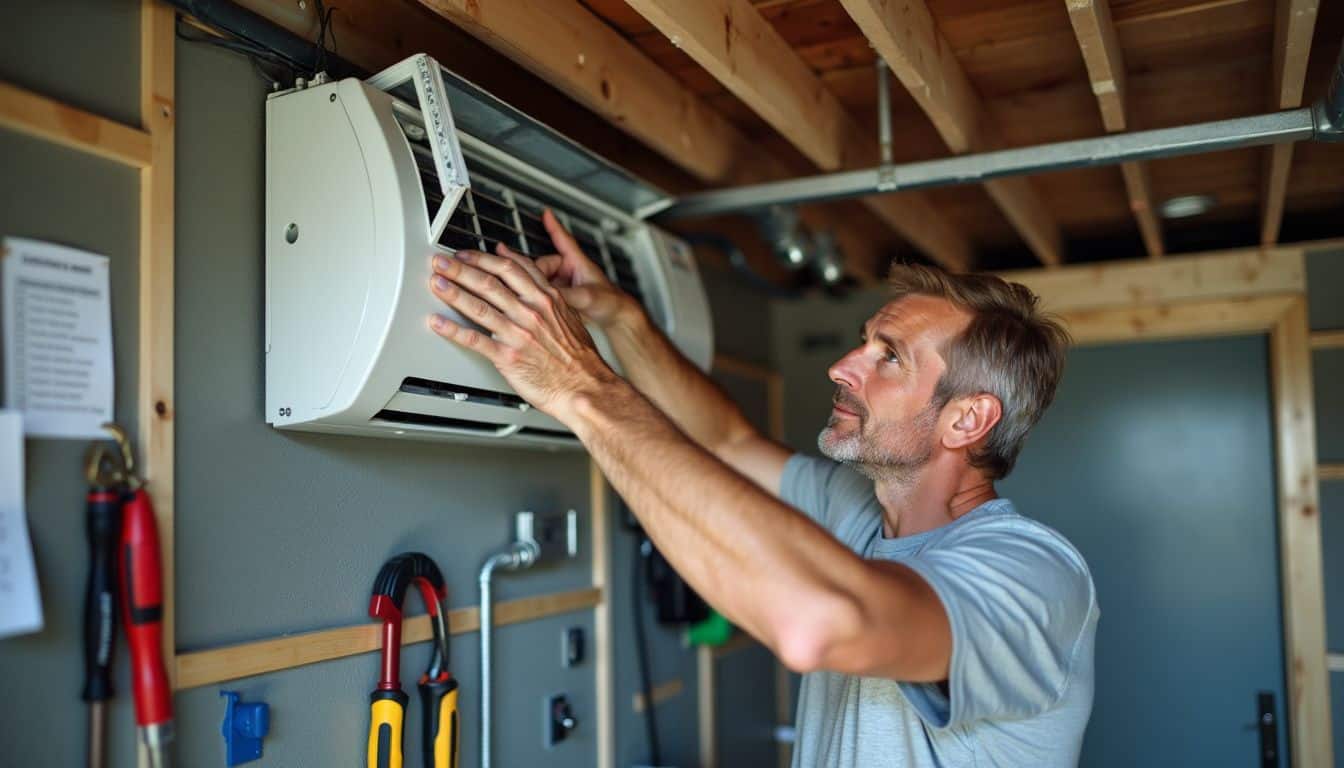
Is your AC acting up? You’re not alone. Millions of homeowners face AC troubles every year. But here’s the good news: a solid ac servicing checklist can save you from sweating buckets.
This blog post will walk you through the must-do steps to keep your cooling system in tip-top shape. Ready to chill?
Key Takeaways
Regular AC maintenance can cut repair costs by up to 40% and reduce energy bills by 15% or more.
DIY tasks include clearing debris, cleaning the outdoor unit, maintaining the condensate drain line, and replacing air filters every 30–90 days.
Professional maintenance involves checking refrigerant levels, solving electrical issues, inspecting drain pans, and evaluating ductwork.
Annual tune-ups by HVAC pros help catch small problems early, extend your AC’s lifespan, and improve system safety.
A mix of DIY care and professional service provides the best balance of cost savings and system performance.
Table of Contents
Key Components of Your AC System
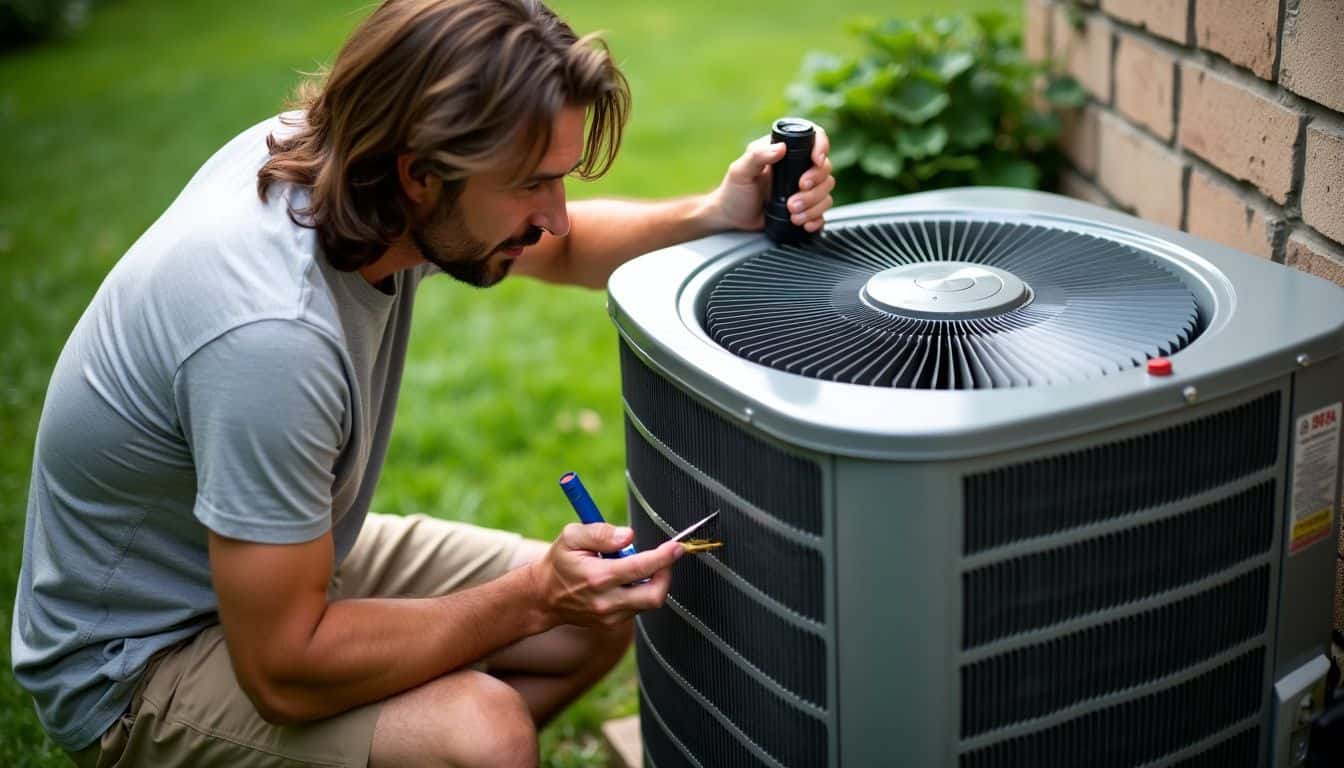
Your AC system is like a complex machine with many moving parts. According to the experts at FusionRepair.com, knowing these parts can help you spot issues early on.
DIY vs. Professional Maintenance Options

AC maintenance offers options. Let’s explore DIY and professional approaches.
| DIY Maintenance | Professional Maintenance |
|---|---|
– Cheaper – Flexible scheduling – Minimal investment – Risk of system damage if done wrong – Basic tasks: cleaning, filter replacement | – More expensive – Comprehensive inspections – Checks refrigerant levels – Prevents costly emergency repairs – Handles complex issues |
I’ve tried both DIY and pro maintenance. DIY works for quick fixes. But pros spot things I’d overlook. Once, a tech found a tiny leak I wouldn’t have noticed. Saved me money later on.
Mixing both approaches? That’s ideal. Handle the simple tasks yourself. Let experts tackle the complicated parts. It’s similar to changing your car’s oil vs. rebuilding the engine.
AC care isn’t complicated. But it requires some expertise. If unsure, get professional help. A quality air conditioner maintenance service can be crucial.
In summary: DIY reduces expenses. Pro service keeps your system running smoothly. Combine both for optimal results. Your budget – and your AC – will benefit.
DIY AC Maintenance Guide
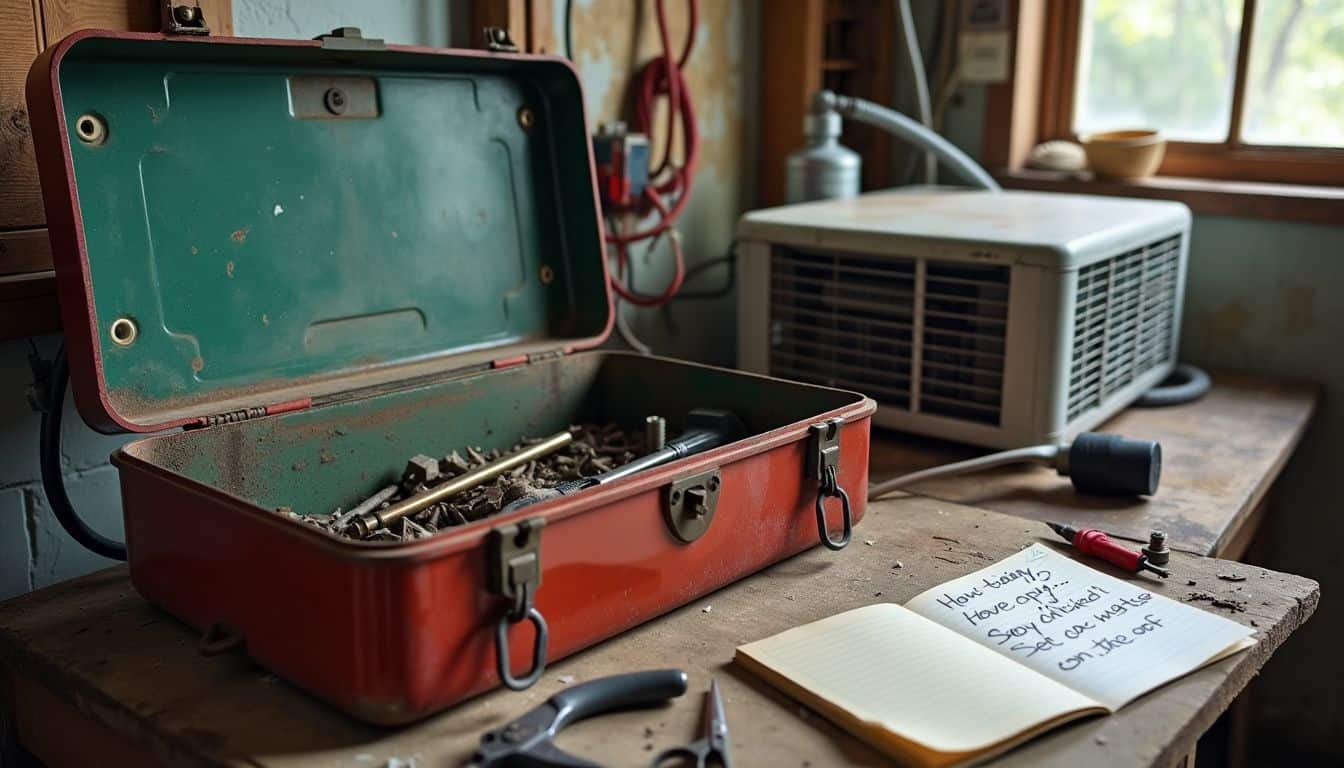
Ready to roll up your sleeves? Our DIY AC maintenance guide’s got your back. It’s packed with easy-to-follow steps that’ll keep your cooling system humming. Curious? Read on to become a home AC pro!
Remove Debris Around the AC Unit

Your AC unit needs some TLC. Let’s start with the basics – keeping it clean and clear.
- Grab your gloves and tools. You’ll need a rake, pruning shears, and a trash bag.
- Clear a 2-foot space around the unit. This helps airflow freely, boosting efficiency.
- Rake up leaves and twigs. These can clog your AC, making it work harder.
- Trim back bushes and plants. Keep them at least 2 feet away from the unit.
- Pick up any trash or debris. Old newspapers, plastic bags, or litter can harm your AC.
- Check for animal nests. Critters love cozy AC units, but they’re bad news for your system.
- Hose down the unit gently. This removes dust and dirt buildup.
- Look for any visible damage. Dents or rust spots need a pro’s attention.
Now that your AC’s surroundings are spick and span, let’s move on to the next step. Time to take a peek at the outdoor unit itself.
Clean and Inspect the Outdoor Unit
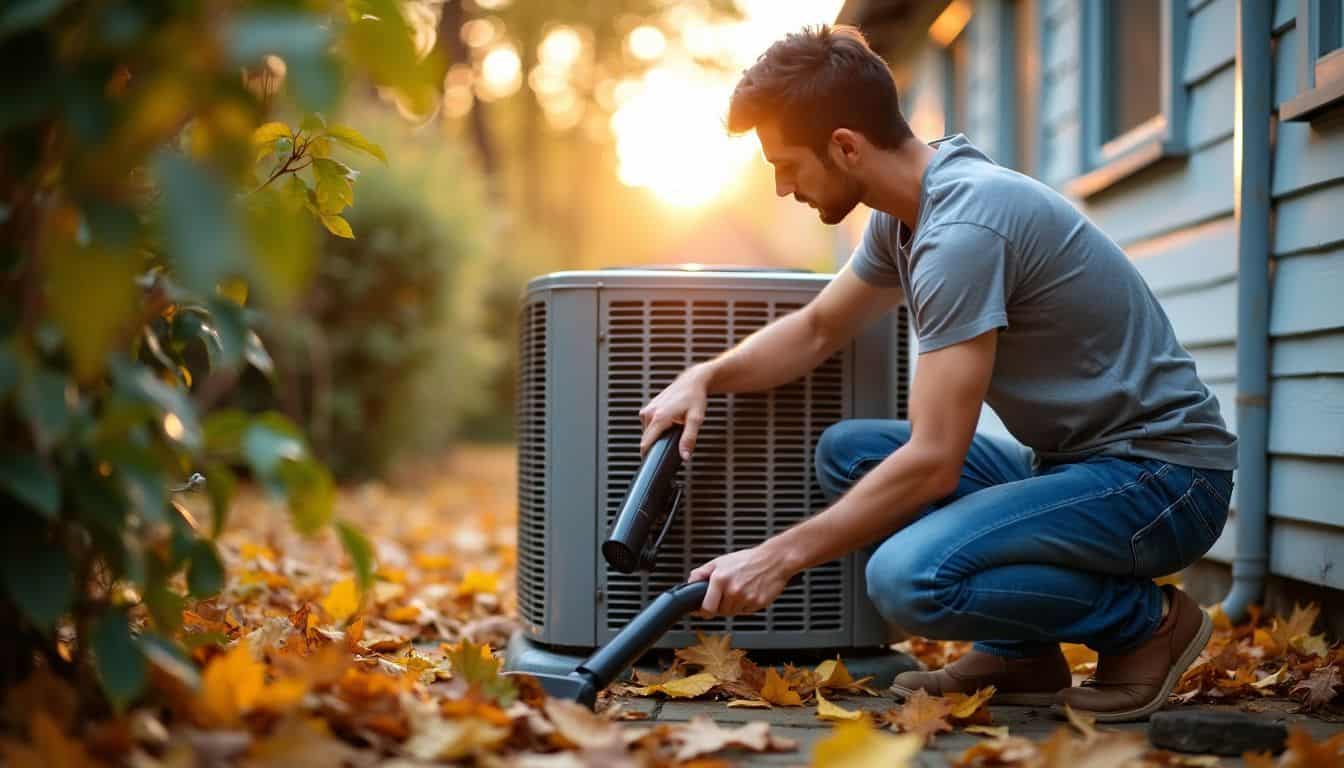
Keeping your outdoor AC unit clean is crucial for top performance. Let’s dive into the steps to clean and inspect this vital part of your cooling system.
- Clear the area: Remove leaves, twigs, and debris from around the unit. This helps air flow freely.
- Power down: Turn off the AC at the thermostat and circuit breaker for safety.
- Vacuum the exterior: Use a soft brush attachment to gently remove dirt from the unit’s surface.
- Hose it down: Spray the unit with a garden hose to wash away remaining grime. Don’t use a pressure washer – it’s too strong.
- Check the fins: Look for bent or damaged fins on the unit. Straight fins are key for good airflow.
- Comb the fins: If you spot bent fins, use a fin comb to straighten them out. Be gentle to avoid damage.
- Look inside: Open the top grille and remove any debris that’s made its way in.
- Inspect fan blades: Check for cracks or chips. Damaged blades can cause noise and poor cooling.
- Tighten connections: Make sure all visible screws and bolts are snug. Loose parts can lead to bigger problems.
- Clean the base: Wipe down the concrete pad or gravel the unit sits on. This prevents future debris buildup.
Maintain the Condensate Drain Line

The condensate drain line is a crucial part of your AC system. It needs regular care to avoid water damage and mold growth.
- Clear out debris every few months. Use a shop vac to suck out any gunk that’s built up.
- Pour a cup of distilled vinegar down the line. This natural cleaner kills bacteria and prevents clogs.
- Check for leaks or cracks in the line. Replace damaged sections right away.
- Install a float switch. It’ll shut off your AC if water backs up, saving you from a big mess.
- Flush the line with water after cleaning. This ensures everything flows smoothly.
- Look for the drain line’s exit point outside. Keep it clear of dirt and plants.
- Consider adding a condensate pump. It helps move water if your drain line is far from the unit.
Next up, we’ll talk about replacing your air filter. This simple task can make a big difference in your AC’s performance.
Replace the Air Filter Regularly
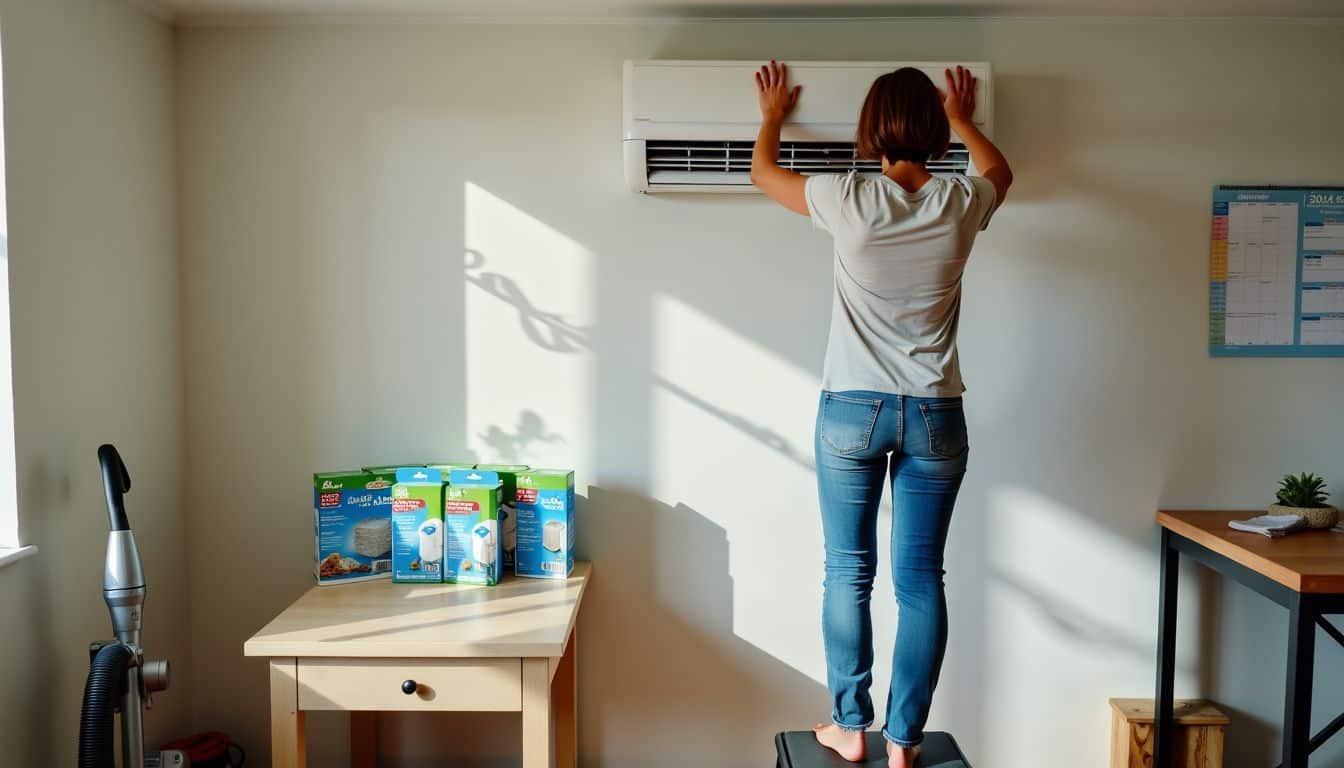
Keeping your AC filter clean is crucial for top performance. Let’s dive into why and how you should replace it regularly.
- Swap out or clean your AC filter every 30 to 90 days. Dirty homes or those with pets may need more frequent changes.
- Higher MERV ratings on filters catch more particles, but might slow airflow. Find the right balance for your system.
- Check your filter monthly during peak cooling season. A quick peek can save you from costly repairs down the road.
- Mark your calendar or set a phone reminder for filter changes. It’s easy to forget, but your AC won’t!
- Consider using washable filters to cut down on waste. They cost more upfront but save money over time.
- Vacuum around the filter area before installing a new one. This extra step keeps dirt from sneaking into your system.
- Always turn off your AC before changing the filter. Safety first, guys!
- Keep spare filters on hand. You’ll thank yourself when it’s time for a quick change.
- If you’re not sure which filter to buy, snap a photo of your old one. The store clerk can help you find the right match.
- Don’t forget to check the filter’s direction. Most have arrows showing which way to install them.
Check If Your AC is Properly Leveled
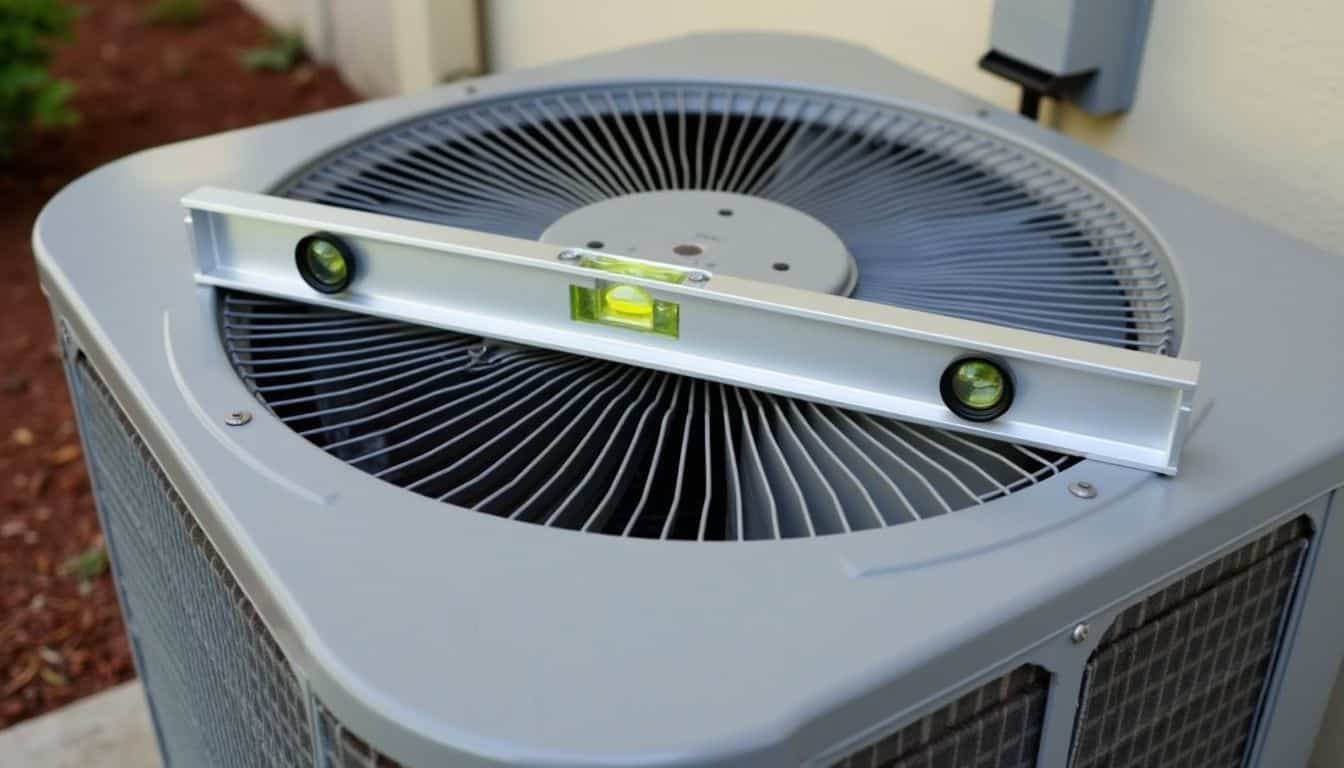
A level AC unit is key for top performance. Let’s dive into how to check and fix this often-overlooked issue.
- Grab a level tool: Snag a bubble level or smartphone app to check your outdoor unit’s balance.
- Place the level on top: Set it on the AC’s flat surface and watch for any tilt.
- Check multiple spots: Test different areas to get a full picture of the unit’s position.
- Look for gaps: Peek under the unit for spaces between it and the concrete slab.
- Measure the tilt: If you spot a slope, figure out how much using the level or a tape measure.
- Use shims as a quick fix: Slip plastic shims under low spots to even things out.
- Consider re-leveling the slab: For bigger issues, you might need to adjust the concrete base.
- Call in the pros: If you’re not sure, get an HVAC tech to take a look and make fixes.
- Keep an eye on it: Check the level yearly as part of your AC tune-up routine.
- Don’t ignore small tilts: Even slight slopes can hurt your AC’s efficiency over time.
Conduct a Visual Inspection of Electrical Connections
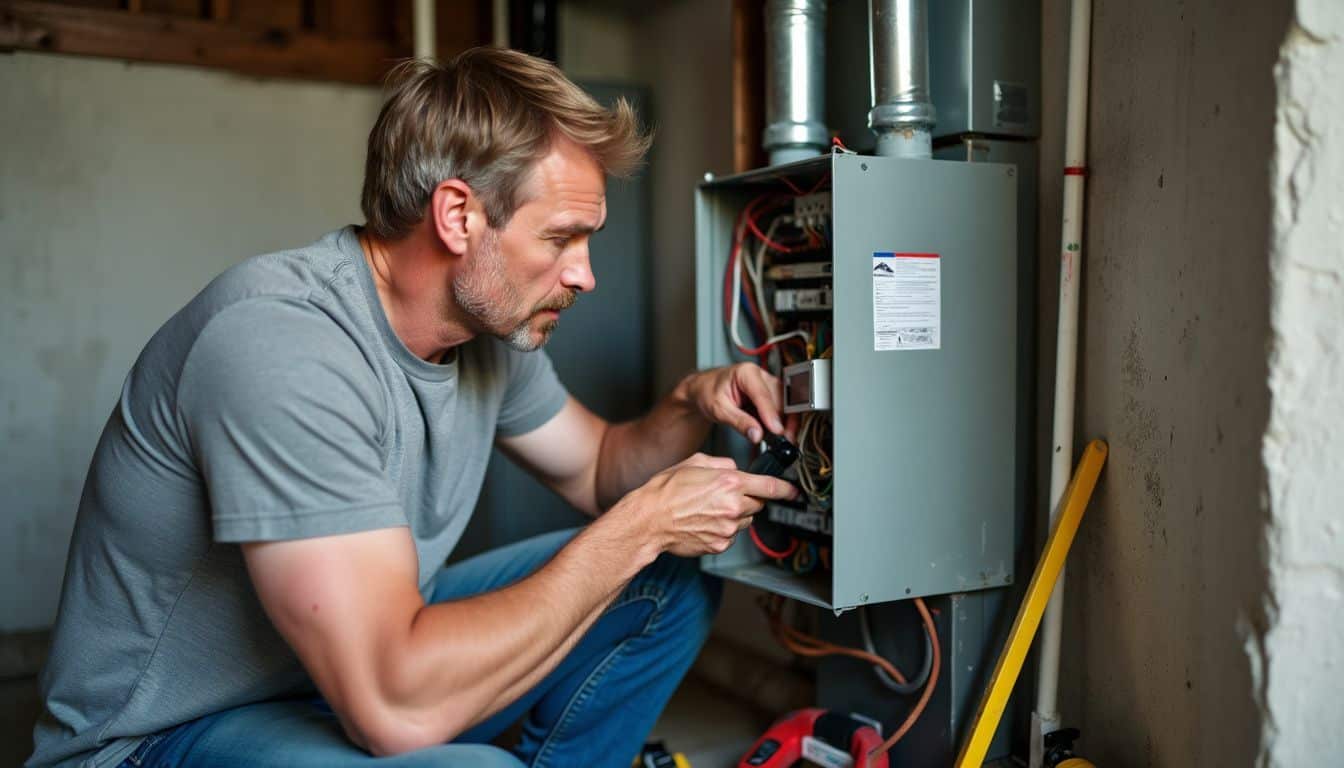
Electrical connections are the lifeblood of your AC system. A quick visual check can save you from big headaches down the road.
- Look for frayed wires: Run your eyes along the visible wiring. Any splits or exposed copper are red flags.
- Check for loose connections: Gently wiggle connections at the thermostat and outdoor unit. If they’re wobbly, they need tightening.
- Spot broken controls: Examine switches and buttons. Cracked casings or sticky buttons spell trouble.
- Sniff for burning smells: An odd odor near electrical parts could mean overheating.
- Feel for heat: Warm spots on wires or connections aren’t normal. They signal resistance issues.
- Look for discoloration: Brown or black marks around connections point to past overheating.
- Check the disconnect box: This outdoor switch should be firmly attached and rust-free.
- Inspect wire insulation: Cracked or brittle coverings need replacement to prevent shorts.
Perform a Functional Test of Your AC
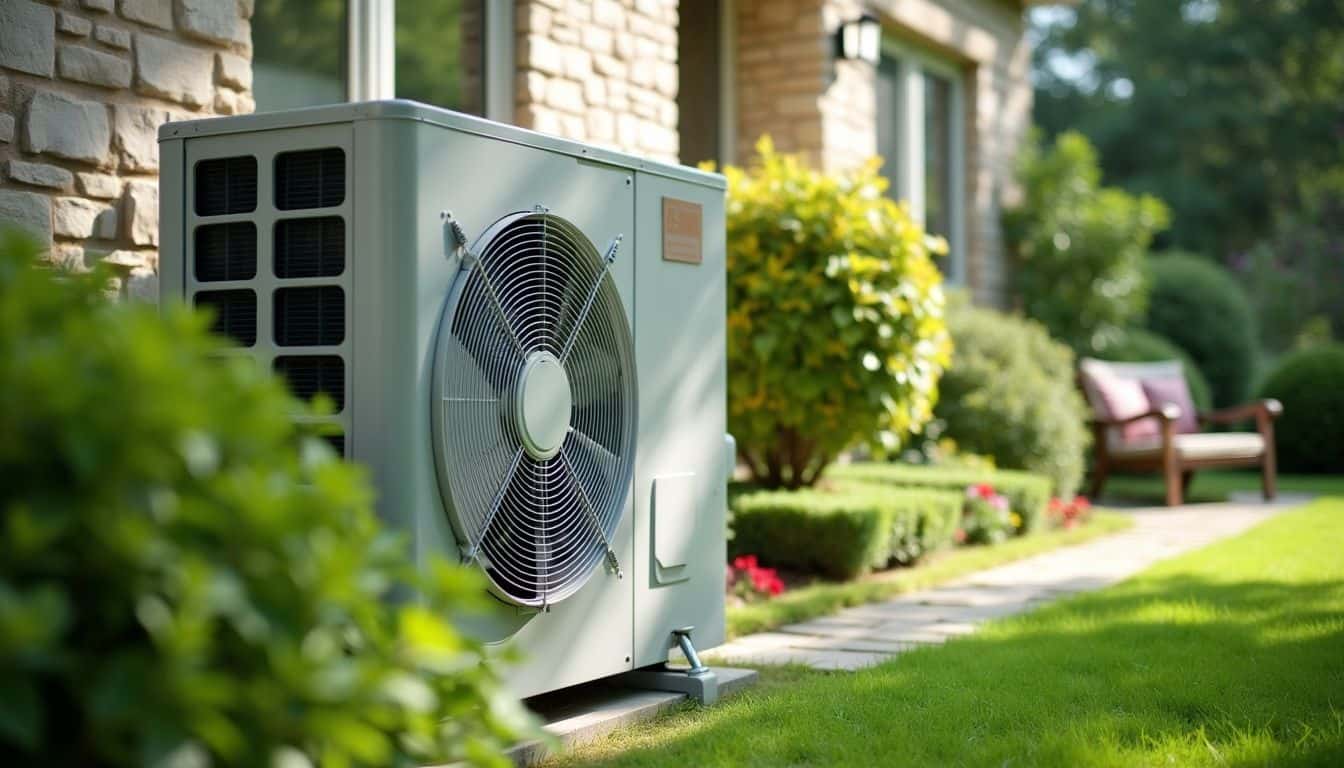
Time to put your AC through its paces. A functional test helps spot issues before they become big problems.
- Power up: Flip the switch and listen closely. Any weird noises? That’s a red flag.
- Thermostat check: Set it to “cool” and drop the temp. Your AC should kick on within a minute.
- Cool air test: Hold your hand near a vent. Feel that chill? If not, something’s off.
- Even cooling: Walk through your home. Each room should feel equally cool.
- Cycle length: Watch how long your AC runs. Short cycles can mean trouble.
- Outdoor unit inspection: Head outside. Is the fan spinning? No odd sounds or smells?
- Humidity control: Your home shouldn’t feel damp. If it does, your AC might need help.
- Airflow check: Place a piece of paper near a vent. It should stick when the AC’s on.
- Temperature drop: Use a thermometer at the supply and return vents. The difference should be 14-20°F.
- Unusual sounds: Listen for any bangs, whistles, or rattles. These often signal problems.
- Smell test: Musty odors could mean mold. Chemical smells? That’s a no-go.
- Thermostat accuracy: Use a separate thermometer to double-check your thermostat’s reading.
Tasks for Professional AC Maintenance

Let’s talk about the big guns – the pros who keep your AC in top shape. These folks have the know-how and tools to tackle the tricky stuff you can’t handle on your own.
For heat pumps, which provide both heating and cooling, additional checks may be needed to ensure year-round efficiency. Professional technicians are equipped to handle these more complex systems.
Conduct Routine AC Inspections
Regular AC inspections keep your cooling system in top shape. Here’s what pros check during routine visits:
- Thermostat function: They test if it’s reading temps right and turning your AC on and off as needed.
- Air filter status: Dirty filters get swapped out to keep air flowing freely.
- Coil cleanliness: Both indoor and outdoor coils are cleaned to boost efficiency.
- Refrigerant levels: They make sure there’s enough coolant to chill your home.
- Electrical connections: Loose wires get tightened to prevent shorts or fires.
- Drain line clearance: Clogged lines are cleared to stop water damage.
- Blower motor performance: They oil moving parts and check for weird noises.
- Duct condition: Leaky ducts are sealed to stop cool air from escaping.
- Compressor health: This crucial part gets a once-over to catch issues early.
- Safety controls: All safety switches are tested to keep your system running safely.
These checks help catch small problems before they become big, costly repairs. Next up, we’ll look at how pros tackle electrical issues in your AC.
Solve Electrical Issues
After routine checks, it’s time to tackle electrical problems. Fixing these issues keeps your AC running smoothly and safely.
- Check the power supply: Make sure your AC is getting the right amount of juice. Look for loose wires or burned spots on the circuit board.
- Test the capacitor: This part helps your AC motor start up. If it’s weak, your AC might struggle to turn on or run properly.
- Inspect the contactor: This switch controls when your AC turns on and off. If it’s worn out, your AC might not start or stop when it should.
- Look at the fan motor: A bad motor can cause your AC to overheat. Check for strange noises or if the fan isn’t spinning right.
- Examine the compressor: This is the heart of your AC. If it’s not working, your whole system could be in trouble.
- Check the thermostat: Sometimes, what seems like an AC problem is just a faulty thermostat. Make sure it’s reading temps correctly.
- Test safety switches: These shut off your AC if something’s wrong. If they’re broken, your AC might keep running when it shouldn’t.
- Look for frayed wires: Damaged wires can cause shorts or fires. Replace any that look worn or chewed by pests.
Verify Refrigerant Levels
Checking refrigerant levels is a key part of AC upkeep. Only pros should handle this task, as it needs special tools and know-how.
- Look for signs of low refrigerant:
- Higher energy bills – your AC works harder to cool
- Weak airflow from vents – not enough cool air
- Ice on copper lines or evaporator coil – freezing up
- Hissing sounds – possible refrigerant leak
- Call an HVAC tech for a pressure test:
- They’ll hook up gauges to check pressure
- Low pressure means low refrigerant
- High pressure could mean other issues
- Fix any leaks before adding refrigerant:
- Leaks waste money and harm the environment
- Common leak spots: joints, valves, coils
- Pros use special tools to find tiny leaks
- Add the right amount of refrigerant:
- Too much or too little hurts AC performance
- Techs use charts to figure out the correct charge
- They’ll weigh the refrigerant as they add it
- Choose the correct refrigerant type:
- R-22 for older units (being phased out)
- R-410A for newer, more eco-friendly systems
- Using the wrong type can damage your AC
- Check system performance after recharge:
- Measure airflow and temps at vents
- Compare energy use before and after
- Make sure the AC cycles on and off normally
Inspect Drain Pans
After checking refrigerant levels, it’s time to look at drain pans. These pans play a key role in your AC’s health. Let’s dive into why and how to inspect them:
- Look for water buildup: Drain pans catch water from your AC. If they’re not working right, you’ll see water pooling.
- Check for levelness: A tilted pan can cause spills. Use a level tool to make sure it’s flat.
- Clean out debris: Leaves, dust, and gunk can clog the pan. Scoop out any junk you find.
- Test the drain line: Pour water into the pan. It should flow out quickly through the drain pipe.
- Inspect for rust or cracks: Old pans may have damage. Look closely for any signs of wear and tear.
- Measure pan depth: Make sure it’s deep enough to hold water during peak AC use.
- Check pan placement: It should sit snugly under the coils to catch all drips.
- Look for algae growth: Green stuff in the pan means it’s time for a deep clean.
- Verify overflow switch: This safety feature should shut off the AC if the pan gets too full.
- Consider a secondary pan: For extra protection, you might want to add a backup pan under the main one.
Evaluate AC Ductwork
Ductwork plays a huge role in your AC’s performance. Let’s dive into how to check and fix your ducts for better cooling and lower bills.
- Look for visible damage: Crawl into your attic or basement. Check for holes, tears, or disconnected sections in the ducts. These leaks waste cool air and jack up your energy costs.
- Test for air leaks: Light a stick of incense near duct joints. If the smoke wavers, you’ve got a leak. Seal small gaps with metal tape or mastic sealant.
- Clean out debris: Dust and gunk in ducts can hurt airflow. Use a vacuum with a long hose to suck out loose dirt. For deeper cleans, call a pro.
- Check insulation: Poorly insulated ducts in unconditioned spaces waste energy. Add insulation wrap to keep the cool air flowing where it should.
- Balance airflow: Some rooms too hot, others too cold? Adjust dampers in the ductwork to even out airflow. It’s like giving your AC a tune-up.
- Inspect flexible ducts: These can sag or kink, blocking airflow. Straighten and support them properly for better cooling.
- Size matters: Ducts that are too small or large hurt efficiency. A pro can tell if your ducts match your AC’s output.
- Consider duct sealing: For older homes, professional duct sealing can boost efficiency by up to 20%. It’s a game-changer for comfort and bills.
Checking your ducts is just one part of AC care. Next up, let’s look at why regular maintenance is so important for your cooling system.
Benefits of Regular AC Maintenance

Regular AC maintenance isn’t just a chore – it’s a smart move. It keeps your wallet happy and your home comfy… what’s not to love? Let’s dive into the perks of giving your cooling buddy some TLC.
Decrease Repair Expenses
Regular AC check-ups can save you big bucks. Think of it like taking care of your car – a little TLC now means fewer costly surprises down the road. By catching small issues early, you’ll dodge those wallet-draining emergency repairs.
Plus, a well-maintained AC runs smoother, using less energy and keeping your bills in check.
Here’s the kicker: annual tune-ups can cut repair costs by up to 40%. That’s right, guys – keep your cool system in top shape, and you’ll keep more cash in your pocket. It’s a win-win: your AC lasts longer, and you spend less on fixes.
So, don’t sweat it – just stick to that maintenance schedule.
Cut Down on Energy Costs
Keeping your AC in top shape can slash your energy bills. A well-tuned system uses less power to cool your home. It’s like giving your car a tune-up – it runs smoother and guzzles less gas.
Regular check-ups on your AC can lead to big savings. You might see your energy costs drop by 15% or more!
But that’s not all. A clean AC doesn’t have to work as hard. This means it lasts longer and breaks down less often. It’s a win-win situation. You save money now on bills and later on repairs.
Plus, you’re doing your part for the planet by using less energy. It’s a smart move for your wallet and the environment.
Extend the Life of Your AC
Regular AC care can add years to your unit’s life. It’s like giving your car an oil change – a little effort goes a long way. By keeping your AC in top shape, you’ll dodge costly breakdowns and keep it running smoothly.
Plus, a well-maintained system uses less energy, saving you cash on bills.
Don’t wait for trouble to strike. Set up a yearly check-up with a pro. They’ll catch small issues before they become big headaches. Between visits, change filters often and keep the outdoor unit clear of debris.
Your AC will thank you with cool air for years to come. Next up, let’s dive into the safety perks of regular AC upkeep.
Improve Safety of the AC System
A well-kept AC doesn’t just run better—it’s safer too. Regular check-ups can spot issues before they become risky. Faulty wiring or loose connections might lead to fires. Dirty filters can harbor mold, which is bad news for your lungs.
By keeping your AC in top shape, you’re not just saving cash—you’re keeping your family safe.
Pro tip: Don’t skip those yearly inspections! They’re key to catching hidden dangers. A pro can spot worn parts, leaks, or electrical problems you might miss. They’ll also clean out any gunk that could make you sick.
It’s a small step that goes a long way in keeping your home cool and worry-free.
People Also Ask
How often should I service my air conditioning system?
Annual maintenance is key for your HVAC system. It’s like giving your car a tune-up. Regular check-ups keep your AC humming along smoothly. Don’t wait for trouble to knock on your door. Stay cool and save money with routine care.
What’s the deal with air filters? How important are they?
Air filters are the unsung heroes of your AC. They’re like bouncers at a club, keeping the riffraff out. Clean filters mean clean air and a happy AC. Swap them out regularly to boost indoor air quality and energy efficiency. Your lungs (and wallet) will thank you.
Can I tackle AC maintenance myself, or should I call in the pros?
Some tasks are perfect for DIY enthusiasts. Changing filters or cleaning around the outdoor unit? Go for it! But when it comes to refrigerant lines or electrical components, leave it to the experts. It’s like baking a cake versus performing surgery – know your limits!
What’s the scoop on duct cleaning? Is it really necessary?
Duct cleaning is a hot topic. Some swear by it, others think it’s overkill. Truth is, it depends on your situation. If you’ve got allergies or see visible gunk, it might be worth it. But don’t fall for scare tactics. A good vacuum cleaner can work wonders too.
How can I make my AC more energy-efficient?
Energy efficiency is the name of the game. Start with a smart thermostat – it’s like having a tiny energy-saving wizard in your home. Keep those condenser coils clean and clear. And don’t forget about insulation – it’s like a cozy sweater for your house, keeping the cool in and the heat out.
What’s the deal with refrigerant? Do I need to “top it up” regularly?
Refrigerant isn’t like gas in your car – it doesn’t get used up. If your AC needs a refill, you’ve got a leak. It’s like a hole in a water balloon – fix the leak, or you’ll be refilling forever. Low refrigerant can damage your compressor, so don’t ignore it. Call in the pros if you suspect a problem.
References
https://www.monkeywrenchplumbers.com/ac-maintenance-diy-vs-professional/
https://www.prosolutionsinc.ca/ac-maintenance-checklist/
https://www.usnews.com/360-reviews/services/hvac-companies/ac-maintenance-guide
https://servicechannel.com/blog/air-conditioner-maintenance-checklist/
https://www.abaaustin.com/learning-center/diy-ac-maintenance-a-comprehensive-guide.html
https://www.galmicheandsons.com/hvac-blog/clean-ac-condensate-drain-line/
https://www.energy.gov/energysaver/maintaining-your-air-conditioner
https://compassheatingandair.com/ac-maintenance-guide-a-comprehensive-checklist/
https://johncipollone.com/air-conditioner-inspection-step-by-step-guide-from-the-pros/
https://theactherapist.com/blog/the-ultimate-ac-maintenance-checklist/ (2023-03-10)
https://www.designaire.net/ac-maintenance-checklist-essential-tasks-for-hvac-professionals/
https://www.hutchbiz.com/blog/2023/05/18/ac-maintenance-checklist/ (2023-05-18)
https://servicechannel.com/blog/how-to-check-refrigerant-level-in-ac/
https://www.logan-inc.com/blog/ac-maintenance-checklist/
https://bobsrepair.com/ac-maintenance-checklist/
https://ashleybrothers.com/2024/04/how-regular-ac-maintenance-can-lead-to-energy-efficiency/ (2024-04-25)
