Is your power drill covered in gunk? You’re not alone. Dirty tools can slow you down and even break. But don’t worry – cleaning power tools isn’t rocket science. This guide will show you how to clean power tools like a pro.
Ready to make your tools shine?
Key Takeaways
Always unplug tools or remove batteries before cleaning for safety.
Use the right cleaners – all-purpose cleaners work well, but degreasers are best for tough grime.
Clean each part separately, paying special attention to vents, moving parts, and hard-to-reach spots.
Lubricate moving parts after cleaning to keep tools running smoothly.
Store tools in a dry place and check for damage while cleaning to catch issues early.
Table of Contents
Choosing the Right Cleaning Supplies for Power Tools

Got the right stuff to clean your power tools? It’s not rocket science, but it matters. Grab some all-purpose cleaner and gloves – you’ll thank me later.
Selecting All-Purpose Cleaners or Degreasers
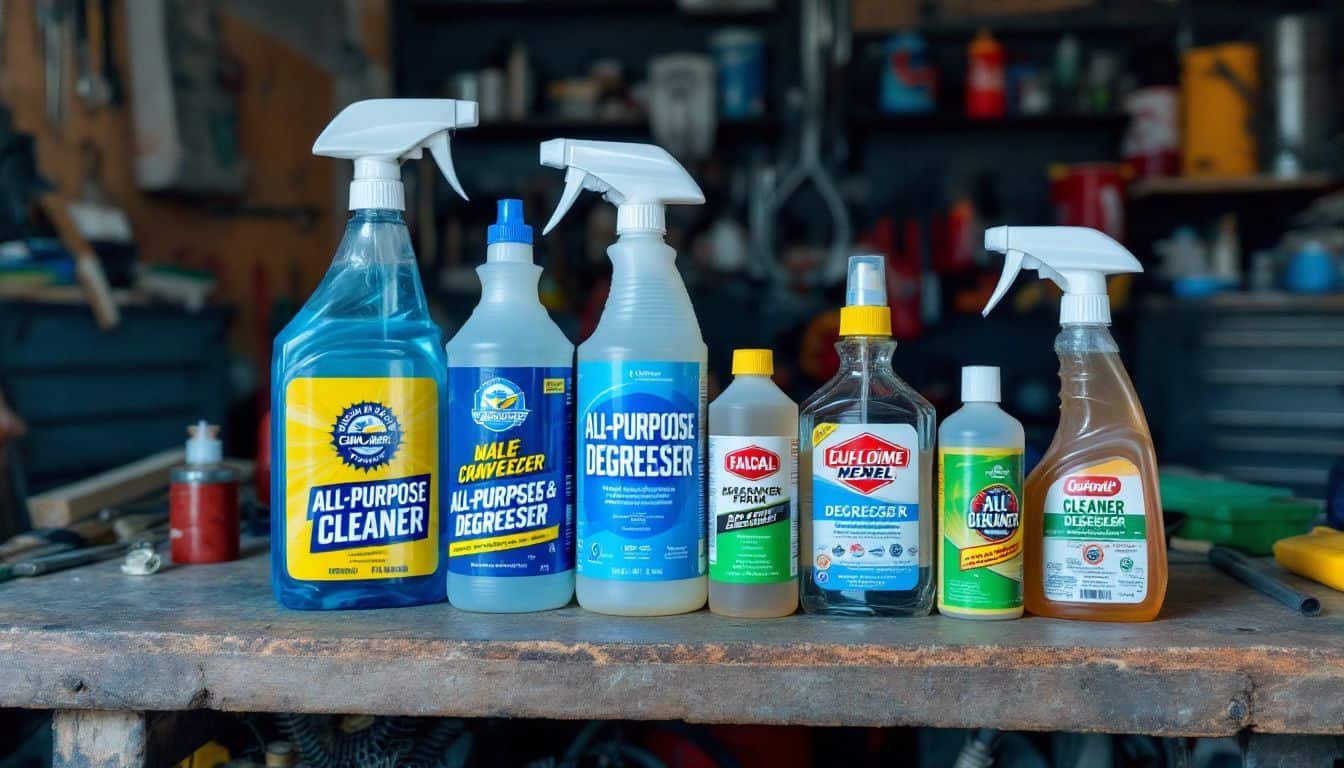
Picking the right cleaner for your power tools is key. Simple Green All-Purpose Cleaner rocks for its versatility and nice smell. It’s my go-to for most jobs. But if you need to kill germs, Clorox Scentiva Multi-Surface Cleaner is a solid choice.
Just wait 10 minutes before wiping. Brands can differ based on where you live – a UK power tools seller might stock different options than what we have in the US.
For tough grease, I’ve had great luck with degreasers. They cut through grime like a hot knife through butter. Microban 24 Hour Multi-Purpose Cleaner is awesome – it keeps bacteria at bay for a full day after use.
The right cleaner can make your tools shine like new, and keep ’em running smooth as silk.
If you’re eco-conscious, try Seventh Generation All Purpose Cleaner. It’s plant-based and EPA Safer Choice certified, but won’t kill germs. Mr. Clean Multi-Purpose Cleaner is great for quick jobs – no rinsing needed!
Using Appropriate Protective Gear

Safety first, folks! Let’s chat about gearing up before you tackle those power tool cleaning jobs. You wouldn’t go into a fight without protection, right? Same goes for cleaning your tools.
Put on some goggles to guard your eyes from flying bits. Get a pair of tough gloves to shield your hands from sharp edges and harsh chemicals. Don’t skip the dust mask – your lungs will appreciate it later.
Here’s a tip from my years in the workshop: get a good pair of steel-toed boots. I once dropped a drill press on my foot… ouch! Trust me, those boots are super valuable. And if you’re handling really nasty stuff, think about a full-body suit.
It might seem like too much, but it’s better than ending up covered in grime. The right gear keeps you safe and helps you focus on getting those tools sparkling clean.
Comprehensive Guide to Cleaning Handheld Power Tools
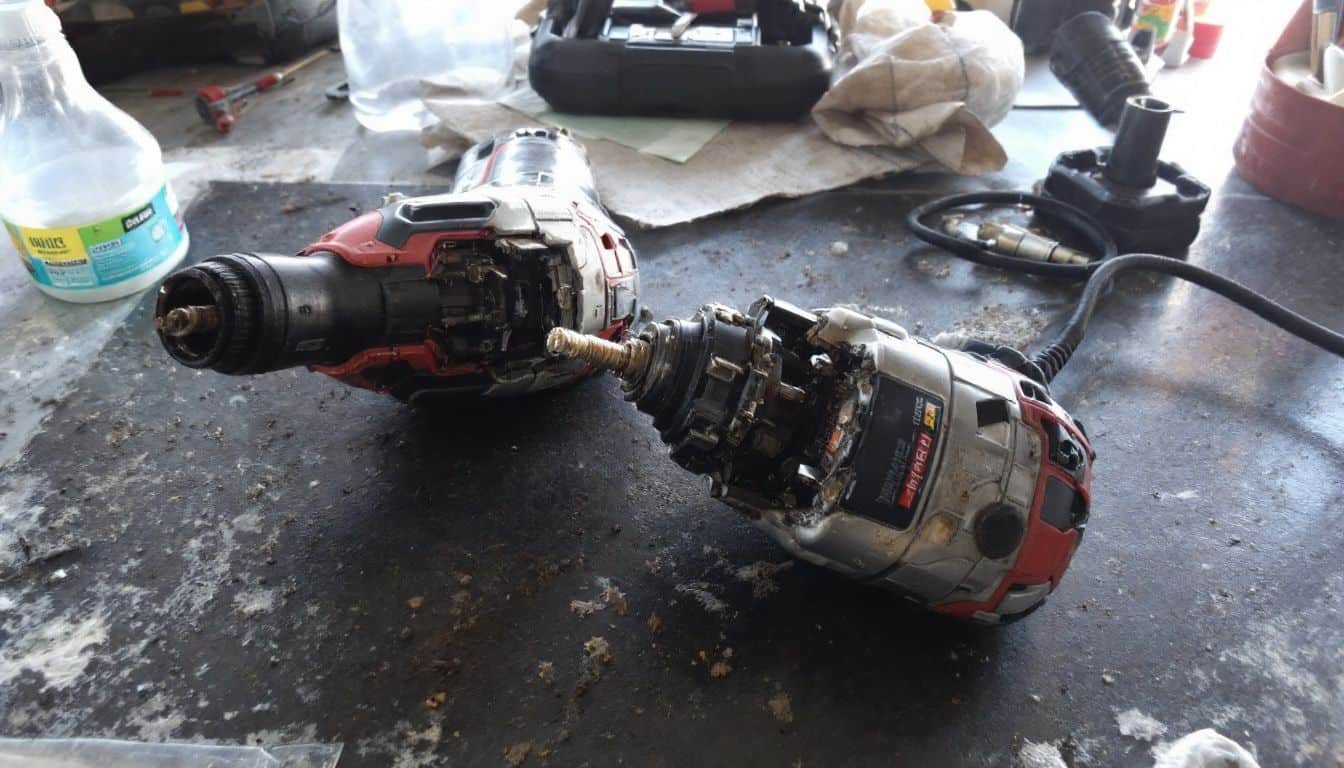
Handheld power tools need some TLC to keep ’em humming. Let’s dive into the nitty-gritty of cleaning these bad boys – from taking ’em apart to putting ’em back together, good as new.
Steps to Disassemble
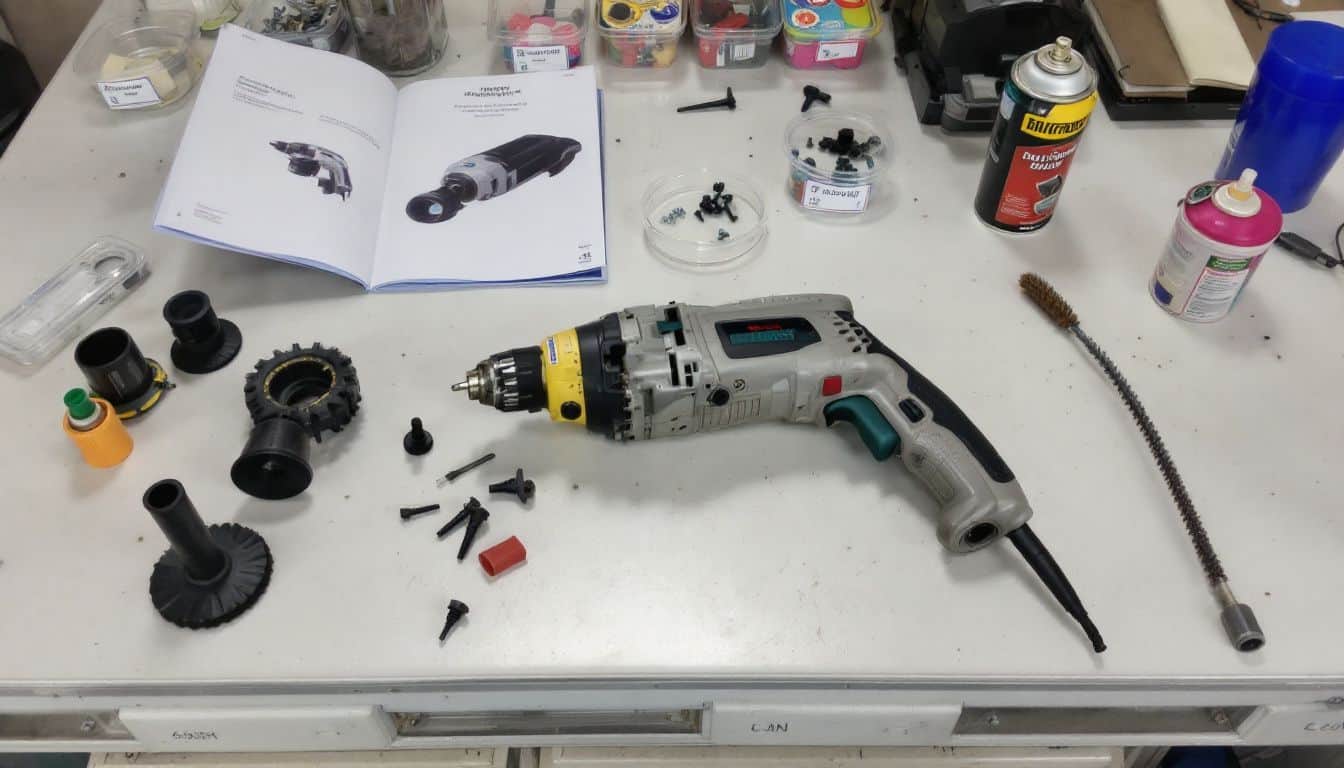
Taking apart your power tools is key to a deep clean. Let’s break down the steps to disassemble your gear safely and effectively.
- Unplug or remove the battery: Safety first! Cut off all power sources before you start.
- Grab your manual: It’s your best friend for this job. Find the disassembly instructions.
- Lay out a clean workspace: Spread a cloth or paper to catch small parts.
- Remove external parts: Take off drill bits, saw blades, or any attachments.
- Loosen and remove screws: Use the right screwdriver for each type of screw.
- Separate the housing: Gently pry apart the tool’s outer shell.
- Remove internal components: Carefully take out motors, gears, and switches.
- Keep parts organized: Use small containers or a magnetic tray to sort pieces.
- Take photos as you go: This helps when it’s time to put everything back together.
- Clean each part: Use a wire brush, compressed air, or a shop-vac to remove dirt.
- Inspect for wear: Look for damaged parts that might need replacing.
- Prepare for reassembly: Group cleaned parts by where they belong in the tool.
Clean Each Component

Now that you’ve taken your tool apart, it’s time to get down and dirty. Cleaning each component is crucial for keeping your power tools in top shape. Here’s how to do it right:
- Wipe down surfaces: Use a clean cloth with all-purpose cleaner to remove grime from metal and plastic parts.
- Tackle tough spots: For stubborn dirt, try a degreaser or WD-40. Just be careful around plastic bits.
- Brush out vents: A small brush can clear dust from air vents. This helps prevent overheating.
- Blast with air: Use compressed air to clean hard-to-reach spots. It’s great for getting rid of sawdust.
- Scrub moving parts: Clean gears and other moving pieces with a wire brush. This keeps them running smooth.
- Polish metal surfaces: Steel wool works wonders on metal parts. It’ll make them shine like new.
- Clean rubber grips: Wipe these down with soapy water. Dry them well to avoid slipping later.
- Treat wooden handles: For tools with wood parts, use lemon oil to keep them from drying out.
- Inspect as you go: Look for worn or damaged parts while cleaning. Replace anything that looks iffy.
- Dry thoroughly: Make sure all parts are completely dry before putting your tool back together.
Steps to Reassemble

Putting your power tools back together is key to keeping them in top shape. Here are the steps to reassemble your tools like a pro.
- Clean and dry all parts: Wipe down each component with a clean cloth. Make sure everything’s bone-dry to prevent rust.
- Check for damage: Examine each part carefully. Look for cracks, wear, or anything unusual.
- Lubricate moving parts: Apply some oil to gears and controls. Don’t overdo it – a little dab’ll do ya.
- Start with the main body: Begin reassembly with the tool’s core. It’s like building a puzzle, but way cooler.
- Add internal components: Insert gears, motors, and other inner workings. Take it slow and steady – no need to rush.
- Secure fasteners: Tighten screws and bolts snug, but not too tight. You don’t want to strip ’em.
- Reattach external parts: Add handles, guards, and other outer bits. They’re like the tool’s armor.
- Double-check connections: Ensure everything’s connected properly. No loose wires or faulty connections allowed.
- Test it out: Start up your tool and give it a whirl. Listen for any odd noises or vibrations.
- Final inspection: Give your reassembled tool one last look. It should be ready to tackle your next project.
Having the right tools is crucial. Check out these essential tools every man needs to up your game. Now go forth and conquer those DIY projects!
How to Clean Large Power Tools

Big power tools need some TLC too. Let’s dive into how to keep those beasts clean and purring like kittens.
Perform Initial Wipe-Down
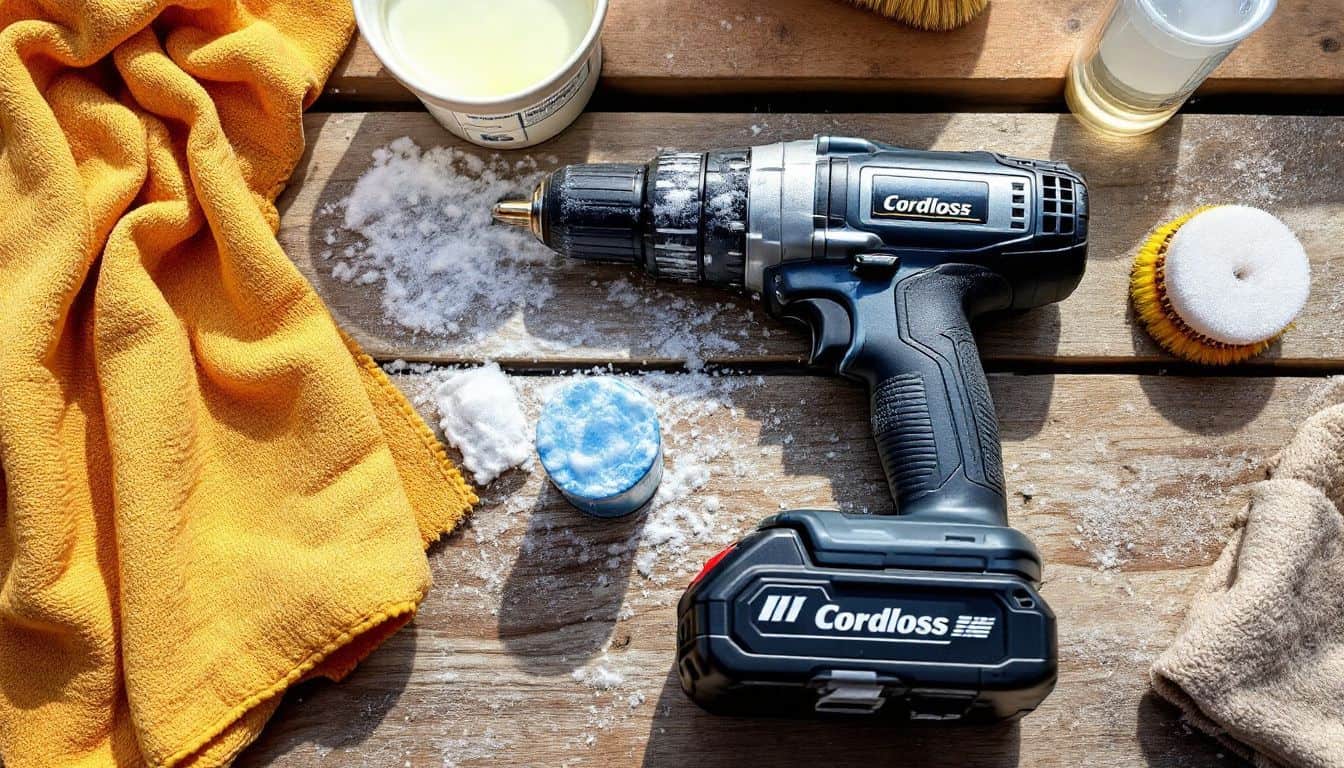
Start with a quick once-over. Grab a dry cloth and wipe off loose dust and grime from your tool. This step’s key – it preps the surface for a deeper clean. Don’t skip it! Next, mix up some soapy water or grab a degreaser.
Dip a rag in and give your tool a good rubdown. Focus on grimy spots, but don’t soak electrical parts. A light touch does the trick.
Unplug your tool first! Safety’s a must when cleaning power tools. For cordless ones, pop out the battery. Now you’re set to scrub without worry. Hit all the nooks and crannies – dirt loves to hide.
A soft brush can help loosen stubborn gunk. Just don’t go overboard – gentle pressure works best.
Clean Detailed Components

Time to tackle those tricky spots on your power tools. Let’s dive into cleaning the detailed components – it’s easier than you think!
- Grab your compressed air. Blast away loose dirt and debris from tight spaces.
- Mix hot water and Simple Green cleaner. Soak small parts for 5-7 minutes to loosen grime.
- Use a wire brush or steel wool. Scrub off stubborn dirt, but be gentle on delicate parts.
- Pay extra attention to drill bits and saw blades. These often collect the most gunk.
- Don’t forget about cordless tool batteries. Wipe down contacts with a dry cloth.
- Check for rust spots. A bit of light sanding can often take care of minor rust issues.
- Dry everything thoroughly. Moisture is the enemy of power tools.
- Apply a thin coat of oil to moving parts. This keeps things running smoothly.
- Clean your impact wrench sockets. These often get overlooked but need love too.
- Vacuum out any leftover debris. A clean tool is a happy tool!
Conduct Lubrication and Maintenance Checks

After cleaning the detailed components, it’s time to give your power tools some TLC. Proper lubrication and maintenance checks keep your tools running smoothly and extend their life. Here’s how to do it right:
- Grab the right oil: Use No. 20 SAE oil for most power tools. It’s like giving your tools a refreshing drink.
- Find the sweet spots: Look for oil ports or points marked on your tool. These are the thirsty parts begging for lubrication.
- Apply oil sparingly: A little goes a long way. Too much oil can attract dirt and gunk.
- Wipe down metal surfaces: Use a thin coat of paste wax or oil to prevent rust. It’s like sunscreen for your tools.
- Check moving parts: Make sure gears, bearings, and other moving bits aren’t worn out. Replace if needed.
- Inspect cords and batteries: Look for frays, cracks, or swelling. Safety first, folks!
- Clean air filters: For tools like lawnmowers, a clean air filter keeps the engine happy.
- Sharpen blades: Dull blades on hedge trimmers or saws are like trying to cut with a spoon. Keep ’em sharp!
- Tighten loose screws: Give your tool a once-over and snug up any loose parts.
- Test it out: After maintenance, run your tool briefly to ensure it’s purring like a kitten.
Cleaning Tips for Specific Power Tools
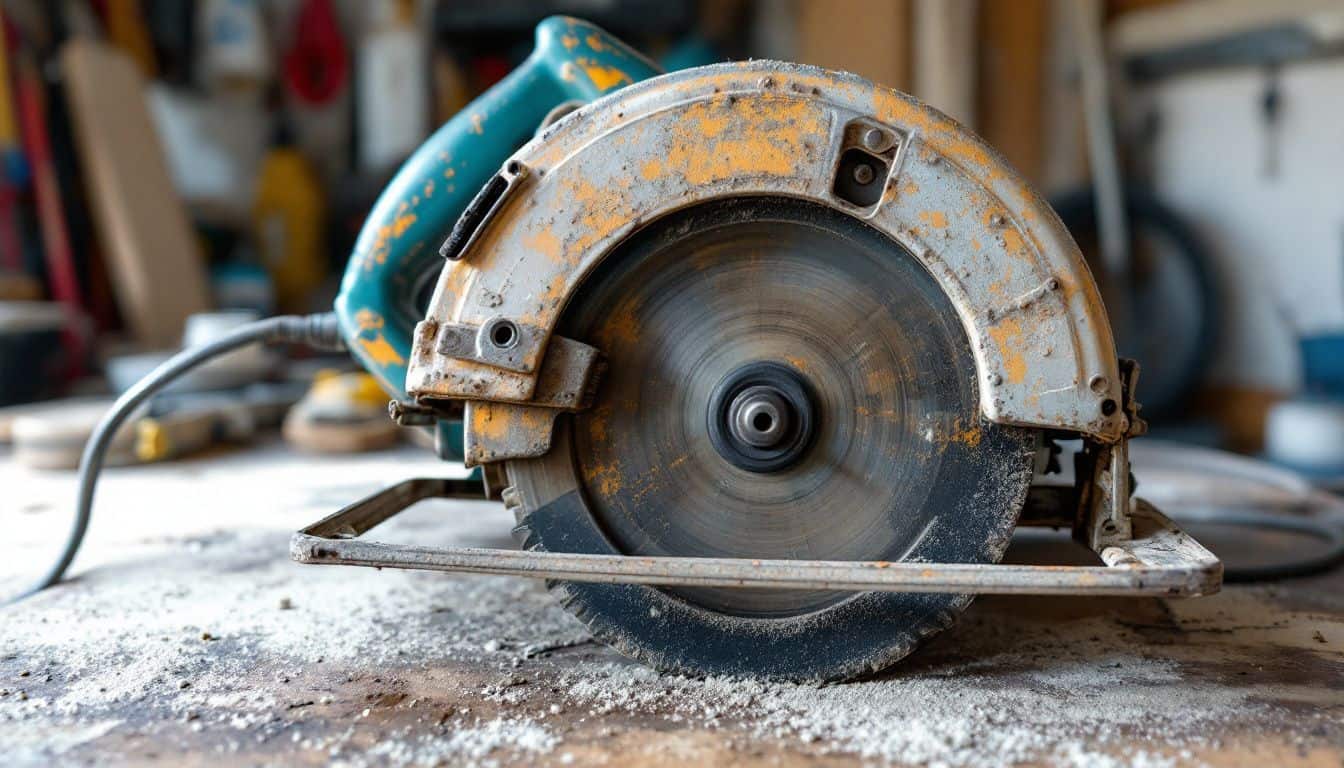
Got some special tools that need TLC? Let’s dive into the nitty-gritty of cleaning those bad boys… You’ll be amazed at how a little elbow grease can make your gear shine like new!
How to Clean Drill Bits and Saw Blades
Dirty drill bits and saw blades can slow you down and mess up your work. Let’s fix that with some easy cleaning tricks that’ll make your tools cut like new.
- Gather your gear: You’ll need a brass brush, soft cloth, toothbrush, and some dish soap. Don’t forget safety glasses and gloves!
- Soak the bits: Drop your drill bits in warm, soapy water for 15 minutes. This loosens gunk and makes cleaning easier.
- Scrub away: Use your brass brush to scrub each bit. Pay extra attention to the flutes and cutting edges.
- Rinse and dry: Give the bits a good rinse under running water. Dry them off with a clean cloth to prevent rust.
- Tackle saw blades: For these, start by wiping off dust with a damp cloth. Then, use a toothbrush to clean between the teeth.
- Deal with tough stuff: If there’s built-up pitch or resin, use a special blade cleaner. You can find these at most hardware stores.
- Clean the arbor hole: This is where the blade attaches to your saw. A cotton swab works great for getting in there.
- Don’t forget the gullets: These are the spaces between the teeth. Clean them out to keep your blade cutting smoothly.
- Dry and protect: After cleaning, dry your blade thoroughly. A light coat of WD-40 can help prevent rust.
- Store smart: Keep your cleaned bits and blades in a dry place. A toolbox with dividers works great for this.
How to Maintain Cordless Tools
Cordless tools need some TLC to keep them running smoothly. First, clean the battery contacts with a dry cloth or cotton swab. Dirt and grime can mess with the connection. Next, give the tool’s vents a good blow-out.
Use compressed air to get rid of dust and debris. This helps prevent overheating.
A clean tool is a happy tool.
Don’t forget about the chuck! For drills, open it up and brush out any metal shavings. A drop of oil on moving parts keeps things slick. Lastly, store your cordless tools in a dry place.
Moisture is their enemy. With these simple steps, your cordless buddies will be ready for action when you need them.
People Also Ask
What’s the best way to clean my power tools?
Start with vacuuming loose dirt. Then, use a mix of dishwashing soap and water. For tough grime, try lighter fluid. Don’t forget to dry thoroughly. Regular upkeep keeps your tools humming like new.
How often should I clean my power tools?
It depends on use. Heavy users should clean weekly. For occasional DIYers, monthly is fine. Keep an eye on your tools. When they look grimy, it’s time for a spa day. Clean tools are happy tools!
Can I use the same method to clean all my power tools?
Not quite. Different tools need different love. Screwdrivers and auger bits might need a good soak. DeWalt tools often have specific care instructions. When in doubt, check the manual or look up a YouTube video for your exact model.
Is it necessary to oil my power tools after cleaning?
You bet! Oiling is like feeding your tools a tasty snack. It keeps them running smooth and prevents rust. Just a drop or two on moving parts does the trick. Your tools will thank you with years of faithful service.
How can I track the performance of my cleaned power tools?
Get nerdy with it! Use Google Analytics to track your DIY project times. Compare your “before cleaning” and “after cleaning” stats. Share your results on social media platforms. You might even inspire others to give their tools some TLC!
References
https://www.goodhousekeeping.com/home-products/g579/best-multi-purpose-cleaners/
https://samyxcleaning.com/blog/choosing-protective-gear-cleaning/
https://tools.mighty-seven.com/clean-power-tools/ (2023-11-18)
https://simplegreen.com/cleaning-tips/diy/tools-power/
https://www.thekimsixfix.com/2016/10/how-to-clean-your-power-tools.html
https://home.howstuffworks.com/10-power-tools-that-need-maintenance.htm
https://www.grainger.com/know-how/equipment/kh-maintenance-tips-power-tools (2022-02-14)
https://www.thisoldhouse.com/tools/21015769/how-to-clean-saw-blades
https://toolguyd.com/clean-power-tools-discussion/ (2022-01-27)
https://www.garagejournal.com/forum/threads/cleaning-cordless-tools-and-comfort-grips.486675/ (2021-09-17)
