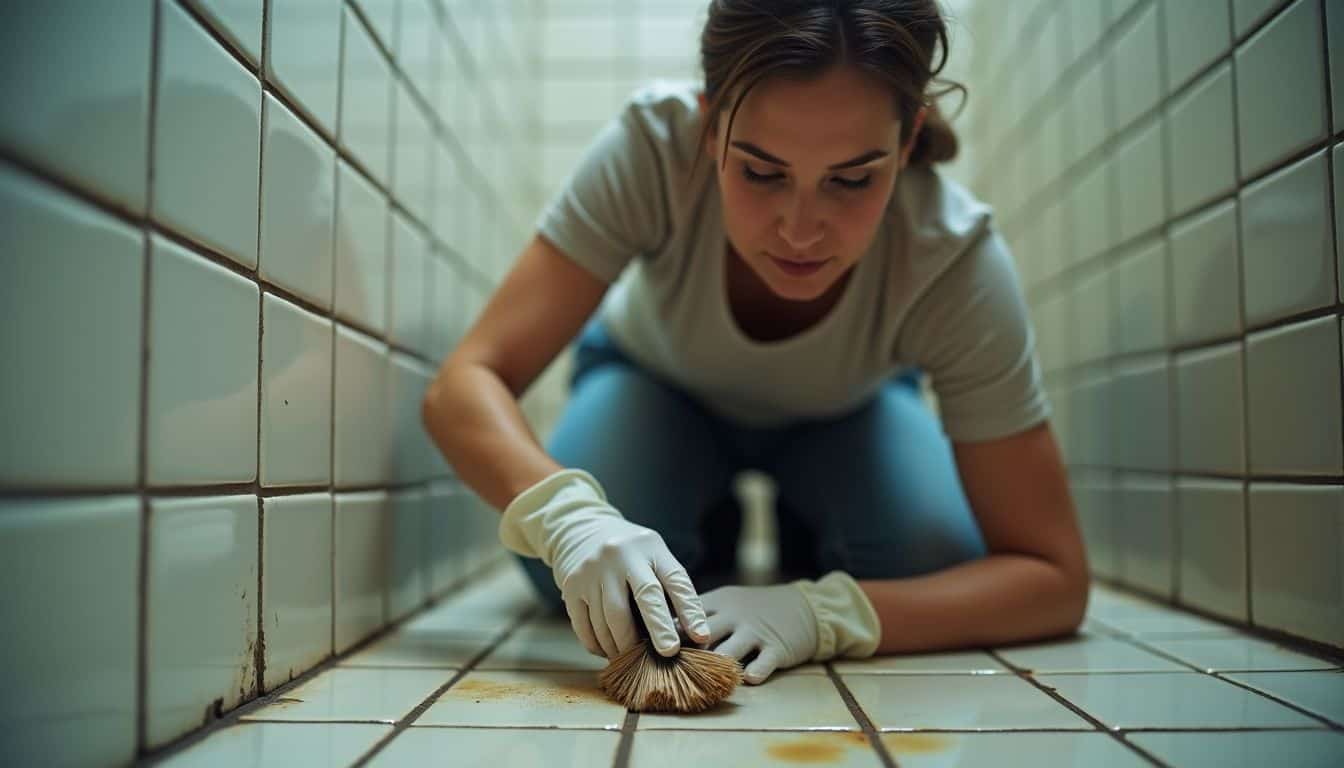
Dirty tile floors and grimy grout lines can make any room look old and worn out. Most homeowners spend over $1,500 on tile flooring, yet many don’t know how to clean tile floors the right way.
This guide breaks down four simple steps to get your floors sparkling clean, from basic mopping tricks to deep grout cleaning secrets. Ready to transform your dull tiles into showroom-worthy floors?
Key Takeaways
Daily sweeping or vacuuming with a soft brush attachment stops dirt from acting like sandpaper on tiles and prevents buildup in grout lines.
Mix mild dish soap with warm water for safe cleaning. Skip harsh chemicals and scouring powders that can damage tile surfaces and strip protective coatings.
Natural stone tiles need pH-neutral cleaners (pH level of 7) and must be sealed every 12–24 months to protect against stains and wear.
For deep grout cleaning, make a paste with baking soda and water. Spray vinegar on top to create a bubbling action that lifts dirt from grout pores.
Use a stiff-bristle brush for grout lines, not sponge mops. Sponge mops push dirty water into grout and make floors look worse.
Table of Contents
Preparing Your Tile Floors for Cleaning
A clean tile floor starts with proper prep work. Grab your vacuum or broom to sweep away loose dirt and grime, then pick the right tools like a microfiber mop or chamois mop for the job ahead.
Removing Dirt and Debris

Keeping your floors clean starts with daily dirt removal. Grab your vacuum cleaner or broom to sweep away loose dirt, dust, and grit that can scratch your tiles. These tiny particles act like sandpaper on your floor’s surface.
Your vacuum should have a soft brush attachment to protect the tile surface while cleaning high-traffic areas.
Regular floor maintenance saves you from tough scrubbing later. Use a microfiber mop or string mop to pick up what sweeping leaves behind. Daily cleaning stops dirt from building up in grout lines and corners.
Dirt is just misplaced matter waiting to be swept away. – Unknown
For natural slate tiles and ceramic tile floors, this simple step makes a big difference in how they look. The process takes five minutes but keeps your floors looking fresh all week.
Selecting Appropriate Cleaning Tools
The right tools make tile cleaning quick and easy. Start with a good vacuum or broom to sweep up loose dirt and debris. Skip the sponge mops – they push dirty water into grout lines.
Instead, grab a rag mop or chamois-style mop that will lift grime off your floors. A nylon brush works great for scrubbing stubborn spots without scratching the tile surface.
Your cleaning arsenal should include mild detergent, clean water, and a bucket for mixing solutions. Harsh chemicals can damage tile finishes, so stick to gentle cleaners. A microfiber cloth helps dry floors without leaving streaks or lint behind.
For tough grout stains, keep a small brush handy – the bristles reach deep into grout lines where regular mops can’t go. Now let’s explore the best techniques for cleaning ceramic and porcelain tile floors.
Techniques for Cleaning Ceramic and Porcelain Tile Floors
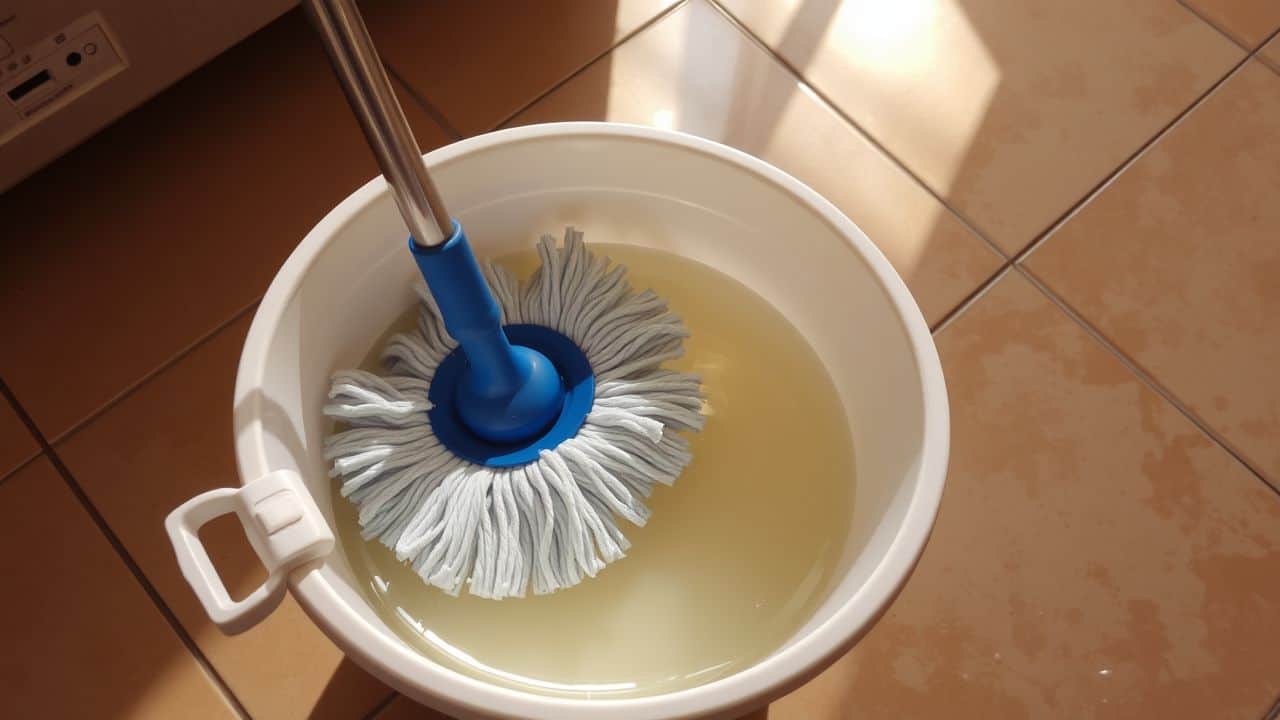
Ceramic and porcelain tiles need specific care to keep their shine and prevent damage. Mix dish soap with warm water for a safe cleaning solution that won’t harm your glazed tiles.
Choosing Gentle Cleaners for Tile
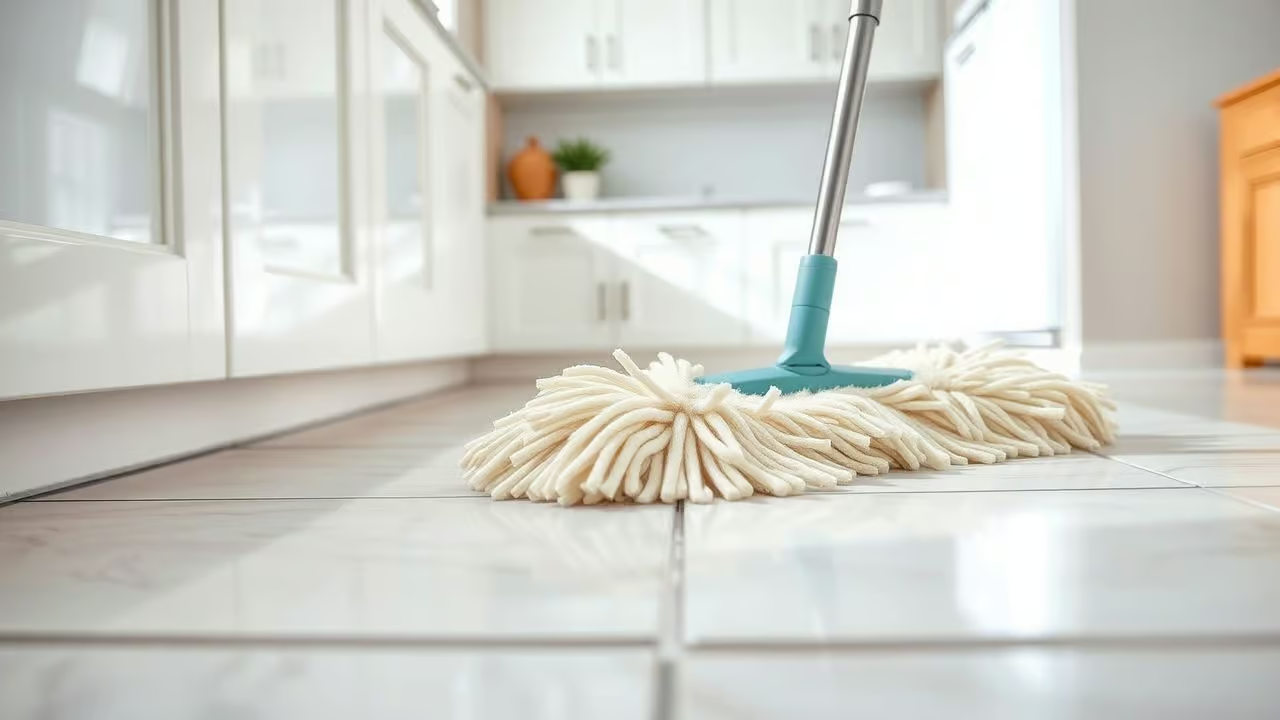
Picking the right cleaner for your tiles makes a huge difference. I learned this after ruining my pencil tile with harsh chemicals last year.
Mix mild dish soap with hot water for the best results on ceramic and porcelain tiles. This simple solution removes dirt without leaving scratches or damage.
Your tiles need non-abrasive cleaners to stay beautiful. Hot water and mild detergent work great on most floor tiles. Stay away from scouring powders or rough cleaning tools. I use a soft chamois mop instead of a sponge mop to spread the cleaning mix.
The gentlest cleaners often work the best on tile surfaces. – Professional Tile Installer
This method keeps my tiles looking fresh without any hazy film buildup.
Avoiding Harsh Chemicals on Tile
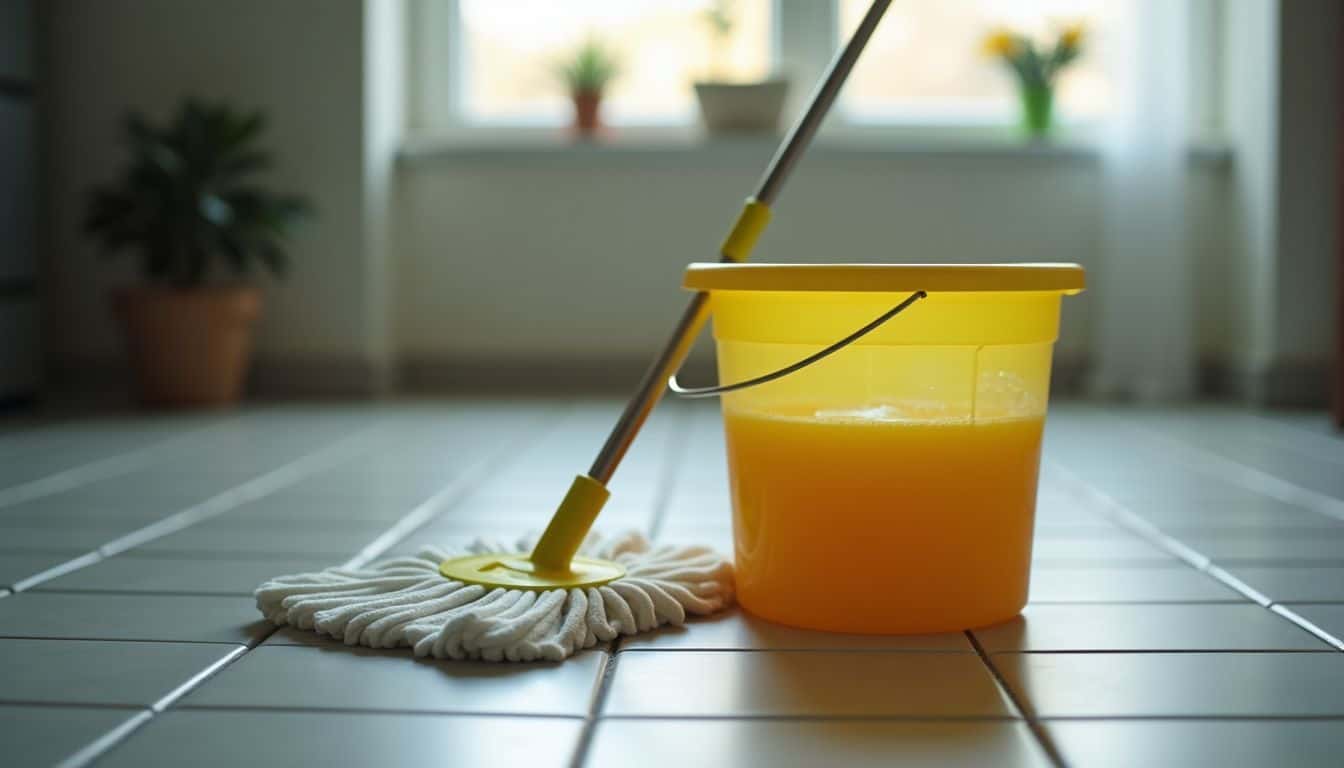
Harsh chemicals spell trouble for your tile floors. Unlike concrete floors, tiles need gentle care to stay beautiful.
Strong cleaners can eat away at your grout and strip the protective coating off your tiles. Stick to mild detergents mixed with warm water for ceramic tiles – they’ll do the job just fine.
Your best bet is to grab natural cleaners from your kitchen. Mix baking soda and white vinegar to create a powerful yet safe cleaning solution. This combo tackles tough stains without damaging your floors.
Porcelain tiles can handle slightly stronger solutions, but still skip the harsh stuff. Natural cleaners keep your tiles looking fresh while protecting their surface for years to come.
Caring for Stone Tile Floors
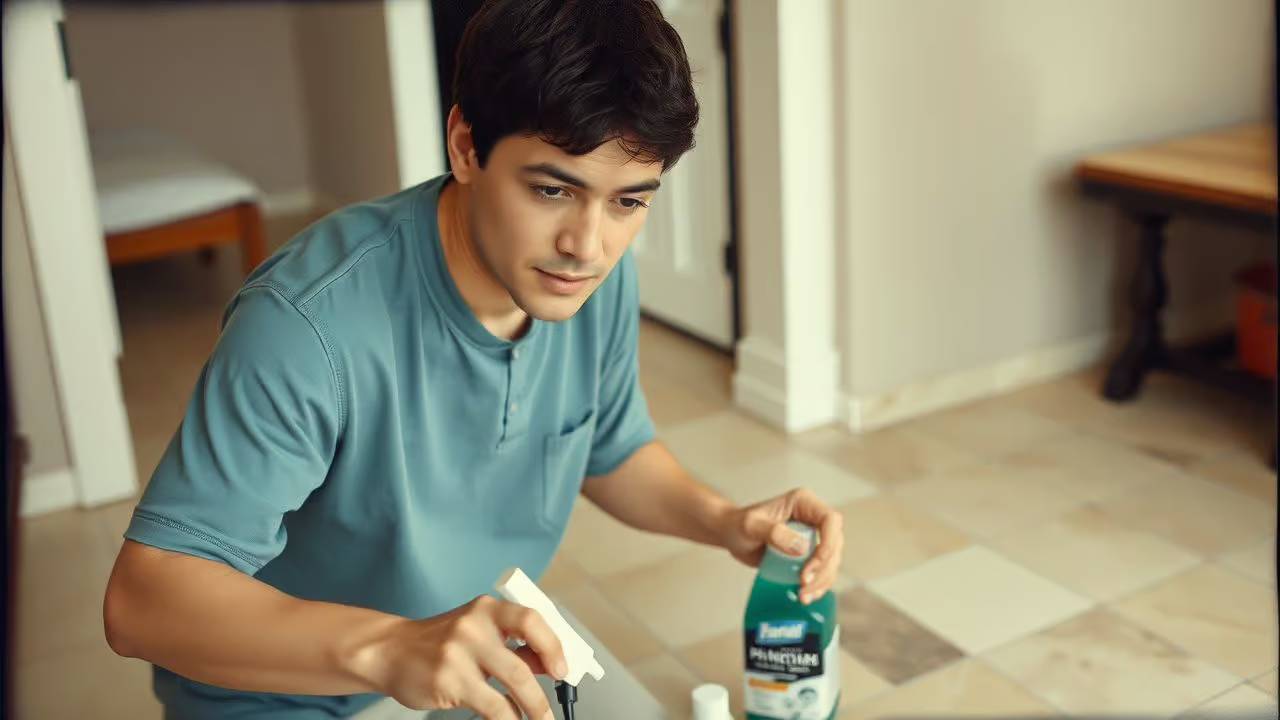
Stone tile floors need special care to keep their stunning looks and durability intact. Natural stone tiles, like marble, demand pH-neutral cleaners and periodic sealing to protect against stains and daily wear.
Selecting pH-Neutral Cleaners
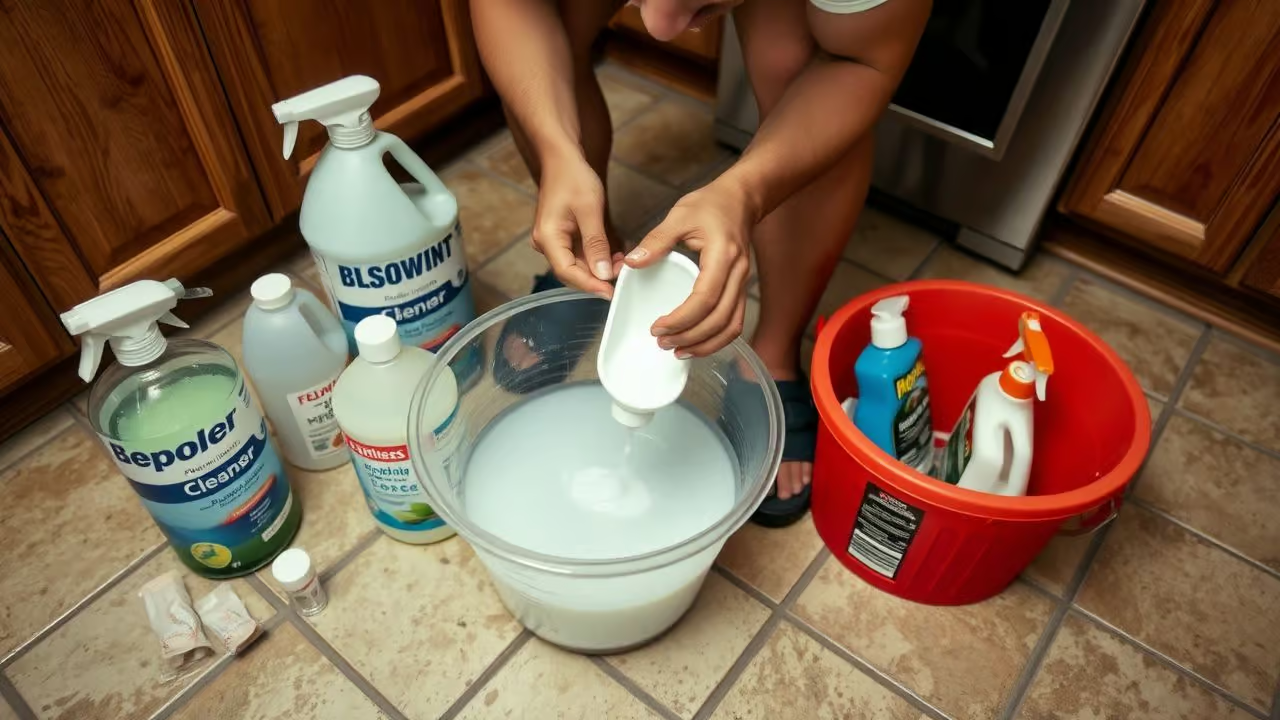
Your tile floors need pH-neutral cleaners to stay strong and beautiful. These gentle cleaners have a pH level of 7, making them perfect for natural stone tiles and grout. Dish soap mixed with warm water creates an excellent pH-neutral solution that won’t harm your floors.
OdoBan No Rinse floor cleaner offers another budget-friendly option for regular maintenance.
Strong acids and harsh chemicals spell trouble for your tile floors. They eat away at the surface and leave ugly marks that won’t go away. A simple mix of mild cleaners keeps your floors sparkling without damaging them.
Your floors will thank you by staying bright and clean for years to come.
Applying Protective Sealant to Stone Tiles
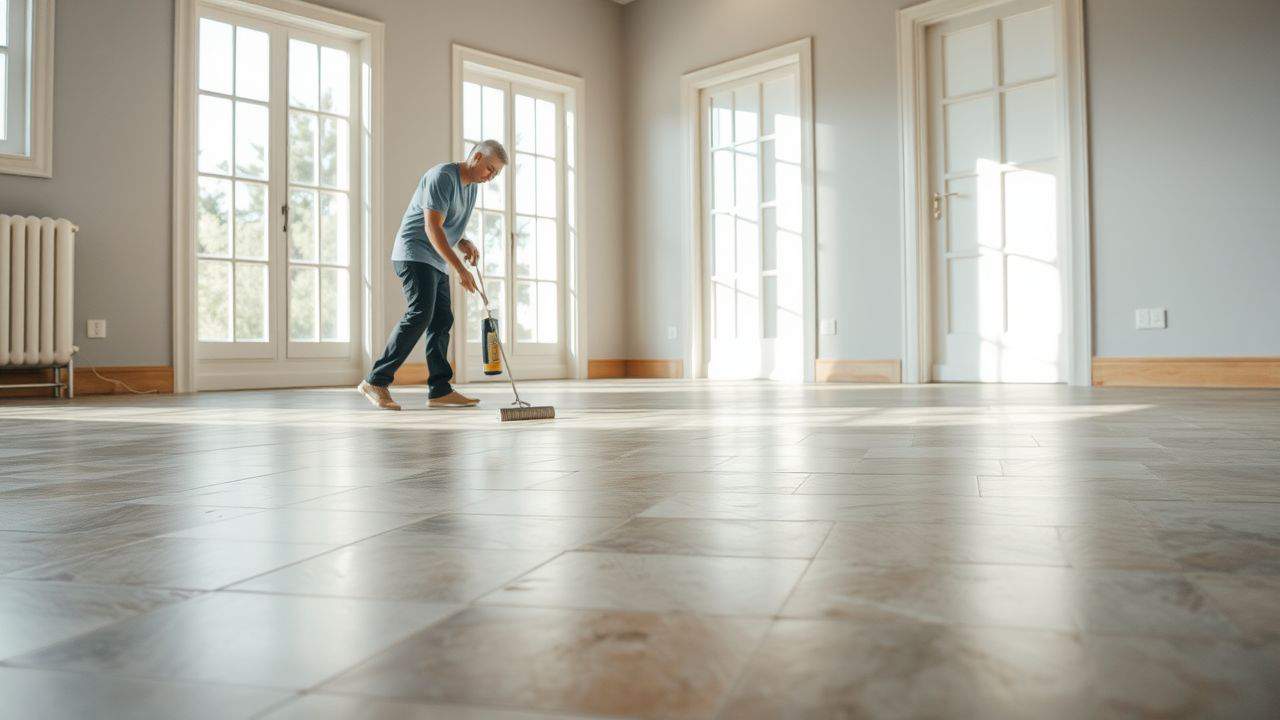
Protecting stone tiles starts with the right sealant. Stone tiles need specific sealants based on their type – either penetrating or topical formulas work best. A proper seal blocks spills, stains, and daily wear from damaging your floors.
Most pros suggest applying sealant right after installing new tiles for maximum protection.
Smart maintenance keeps sealed floors looking fresh. Stone tiles need pH-neutral cleaners to stay in top shape. Check the sealant every 12–24 months for signs of wear. Scrub the tiles gently with a soft brush to remove dirt before adding new sealant.
This simple step helps the sealant bond better with the stone surface and last longer.
Effective Methods to Clean Tile Grout
Dirty grout lines can make even the cleanest tiles look awful. A good scrub with the right tools will bring back that fresh, clean look to your bathroom or kitchen floors.
Scrubbing Grout with a Brush
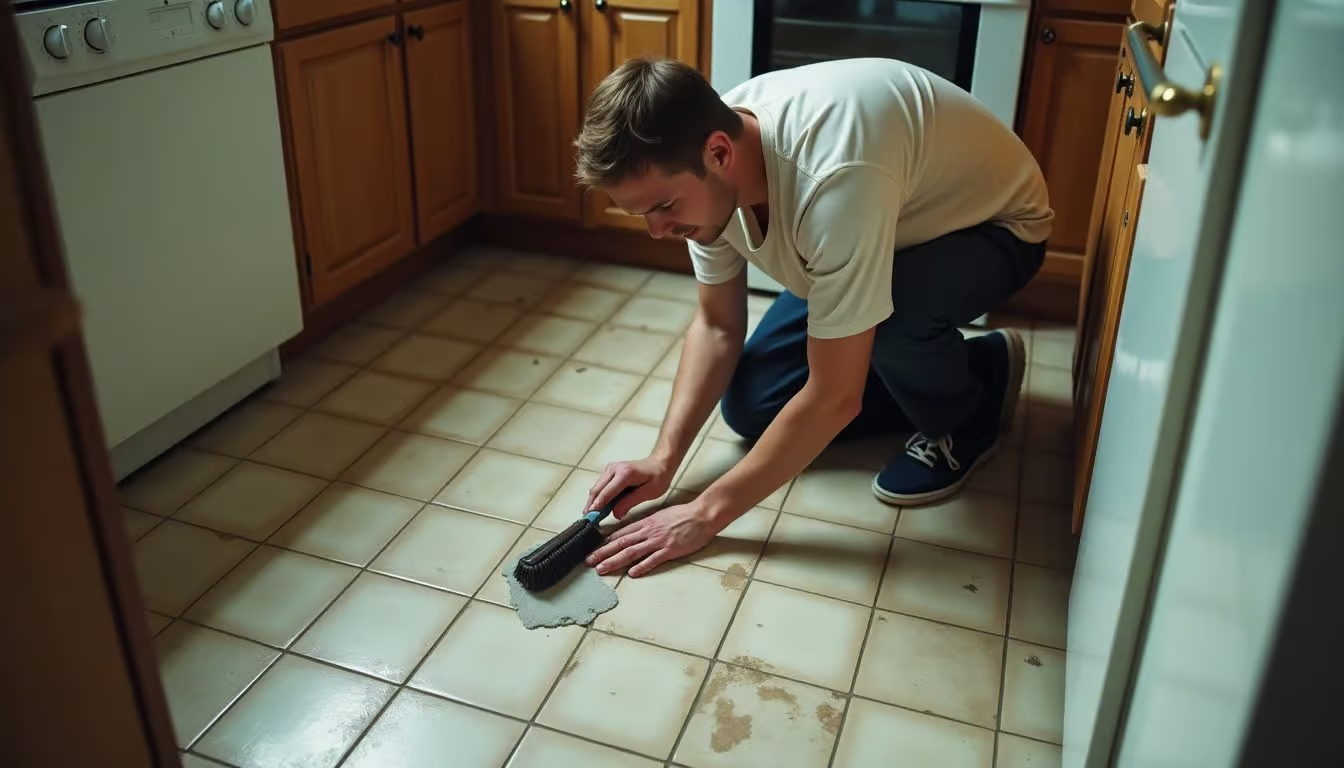
Grout lines need serious muscle power to get clean. I learned this the hard way after trying wimpy sponges on my kitchen floor. A stiff-bristle brush stands as your best friend for this job.
The brush’s tough bristles dig deep into the grout’s surface, lifting out dirt and grime that’s been stuck there for months. You’ll want to grab a special grout scrubbing tool too – it fits right into those narrow lines between tiles.
My go-to method involves making a thick paste with baking soda and water. This natural cleaner works great for tackling tough stains without damaging your rich bathroom inspiration tiles.
The scrubbing part takes some elbow grease, but the results last up to six months if you seal the grout afterward. Pro tip: work in small sections, moving the brush in circular motions.
Next up, let’s explore how vinegar and baking soda team up to blast away stubborn grout stains.
Using Baking Soda and Vinegar for Grout
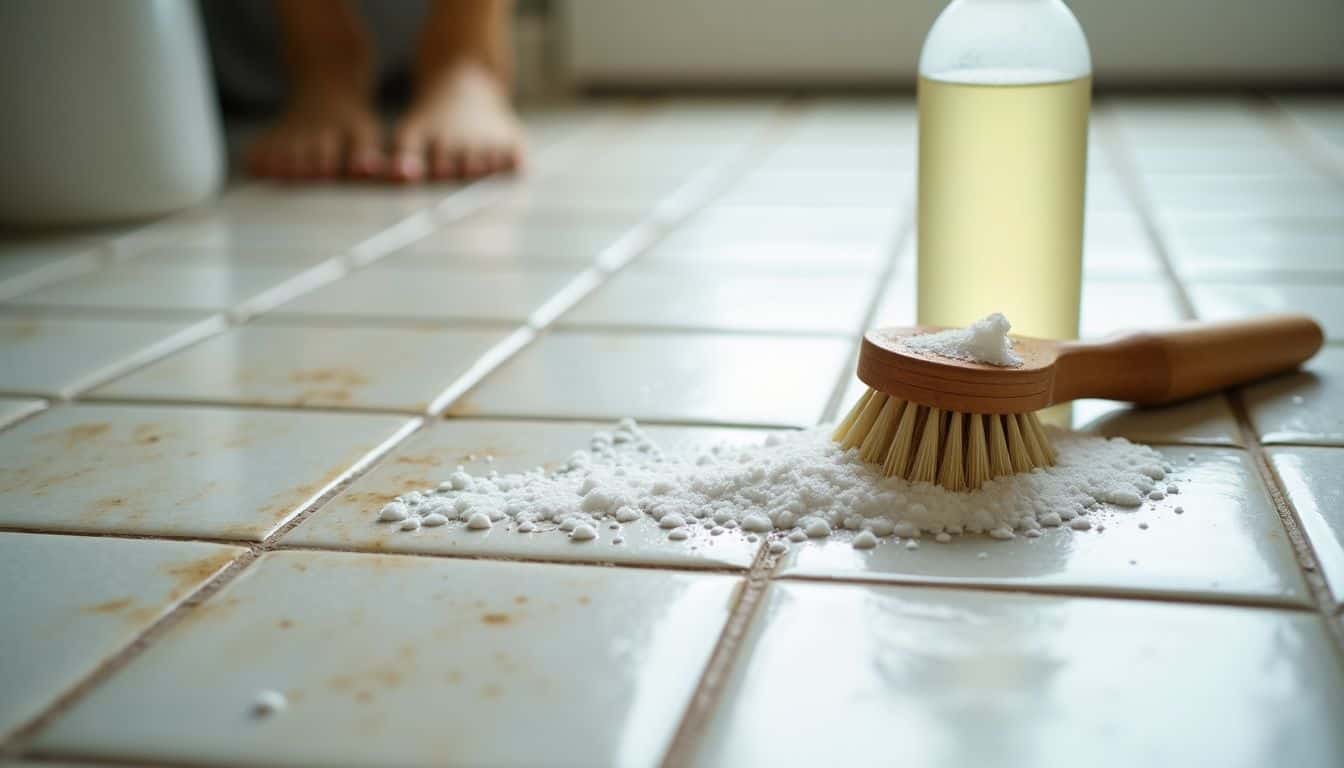
Baking soda and vinegar create a powerful cleaning duo for dirty grout lines. Mix baking soda with water to form a thick paste. Spread this paste along the grout lines with a small brush.
Next, spray white vinegar directly onto the paste. The mixture will bubble up and lift deep-set dirt from the grout pores.
A stronger cleaning solution tackles tough stains that won’t budge. Simply combine equal parts baking soda, water, and vinegar in a bowl. Apply this mixture only to sealed grout surfaces to protect your flooring investment.
Let the solution sit for 10 minutes before scrubbing with a brush. This DIY grout cleaner works great on kitchen countertops and bathroom tile floors where hygiene matters most.
People Also Ask
How often should I clean my tile floors?
Your cleaning frequency depends on foot traffic. For busy areas, vacuum or use a floor mop twice-weekly. For less-used spaces, once a week works fine. Marble tile needs extra care to avoid scratches.
What’s the best way to remove tough grease stains from tiles?
Mix hydrogen peroxide with a gentle cleanser. Apply it to grease stains and let it sit for 10 minutes. Then, scrub with soft brushes and wipe clean. This works great on both tile and resilient flooring.
Should I use a steam mop on my tile floors?
A steam mop works well on most tile and linoleum floors. But be careful with marble tile – steam can damage it. For best results, check what your floor washer manual says about your specific floorings.
What’s the secret to keeping grout clean?
The pros at HGTV.com say regular maintenance is key. Use a mix of warm water and cleanser weekly. For deep cleaning, many franchisees recommend hydrogen peroxide with baking soda paste.
Is buffing floors necessary after cleaning?
Buffing floors helps restore shine, especially on marble tile. But don’t do it too often – once a month is plenty. Use soft brushes or a clean, dry cloth for buffing to avoid scratches.
References
https://www.bhg.com/homekeeping/house-cleaning/tips/how-to-clean-tile-floors/ (2024-09-26)
https://www.hgtv.com/lifestyle/clean-and-organize/how-to-clean-ceramic-tile-floors
https://snyderscarpetcare.com/4-simple-steps-for-cleaning-tiles-on-your-floor/
https://www.nielsenbrosflooring.com/blog/articles/the-ultimate-guide-to-cleaning-ceramic-tile-floors
https://www.microfiberwholesale.com/blogs/clean-like-a-pro/how-to-clean-stone-floors
https://excelcarpetservices.com/clean-your-tile-and-grout-like-a-pro/ (2024-11-22)
https://dukesfloors.com/tile-cleaning-guide/ (2024-10-23)
https://hammondknoll.com/article/the-dos-and-donts-of-tile-grout-cleaning/
https://thesimpleparent.com/how-to-clean-grout-with-vinegar-and-baking-soda/
