Are you itching to create something with your hands? Leather work might be your next big hobby. It’s a craft that’s been around for thousands of years. This guide will show you how to get started in leather work with nine easy steps.
Ready to make your first leather project?
Key Takeaways
Leather craft blends skill and creativity, letting you make useful items like wallets and belts from animal hides.
Essential tools include sharp knives, needles, thread, burnishers, and edge bevelers. Vegetable-tanned leather is best for beginners.
Start with simple projects like key fobs or card holders to practice basic cutting and stitching techniques.
Take classes or watch online tutorials to improve your skills. Join online communities to get tips and feedback from other crafters.
Set up a dedicated workspace with good lighting, a sturdy table, and organized storage for your tools and materials.
Table of Contents
Basics of Leather Craft

Leather craft opens up a world of creative possibilities. You’ll work with raw materials to shape beautiful, lasting items. This art form blends skill, patience, and a love for natural textures.
What Leatherworking Involves
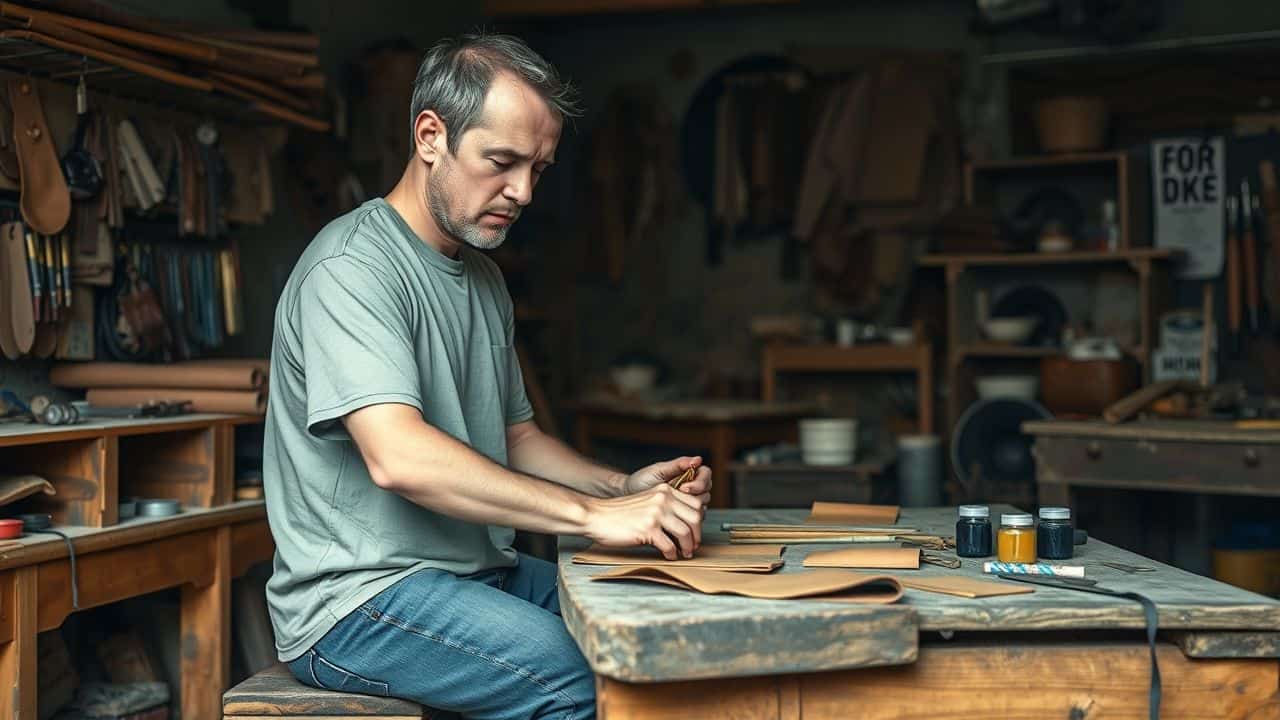
Leatherworking is a craft that turns animal hides into useful and beautiful items. It involves shaping, cutting, and joining leather to make things like wallets, belts, and bags. Crafters use special tools to mold, dye, carve, and stamp the leather.
They also sew pieces together with strong thread.
The art of working with leather is both fun and rewarding. You can start with simple leather working kits to learn basic skills.
As you grow, you’ll master techniques like saddle stitching and edge finishing. These skills let you create custom goods that last for years. Next, let’s look at why leather craft is so appealing to many people.
The Charm of Crafting with Leather
Leather craft has a special pull. It lets you make stuff with your own hands. You can shape raw hide into cool wallets, belts, or even art. The feel of smooth leather and the smell of tanned hides make it a treat for the senses.
Guys often dig this hobby because it’s hands-on and practical.
There’s nothing like the pride of wearing something you made yourself, says Joe, a leather crafter from Texas.
Making leather goods is fun and rewarding. You start with a flat piece and end up with a useful item. It’s great to see your skills grow as you learn new tricks. Plus, you can fix your own gear or make gifts for friends.
Many men find it a great way to unwind after a long day at work. The craft lets you express yourself while making stuff that lasts.
Must-Have Tools for Leather Craft
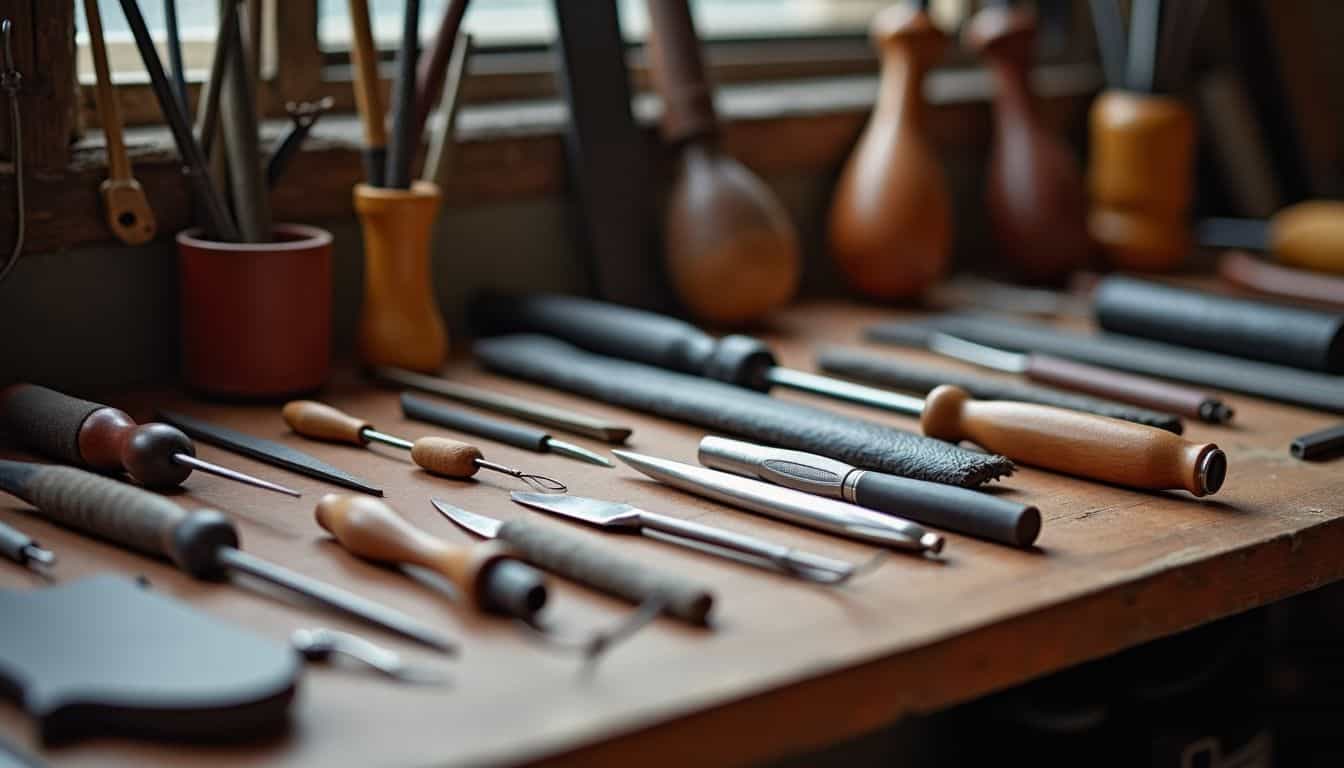
You’ll need some key tools to start your leather journey. A good set of knives, needles, and burnishers will set you up for success.
Cutting Essentials: Knives and Scissors
Cutting leather needs the right tools. Sharp blades make clean cuts and save time. Rotary cutters slice through thick hides like butter. Craft knives work great for detail work. Box cutters handle heavy-duty jobs.
Good leather scissors snip edges smooth. Snips trim small areas with ease.
I’ve learned the hard way: dull tools ruin projects. Keep your blades sharp and clean. Oil moving parts often. Store tools safely when not in use. Wear cut-resistant gloves to protect your hands.
With practice, you’ll cut leather like a pro. Start small and work up to bigger projects. Soon you’ll be crafting wallets, belts, and more.
Stitching Essentials: Needles and Thread
Needles and thread are essential for leather stitching. Harness needles and waxed thread are necessary for saddle stitching, the strongest method to join leather. John James needles and Tiger thread are effective options.
The wax helps the thread move smoothly through leather and maintains tight stitches.
Good stitching is the mark of a true craftsman.
Selecting the appropriate thread thickness is important. For most projects, 0.8mm thread is suitable. It’s strong enough for wallets and belts, but not too thick for finer work. It’s crucial to match your needle size to your thread.
A needle that’s too big will create unsightly holes in your leather.
Finishing Touches: Burnishers and Edge Bevelers
Burnishers and edge bevelers are key tools for pro-level leather work. These tools give your projects a clean, polished look. Burnishers smooth out rough edges, making them sleek and shiny.
Edge bevelers cut away extra leather, creating neat corners. Using these tools takes practice, but the results are worth it.
To get the best finish, follow a step-by-step process. Start by sanding the edges with fine-grit sandpaper. Next, use a wood slicker and gum tragacanth to burnish. This combo gives the smoothest results.
For extra shine, rub some beeswax on the edges. Your leather will look top-notch in no time. Now, let’s talk about picking your first leather project.
Choosing the Right Leather
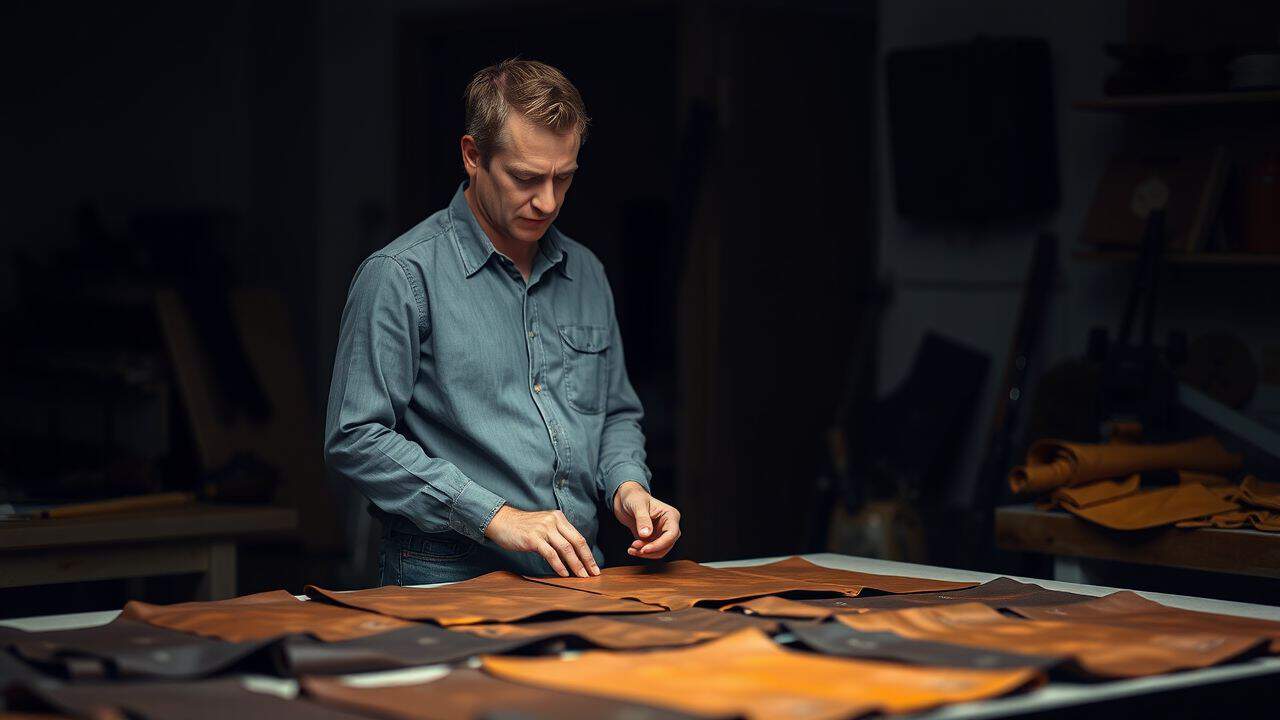
Picking the right leather can make or break your project. You’ll find different types of leather, each with its own pros and cons.
Vegetable-Tanned Leather
Vegetable-tanned leather stands out as the top choice for leather crafters. This type of leather uses natural tannins from plants to treat the hide. It’s known for its high quality and ability to age beautifully.
Over time, it develops a rich patina that gives each piece a one-of-a-kind look. Leather workers love it because they can tool and shape it easily.
For guys without any hobbies, working with veg-tanned leather can be a great start. It’s tough but flexible, perfect for making wallets, belts, or even knife sheaths.
The natural smell and feel of the leather make it a joy to work with. Plus, you can dye it any color you want, letting you create truly personal items.
Chrome-Tanned Leather
Chrome-tanned leather is a popular choice for many leather projects. It’s made using chemicals, which speeds up the tanning process. This method is cheaper than other types of tanning.
The result is a thinner, more flexible leather. Crafters often pick chrome-tanned leather for its wide range of colors and soft feel.
This leather type has its pros and cons. It’s great for clothing and accessories due to its flexibility. But it’s not as durable as other leathers. The chemical process also makes it less eco-friendly.
Still, many men choose chrome-tanned leather for its affordability and variety of uses in leathercrafting.
Exotic Leather Varieties
Exotic leather brings a wild flair to your projects. These rare hides come from animals like gators, snakes, and ostriches. Each type has its own look and feel. Croc skin might have big scales, while python leather shows off tiny ones.
Ostrich leather sports little bumps from feather follicles. These skins are tough and last a long time.
I once worked with a piece of lizard leather. Its tiny scales felt smooth under my fingers. The color shifted as I moved it in the light. It was pricey, but worth it for a special wallet.
If you use exotic leather, make sure it’s from good sources. Some places raise these animals just for their skins. This helps protect wild populations. Always check where your leather comes from before buying.
Core Techniques in Leather Crafting
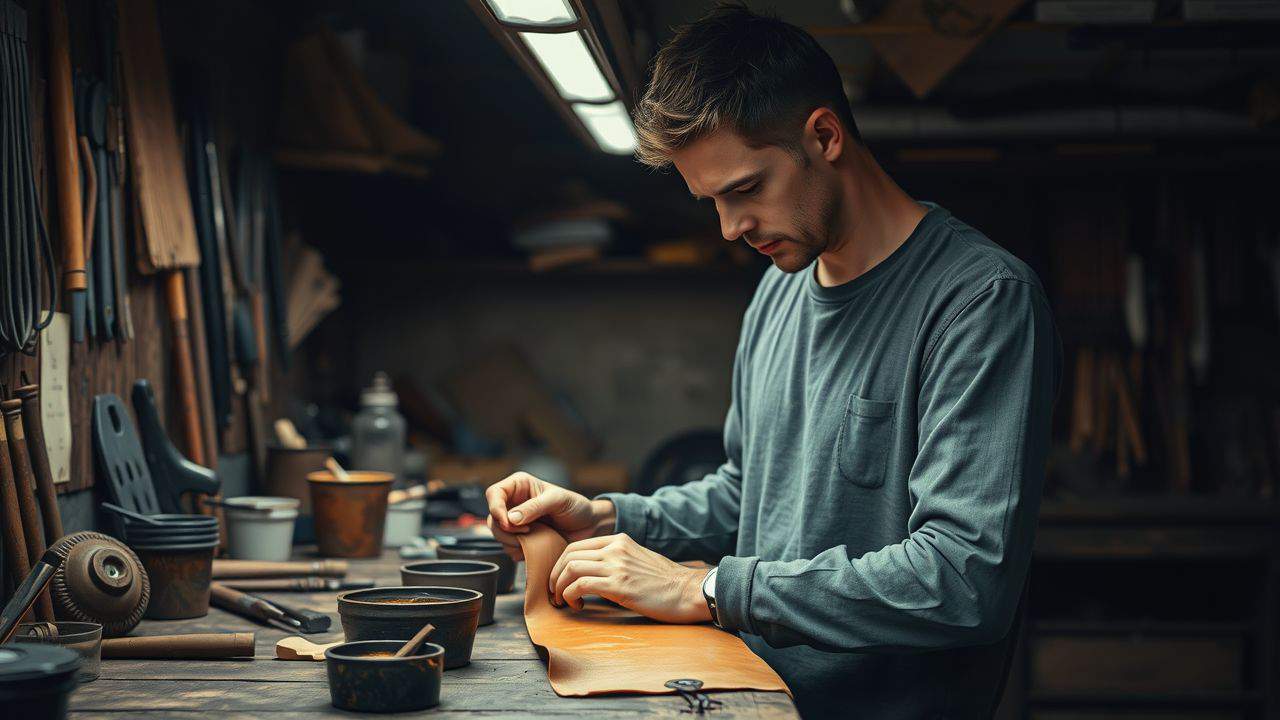
Mastering leather crafting means nailing the basics: cutting, stitching, and finishing. Want to learn more about these key skills? Keep reading!
Cutting and Preparing Leather
Cutting and preparing leather is a crucial step in leatherworking. Here are the key steps to master this skill:
- Inspect your leather: Check for flaws or weak spots before you start.
- Measure accurately: Use a ruler to mark your cuts precisely.
- Select the appropriate tool: Use scissors for thin leather, a utility knife for thicker pieces.
- Moisten the leather: A slightly wet surface makes cutting easier.
- Utilize a cutting mat: Protect your work surface and maintain your blade’s sharpness.
- Execute smooth, steady cuts: Avoid rushing or sawing back and forth.
- Refine edges: Trim any rough spots with a sharp blade.
- Skive if necessary: Thin out edges for easier folding or stitching.
- Prepare for dyeing: Sand the surface lightly for better color absorption.
- Condition the leather: Apply a leather conditioner to maintain its suppleness.
Stitching Methods, Including Saddle Stitching
Now that you’ve cut and prepped your leather, it’s time to stitch it together. Saddle stitching is the top choice for hand-sewing leather projects. Here are some key stitching methods:
- Saddle Stitch: This method locks each stitch in place. If one thread breaks, your work won’t unravel. To start:
- Measure your thread length (about 3 times the seam length)
- Thread your needle and tie a knot
- Punch holes in your leather pieces
- Push the needle through both layers
- Pull the thread tight and repeat
- Running Stitch: A simple, quick method for non-stress areas:
- Thread your needle as before
- Push it up and down through the leather
- Keep stitches even for a clean look
- Cross Stitch: Adds a decorative touch to your work:
- Make diagonal stitches across your seam
- Cross back over each stitch for an “X” pattern
- Backstitch: Offers strength similar to machine stitching:
- Start with a running stitch
- Go back through the previous stitch’s exit hole
- Come up a stitch length ahead and repeat
- Box Stitch: Great for reinforcing stress points:
- Stitch a square or rectangle shape
- Add diagonal stitches from corner to corner
Practice improves your skills. Your first attempts might not be perfect. With time, you’ll develop a steady hand and create strong, good-looking seams.
Dyeing and Finishing Techniques
Leather dyeing and finishing bring your creations to life. These steps add color and protect your work.
- Choose your dye: Pick from spirit-based, acetone-based, or water-based dyes. Each type works best on different leathers.
- Prep the leather: Clean the surface with a damp cloth. Let it dry fully before dyeing.
- Apply the dye: Use a sponge or brush to spread the dye evenly. Work in small sections for best results.
- Let it dry: Allow the dye to soak in and dry completely. This may take several hours.
- Buff the surface: Use a soft cloth to rub the leather. This helps the dye set and gives a nice shine.
- Seal the dye: Apply a leather finish to lock in the color. This also adds water resistance.
- Edge finishing: Burnish the edges with a wood slicker. This smooths and seals the leather edges.
- Final touches: Use shoe polish or wax for extra shine and protection.
Next, we’ll explore how to pick your first leather project.
Picking Your First Leather Project
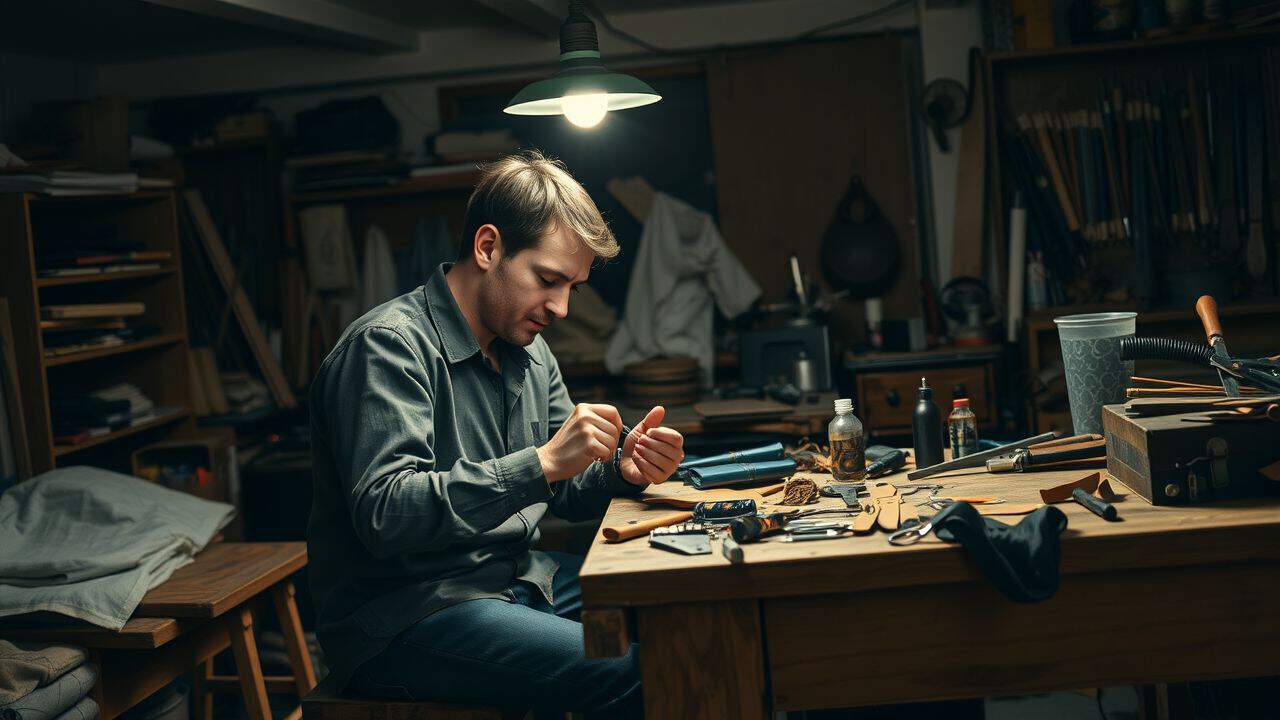
Ready to start your leather journey? Pick a simple project like a key fob or card holder. These small items let you practice basic skills without getting overwhelmed.
Beginner Projects in Leather Crafting
Leather crafting offers a world of creative possibilities. Let’s explore some beginner-friendly projects to kickstart your leatherworking journey.
- Wallets: A classic starter project. Cut leather pieces, stitch them together, and add pockets for cards and cash. Use veg-tanned leather for best results.
- Card holders: Simpler than wallets, these need less material. Practice cutting straight lines and saddle stitching with this project.
- Watch straps: Customize your timepiece with a handmade strap. Learn to punch holes and attach buckles.
- Journal covers: Wrap your favorite notebook in leather. This project teaches you to measure and fit leather to another object.
- Bracelets: Start small with a simple band. Try different closures like snaps or buckles.
- Sunglasses cases: Protect your shades in style. This project introduces you to forming leather into a 3D shape.
- Belts: A practical item you’ll use often. Learn to cut long strips and attach hardware.
- Dog collars: Make a gift for your furry friend. Practice working with rivets and D-rings.
These projects use basic tools like knives, glue, needles, thread, and diamond chisels. They’ll help you master key skills such as cutting, stitching, and edge finishing. As you work, pay attention to leather factors like tannage, weight, and temper.
Sources for Leatherworking Patterns
Leatherworking patterns are your roadmap to success. You’ll find tons of free designs online. Sites like Tandy Leather offer both free and paid patterns. I’ve used their wallet pattern, and it turned out great.
For more options, check out Weaver Leather Supply. They have free guides that helped me learn new skills. Don’t forget to look at craft blogs and YouTube videos too. Many crafters share their own patterns for free.
Local leather shops often stock pattern books. These books are gold mines for project ideas. I once found a book with over 50 belt designs at my nearby shop. It sparked my creativity and led to some cool custom belts.
If you’re stuck, ask other leather workers. Most are happy to share their favorite pattern sources. The leather community is friendly and always ready to help newbies.
Finding Quality Leather Supplies
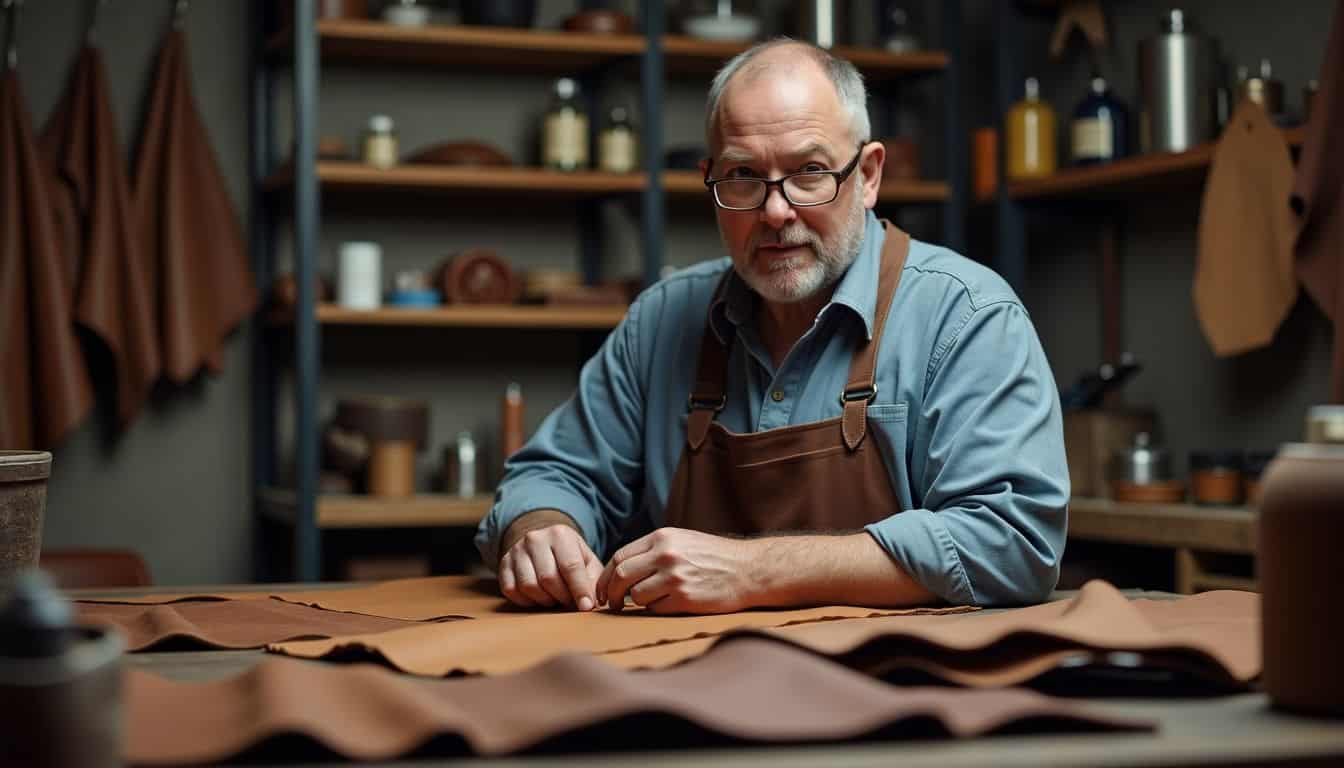
Finding good leather can make or break your project. You’ll need to know where to look for top-notch hides and tools. Local shops and online markets offer a wide range of options for leather crafters.
Online Leather Markets
Online leather markets offer a wide range of options for leather crafters. Weaver Leather Supply stands out as a top choice. They stock leather hides, tools, and supplies for all your projects.
But buying leather online can be tricky. It’s smart to pick sellers that let you try samples first. Free returns are also a big plus. This way, you can touch and feel the leather before committing to a big purchase.
For beginners, the Gold Bark Box is a great find. It’s packed with materials, templates, and guides to get you started. You’ll also get basic tools in the box. This kit takes the guesswork out of buying supplies one by one.
It’s perfect for guys who want to jump into leatherwork without the hassle of hunting down each item separately.
Developing Leatherworking Skills
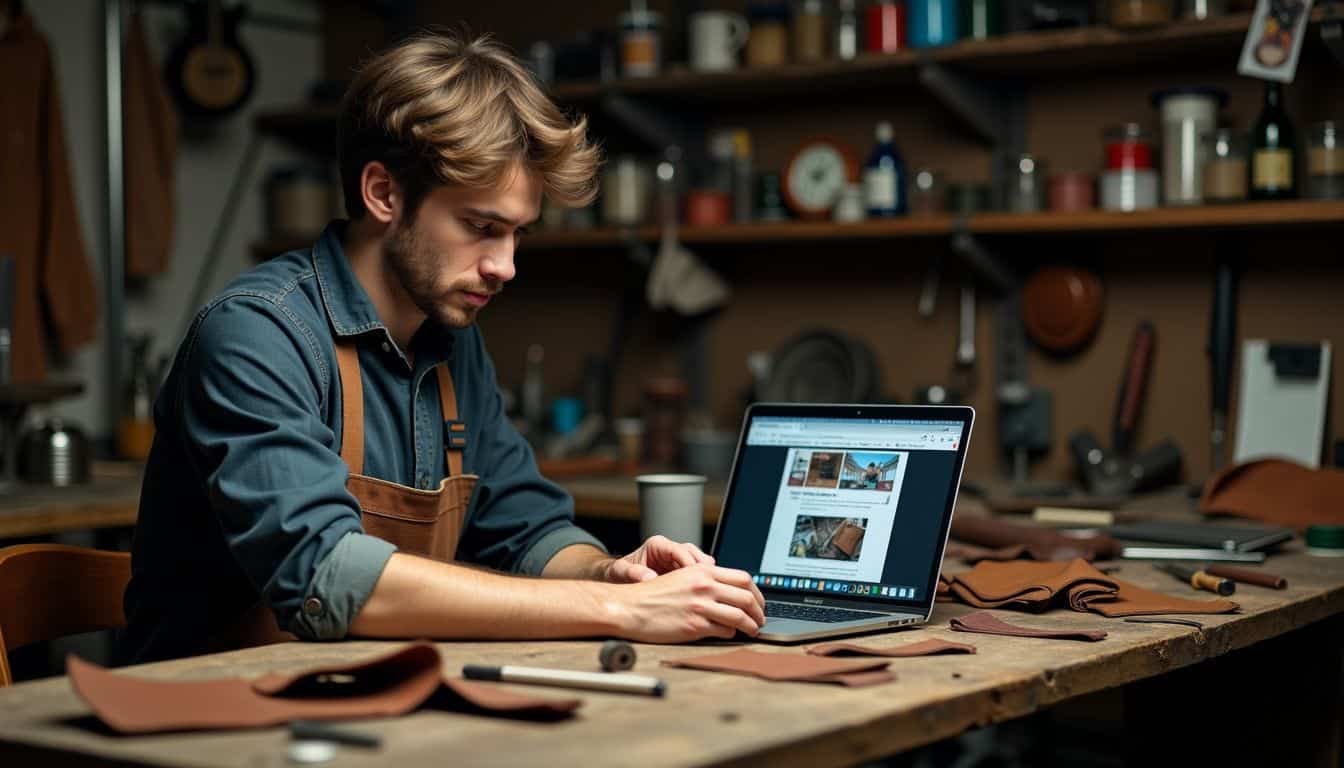
Looking to improve your leather working abilities? Consider joining a local class or exploring online tutorials. You’ll discover numerous techniques and advice from professionals and other enthusiasts in the craft community.
Joining Leatherworking Classes
Leatherworking classes offer a hands-on way to learn this craft. The Crucible in Oakland, CA, runs such classes for beginners. These sessions teach basic skills like cutting, stitching, and finishing leather.
You’ll work with tools like swivel knives, hammers, and punches. The classes also cover how to pick the right leather for your projects.
Taking a class boosts your skills and confidence. You’ll learn from pros who can show you tricks of the trade. Plus, you’ll meet other leather fans and swap tips. It’s a great chance to try out tools before buying them.
Many students find they progress faster in a class than on their own. With expert guidance, you can avoid common mistakes and learn best practices from day one.
Exploring Online Tutorials and Communities
Online tutorials and communities offer a wealth of knowledge for leather crafters. YouTube hosts countless videos on basic and advanced techniques. Forums like LeatherWorker.net connect you with pros who share tips and answer questions.
Social media groups on Facebook and Instagram let you show off your work and get feedback. Chuck Dorsett’s videos on Weaver Leather Supply’s channel are great for beginners. He breaks down tools and methods in easy-to-follow steps.
I’ve found these online resources super helpful in my own leather journey. Last month, I got stuck on a tricky stitch pattern. A quick post in a Facebook group solved my problem in minutes.
The leather community is friendly and always ready to lend a hand. Plus, seeing others’ projects gives me new ideas and keeps me motivated. It’s like having a virtual workshop full of buddies who share your passion.
Setting Up Your Leatherworking Space
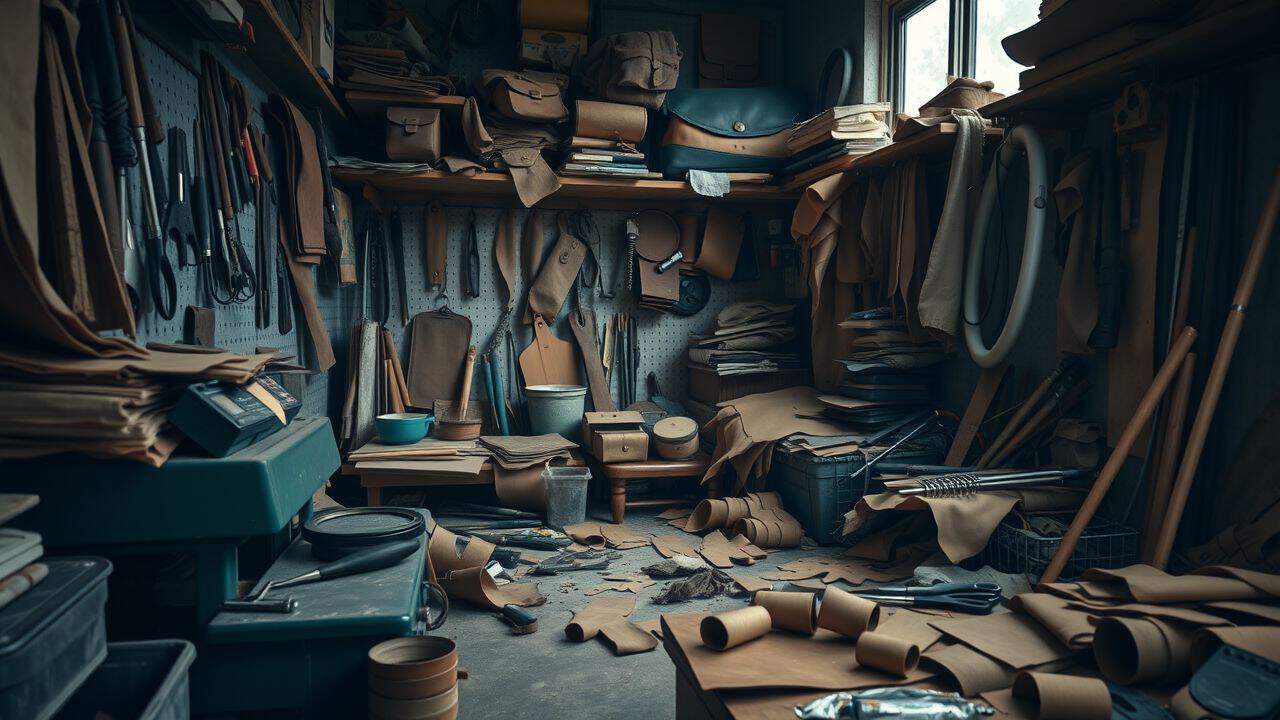
Your workspace can make or break your leatherworking journey. A well-set-up area boosts your craft and keeps you organized. Think about where you’ll cut, stitch, and store your tools and leather.
Creating a Dedicated Crafting Area
Guys, let’s talk about setting up your leather workshop. You need a space that’s all yours. Pick a spot with good light. A bright area helps you see details better. Get a solid table for cutting and working.
It should be sturdy enough to handle your tools and projects.
Keep your stuff organized. Use bins or drawers for your leather and tools. This way, you can find what you need fast. Don’t forget comfort. A good chair helps you work longer without getting sore.
Trust me, I’ve spent hours hunched over projects. A comfy seat makes a big difference. With the right setup, you’ll be ready to craft some awesome leather goods.
Essential Tools and Organization
Now that you’ve set up your crafting area, let’s talk tools and organization. You’ll need a few key items to start your leather journey. Grab some sharp shears and a good utility knife for cutting.
Don’t forget leather needles and tough polyester thread for stitching. A rotary punch will make clean holes a breeze. Keep these tools sharp and oiled for best results.
Staying organized is key to smooth projects. I learned this the hard way when I lost my favorite awl in a mess of scraps. Now, I use a pegboard to hang tools and small bins for supplies.
This setup saves time and keeps everything within reach. A clean workspace leads to better craftsmanship, so take a few minutes to tidy up after each session. Your future self will thank you when you start your next leather masterpiece.
People Also Ask
What tools do I need to start leather working?
You’ll want to grab some basics. A sharp knife blade is a must-have. Don’t forget rulers and a writing instrument for marking. A swivel knife helps with designs. For joining pieces, you’ll need adhesives like wood glue or contact cement. Lastly, get a vise to hold your work steady.
How do I choose the right leather for beginners?
Veg-tanned leather is your best bet. It’s easy to work with and takes dye well. You can find it at craft stores or online. Start with smaller pieces to practice on. As you improve, you can try different types.
What’s the best way to cut leather?
Sharp cutting tools are key. A utility knife works well for straight cuts. For curves, try a swivel knife. Always cut on a safe surface, like a counter top. Take it slow and steady. Remember, measure twice, cut once!
How do I join leather pieces together?
You’ve got options here. Gluing is quick and easy. Use contact cement or superglue. For a stronger hold, try saddle-stitching. It’s a bit tricky at first, but it looks great. Practice makes perfect!
Can I use skills from other crafts in leather working?
Absolutely! If you’ve done metalworking or woodworking, you’re ahead of the game. Skills like measuring, cutting, and joining transfer well. Even painting techniques can be useful for dyeing leather. It’s all about being creative!
How do I maintain my leather working tools?
Keep ’em sharp and clean. For knives, regular sharpening is a must. A leather strop works wonders. Clean your tools after each use. Store them in a dry place. Treat them right, and they’ll last for years.
References
https://www.goldbarkleather.com/beginners-guide
https://www.thecrucible.org/guides/leatherworking/ (2022-11-11)
https://www.amazon.com/Started-Leather-Crafting-Step-Step/dp/1497203465
https://www.goldbarkleather.com/sourceblog/2015/12/29/a-basic-guide-to-burnishing (2015-12-29)
https://www.leatherbeast.com/blogpage/howtogetstartedwithleatherwork
https://www.instructables.com/Introduction-to-Leatherworking/
https://www.goldbarkleather.com/sourceblog/a-basic-guide-to-stitching
https://craftisian.com/articles/57-leatherworking-basics-getting-started-with-essential-tools
