Ever dreamed of crafting your own chocolate bar but thought it was too hard? You’re not alone. Many folks think chocolate-making is just for pros. But here’s the scoop: anyone can whip up a tasty chocolate bar at home.
This guide will spill the beans on 8 sweet secrets for cocoa perfection. Ready to become a chocolate wizard? 3
Key Takeaways
Use high-quality cocoa butter and cocoa powder as key ingredients for the best chocolate bars. Melt cocoa butter gently to 113°F for dark chocolate or 104°F for milk/white chocolate.
Temper chocolate properly for a glossy finish and satisfying snap. Methods include seeding, tabling, direct heat, sous-vide, and microwave techniques.
Experiment with flavors like salted almonds, mint, or raspberry swirl to create unique bars. Add-ins should be mixed in carefully to maintain smooth texture.
Store homemade chocolate bars wrapped tightly in foil or plastic in a cool, dry place. Properly stored bars can last up to 8 months in the fridge or freezer.
Avoid common mistakes like adding water to melted chocolate, skipping tempering, or using low-quality cocoa beans. Maintain proper temperatures throughout the process for best results.
Table of Contents
Key Ingredients for Chocolate Bar Creation
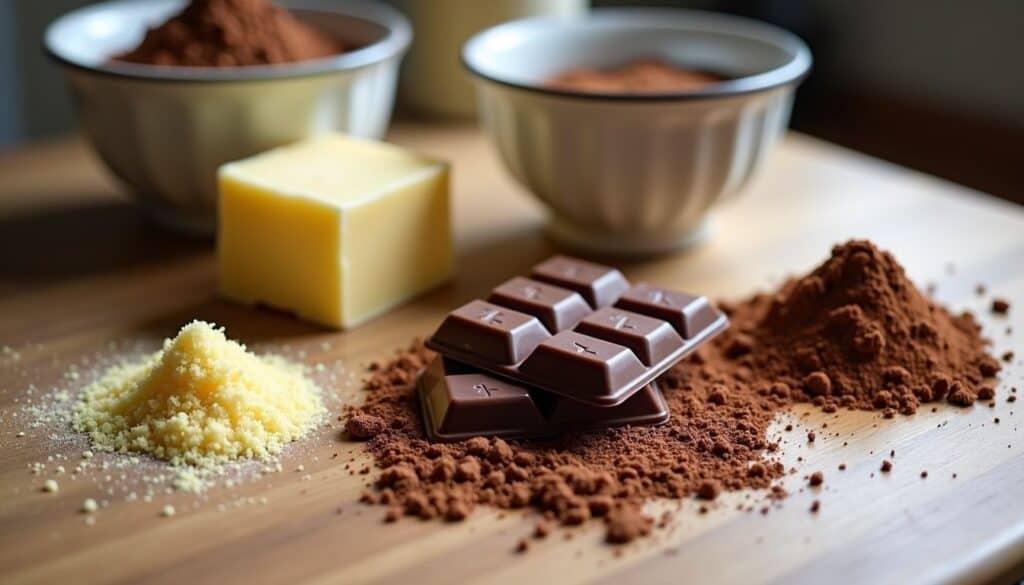
Ready to make your own chocolate bars? Let’s dive into the key ingredients. You’ll need cocoa butter, cocoa powder, and sweeteners to start your chocolatey journey.
Choosing Cocoa Butter

Cocoa butter is the star of chocolate-making. It’s the fat that gives chocolate its smooth, creamy texture. You’ll want to pick a high-quality cocoa butter for the best results. Look for one that’s pale yellow and smells like…
well, chocolate! I’ve found that using real cocoa butter – not a substitute – makes a huge difference. It melts at just the right temp and gives your bars that perfect snap. Trust me, I’ve tried cutting corners before, and it never ends well.
If you’re not up for the challenge, you can always grab a Golden Door chocolate bar instead. 1
Getting the cocoa butter to melt right is key. You’ll need to heat it gently – either in a double boiler or the microwave. Be careful not to overheat it, or you’ll mess up the texture.
I like to melt mine in short bursts in the microwave, stirring often. It takes a bit more time, but it’s worth it for that silky-smooth finish. Once it’s melted, you’re ready to mix in the other ingredients and create your chocolate masterpiece! 2
Selecting Cocoa Powder
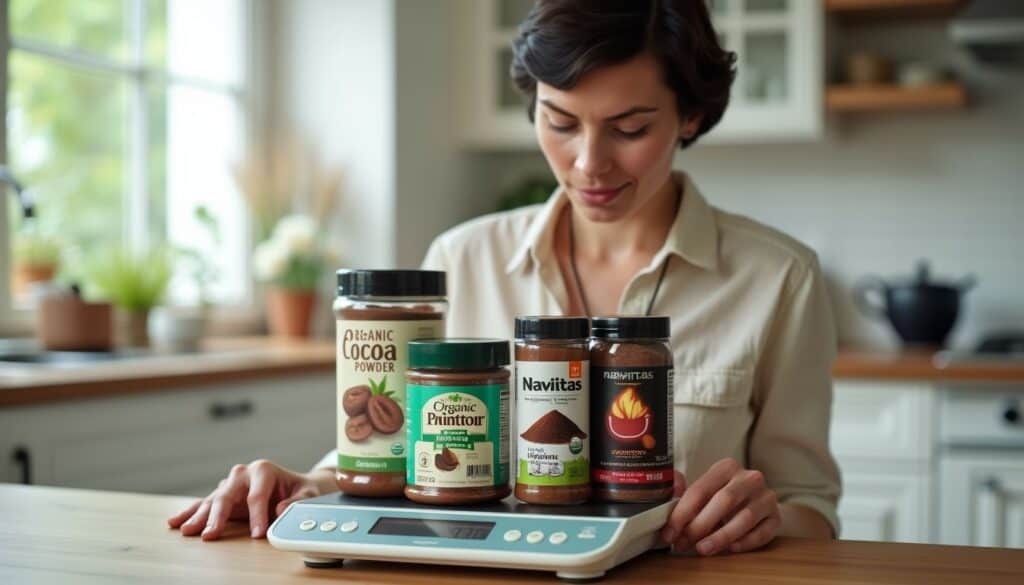
Picking the right cocoa powder can make or break your chocolate bar. Trust me, I’ve learned this the hard way! You want to go for organic raw cacao powder. It’s creamier and less bitter than regular cocoa.
HealthWorks and Navitas are solid brands to try. They’ll give your bars that rich, chocolaty taste without being too harsh.
Here’s a pro tip: get a kitchen scale. It’s a game-changer for measuring your cacao powder exactly. You’ll want to use a 2:1 ratio of cacao butter to powder for the best flavor. This balance hits the sweet spot – not too intense, not too mild.
Just right for a homemade treat that’ll impress even the pickiest chocolate lovers. 34
Sweetener Options
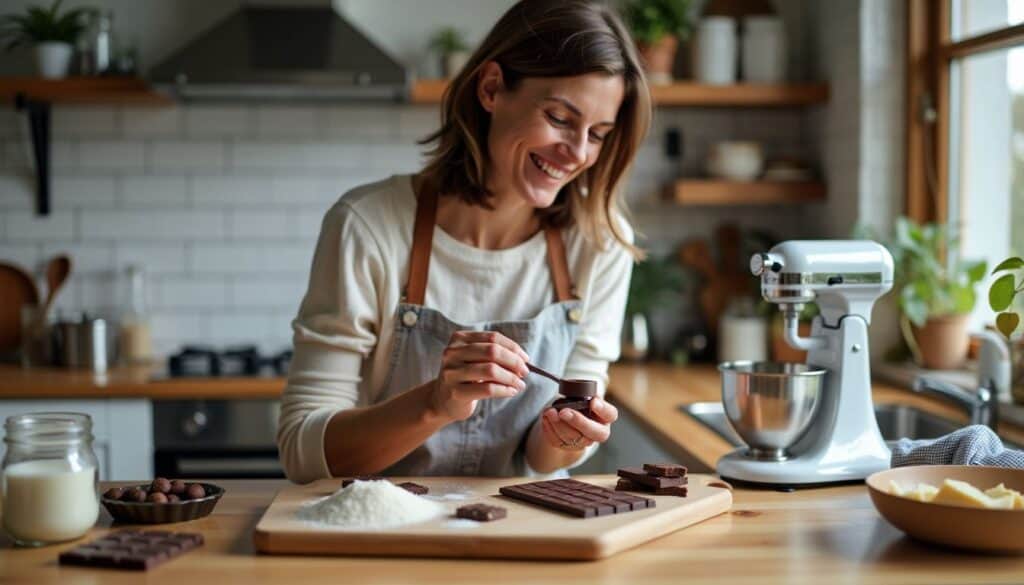
After picking your cocoa powder, it’s time to sweeten things up. Sugar isn’t your only option, guys. You’ve got choices that’ll make your taste buds dance.
Monk fruit, stevia, erythritol, and inulin are cool alternatives. But heads up – they change how your chocolate feels in your mouth. 5 These sugar stand-ins need a special tool called a melanger to get the texture just right.
Want to boost that chocolatey flavor? Try amorphous sugar. And for a silky-smooth bar, add a dash of lecithin. It’s like the secret sauce that makes everything blend perfectly.
Life is like a box of chocolates… but making your own is even sweeter. 6
Variety of Homemade Chocolate Bars
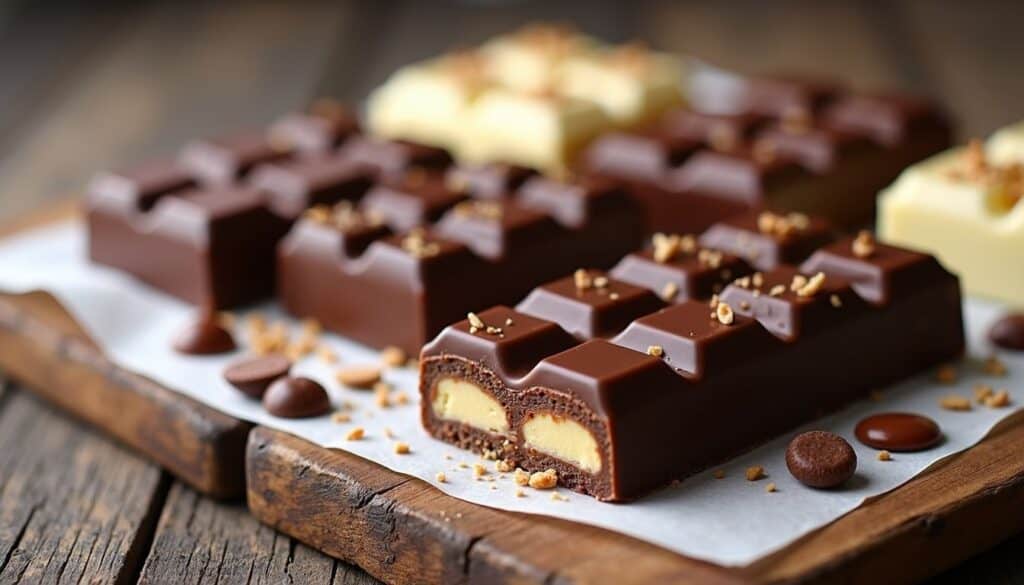
Chocolate bars come in all flavors and types. You can make dark, milk, or white chocolate bars at home – each with its own twist.
Crafting a Dark Chocolate Bar
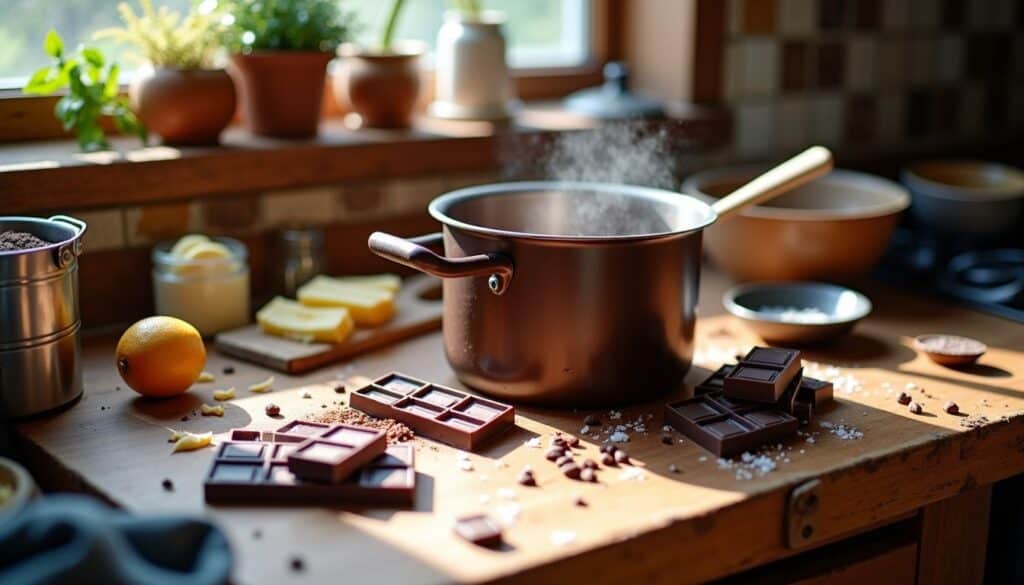
Ready to make your own dark chocolate bar? It’s easier than you think! Start with high-quality cocoa butter and cocoa powder. Mix them with your chosen sweetener – sugar, honey, or even stevia work great. 7 Heat the mix to at least 113°F (45°C) to melt everything together. This is key for that smooth, rich texture we all love.
Now comes the fun part – adding flavors! Try a dash of sea salt or some crunchy cocoa nibs. 8 Pour your melted chocolate into molds and let it cool. In just 20 minutes, you’ll have four large, homemade dark chocolate bars.
Perfect for a late-night snack or a sweet gift. Trust me, once you’ve made your own, store-bought just won’t cut it anymore!
Creating a Milk Chocolate Bar
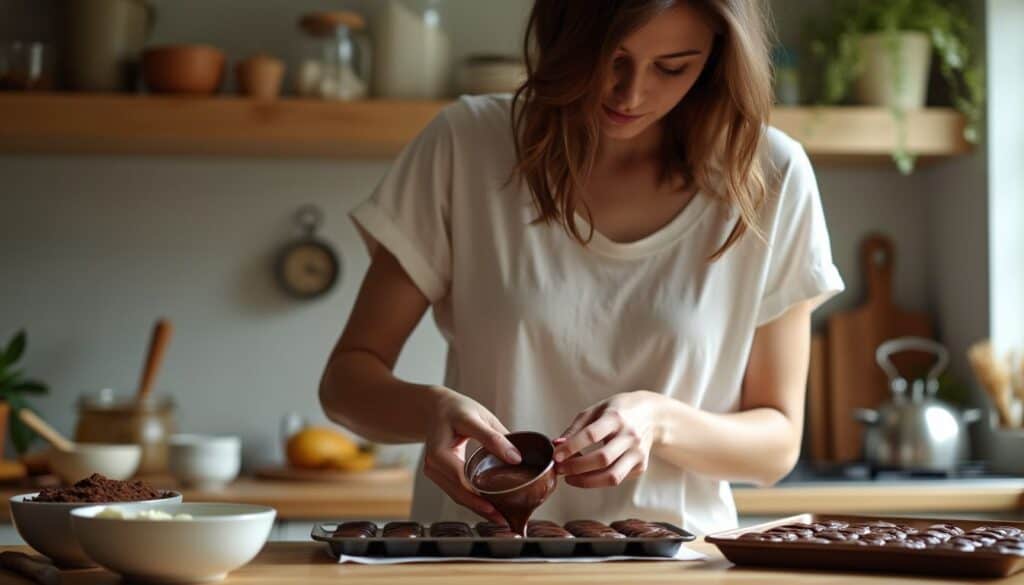
Creating a milk chocolate bar is a sweet adventure. You’ll need cocoa butter, cocoa powder, and milk powder. Heat the cocoa butter to 104°F (40°C) – that’s the magic number. Mix in the powders slowly, stirring until smooth.
Pour this liquid gold into molds and let it cool. Voila! You’ve got your own candy bar. 10
Want to jazz it up? Toss in some peanut butter, caramel, or pretzels. The sky’s the limit! Just make sure to use real chocolate with cocoa butter. Skip those baking chips – they won’t cut it.
Grab a food thermometer, some bowls, and molds. You’re all set to become a chocolate maker extraordinaire. 9
Life is like a box of chocolates. You never know what you’re gonna get. – But when you make your own, you know exactly what’s inside!
Making a White Chocolate Bar
Now, let’s shift gears from milk chocolate to its pale cousin – white chocolate. This sweet treat isn’t really chocolate at all! It’s a mix of cocoa butter, milk powder, and powdered sugar.
No cocoa solids here, folks. But don’t let that stop you from making your own creamy, dreamy white chocolate bar.
Whipping up white chocolate is a breeze. Just melt some cacao butter, stir in milk powder and sugar, and boom – you’re done! Pour it into a mold, let it set, and you’ve got a homemade white chocolate bar.
The best part? You can jazz it up with all sorts of goodies. Toss in some freeze-dried fruits, nuts, or even a dash of flavored oil. Your bar will last about two weeks in the fridge or up to three months in the freezer.
Not bad for a quick kitchen project! 11 10
Detailed Guide to Chocolate Bar Preparation
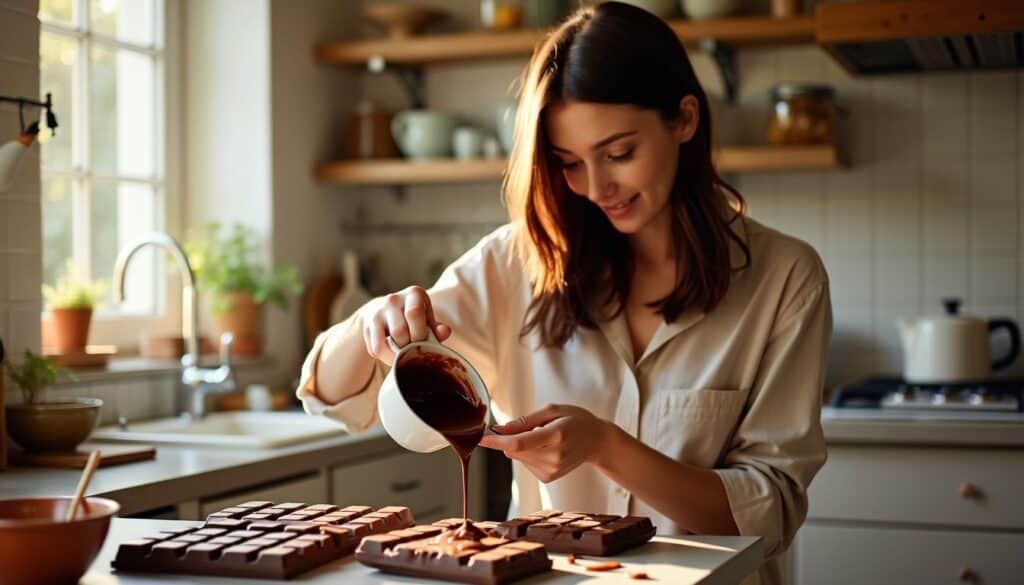
Ready to dive into the nitty-gritty of chocolate bar making? This section’s got all the juicy details – from melting that velvety cocoa butter to pouring your creation into molds.
Stick around, and you’ll be whipping up pro-level treats in no time!
Process of Melting Cocoa Butter
Melting cocoa butter is a key step in making chocolate bars. You’ll need a double boiler or microwave for this job. 12 Heat the cocoa butter gently to avoid burning it. 13 Dark chocolate needs 113°F, while milk and white chocolate need 104°F.
Keep an eye on the temp with a candy thermometer.
Chocolate is the answer. Who cares what the question is?
Once melted, wipe off any water drops from the bowl. This stops the chocolate from seizing up. Smooth cocoa butter is vital for silky chocolate. It’s the base for all your sweet creations.
Get this right, and you’re on your way to chocolate heaven!
Blending Cocoa Powder and Sweeteners
Now that you’ve melted your cocoa butter, it’s time to mix in the good stuff. Grab your cocoa powder and sweeteners – this is where the magic happens. For dark chocolate lovers, unsweetened cocoa powder and liquid Stevia are your go-to pals. 14 If milk chocolate’s more your speed, you’ll need cocoa powder, confectioners’ sugar, and a dash of vanilla extract. 14 Don’t forget the milk powder for that creamy taste!
Mixing is key here, guys. You want a smooth blend, no lumps allowed. Start by adding small amounts of cocoa powder to your melted base. Stir it up real good. Then, sprinkle in your sweetener bit by bit.
Keep stirring until everything’s mixed well. It might take a few minutes, but trust me, it’s worth it. You’re on your way to chocolate bar heaven! 12
Techniques for Molding and Setting Chocolate
After blending your cocoa powder and sweeteners, it’s time to mold and set your chocolate. Grab your molds – polycarbonate ones work best. 15 Pour the melted chocolate in slowly, tapping the mold to remove air bubbles.
Don’t rush to cool it! Let it sit at room temp for 10-15 minutes first. This helps the chocolate settle and prevents weird marks on the surface.
Now for the fun part – setting your chocolate bars. You’ve got options here. Pop them in the fridge for a quick set, or let them chill at room temp for a slower, more even crystallization.
Either way, wait until they’re fully hard before you pop them out. Trust me, I’ve learned the hard way – impatience leads to broken bars! Once they’re set, give the mold a gentle twist.
Your perfect chocolate bars should slide right out, glossy and ready to eat. 10
Exploring Chocolate Bar Flavors and Additions
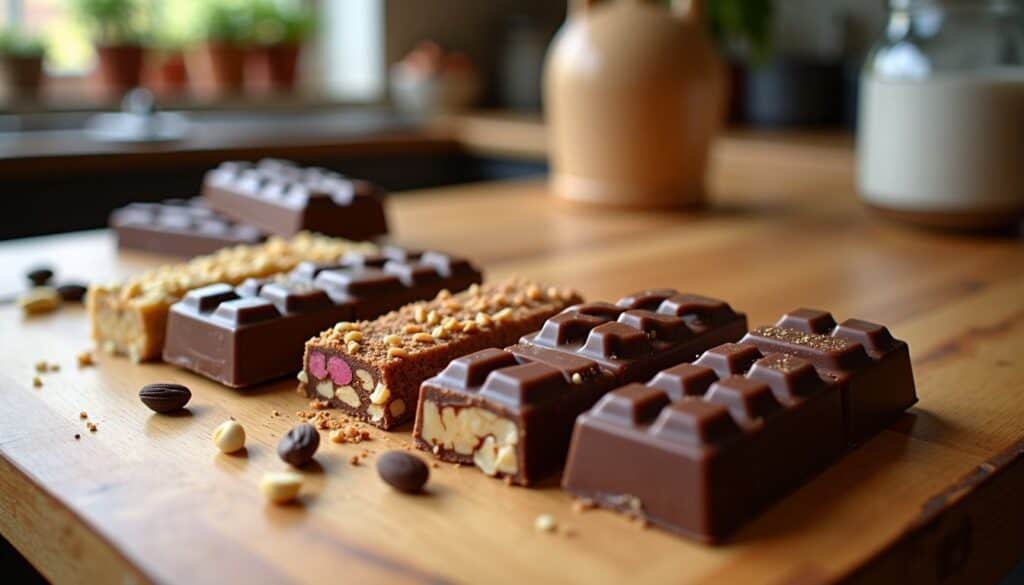
Ready to jazz up your chocolate bars? Let’s dive into some tasty add-ins that’ll make your taste buds dance. From crunchy nuts to fruity swirls, we’ve got the scoop on making your bars stand out from the crowd.
Adding Salted Almonds
Salted almonds elevate your chocolate bar experience. Imagine: crunchy, salty nuts nestled in smooth, rich chocolate – a match made in cocoa heaven! To make this treat, toast whole almonds with a pinch of salt, then fold them into melted dark chocolate.
The mix of sweet and salty flavors will delight your taste buds. 16
Life is like a box of chocolates… but with salted almonds, it’s a party in your mouth!
Pour the nutty blend into molds and let it set. Soon, you’ll have a gourmet snack that rivals fancy candy bars. Store your creation in an airtight box for up to a month… if it lasts that long! 17 This simple recipe turns you into a chocolate maker in your own kitchen.
No special equipment needed – just good ingredients and a bit of patience.
Infusing Mint Flavor
Moving from nutty to fresh, let’s talk mint. Mint gives chocolate bars a cool kick. It’s like a breath of fresh air for your taste buds. To add mint flavor, you’ve got options. You can use peppermint oil or fresh mint leaves.
Just a few drops of oil will do the trick. 18 Or, if you’re using leaves, steep them in warm cream first.
Here’s a pro tip: mix in some crisped rice for extra crunch. It pairs great with the mint flavor. 19 And don’t forget about color! A touch of green food coloring can make your mint bars pop.
Just be careful not to overdo it. You want your bars to look tasty, not like they fell in a vat of green paint. Trust me, I learned that the hard way during my first attempt at mint chocolate bars.
Incorporating Raspberry Swirl
From mint to berries, we’re taking a sweet turn. Raspberry swirls add a tangy twist to your chocolate bars. Mix fresh raspberries with maple syrup for a fruity punch. Heat this blend until it’s thick and ready to swirl.
Raspberry swirls dancing through dark chocolate… yum!
Want to level up? Try making Raspberry Swirl Chocolate Cheesecake Bars. The tart fruit cuts through the rich chocolate and creamy cheese. It’s a flavor combo that’ll knock your socks off.
Just make sure to let the raspberry mix cool before you swirl it in. Nobody likes a melted mess! 20
You’ll make the raspberry swirl by combining raspberry preserves with a handful of fresh raspberries and mashing it together. 21
The Importance and Techniques of Chocolate Tempering

Tempering chocolate is key to getting that perfect snap and shine. It’s a bit tricky, but once you nail it, your bars will look and taste like pro-made treats.
Why Temper Chocolate
Tempering chocolate isn’t just a fancy trick. It’s the secret to making your chocolate bars snap, shine, and melt just right. Without tempering, your bars might look dull or feel grainy.
Nobody wants that! Tempered chocolate has a glossy finish and a satisfying crunch when you bite into it. Plus, it won’t melt as easily in your hands – perfect for those hot summer days. 22
Here’s the cool part… Tempering stops those weird white spots from showing up on your chocolate. Those spots? They’re called “bloom” and they happen when fat or sugar creeps to the surface.
Not tasty! By tempering, you’re making sure your chocolate stays smooth and delicious for longer. Trust me, I’ve made the mistake of skipping this step before. The result? A batch of sad, spotty chocolate bars that didn’t impress anyone. 23
Basic Methods of Tempering Chocolate
Now that we know why tempering matters, let’s dive into how to do it. Tempering chocolate isn’t rocket science, but it does take some practice. Here are the basic methods to get that perfect snap and shine:
- Seeding Method: This is the go-to for many chocolate makers. Melt about 2/3 of your chocolate to 113°F for dark or 104°F for milk/white. Then, add the remaining 1/3 of chopped chocolate and stir until it all melts and cools to 85°F. This ‘seeds’ the melted chocolate with good crystals. 23
- Tabling Method: Pour 2/3 of melted chocolate onto a cool marble slab. Spread it thin with a spatula, then scrape it back together. Keep doing this until it thickens and cools to about 85°F. Mix it back into the rest of the warm chocolate.
- Direct Heat Method: Heat all your chocolate to 113°F for dark or 104°F for milk/white. Cool it down to 85°F by stirring constantly. Then, warm it up slightly to working temp. This method needs a steady hand and a good thermometer. 24
- Sous-vide Method: Place chopped chocolate in a sealed bag. Heat in a water bath to 113°F for dark or 104°F for milk/white. Cool in an ice bath to 85°F, then warm slightly. This method gives super precise control.
- Microwave Method: Zap chocolate in short bursts, stirring between each. Once most is melted, stir until completely smooth. Cool to 85°F, then warm slightly. Quick and easy, but watch it like a hawk to avoid burning.
Innovative Shapes and Molds for Chocolate Bars

Who says chocolate bars have to be boring rectangles? Let’s shake things up! Get ready to wow your friends with wild shapes and funky molds for your homemade treats.
Standard Chocolate Bar Shapes
Chocolate bars come in many shapes, but some are classics. The most common is the rectangle. It’s long, flat, and easy to break into pieces. This shape is perfect for sharing or saving some for later.
Another popular shape is the square. It’s compact and fits nicely in your hand. Some brands use unique molds to make their bars stand out. You might see bars with wavy edges or fun patterns on top. 25
Expert chocolate makers often use polycarbonate molds. These molds give the bars a super shiny finish. They’re better than silicone molds for that perfect look. If you’re making chocolate at home, you can find plastic molds in lots of shapes.
Hearts, stars, or even your favorite sports team logo – there are so many options. Just keep in mind, the shape can affect how the chocolate breaks and melts in your mouth. 26
Custom and Novel Chocolate Molds
Want to make chocolate bars that stand out? Try custom molds! ComposiMold lets you create unique shapes easily. Just melt it, pour it over any object, and voila – you’ve got a mold.
It’s perfect for making cool chocolate designs, fancy fondant, or even gum paste creations. The sky’s the limit with these molds. 27
Let’s talk about fun shapes for your bars. Sure, rectangles are classic. But why not mix it up? Heart-shaped chocolates for Valentine’s Day, anyone? Or how about star-shaped treats for the holidays? You could even make mini chocolate tools for Dad.
Next up, we’ll dive into some pro tips for crafting the perfect chocolate bar at home. 15
Tips for Crafting Perfect Chocolate Bars at Home

Crafting perfect chocolate bars at home is a sweet adventure. Here are some tips to make your chocolate-making journey smooth and delicious.
Ensuring a Smooth Texture
Smooth chocolate is a game-changer. It melts on your tongue and feels luxurious. To get that silky feel, use real cocoa butter. It’s the secret weapon. 28 Mix it well with your cocoa powder and sweetener.
No lumps allowed! Heat gently and stir often. This stops the chocolate from getting grainy or seizing up.
Tempering is key for that pro-level smoothness. It’s a bit tricky, but worth it. You’ll need a thermometer and some patience. Heat the chocolate to about 115°F, then cool it to 81°F.
Finally, warm it back up to 88°F. This process aligns the cocoa butter crystals. The result? Glossy, snap-worthy bars that melt perfectly. Trust me, I’ve made plenty of gritty bars before mastering this step! 10
Best Storage Practices for Freshness
Keep your chocolate bars fresh and tasty with smart storage. Wrap them tight in foil or plastic wrap. This stops air and odors from ruining the flavor. For a longer shelf life, pop them in the fridge or freezer.
But watch out! Wrap them extra well to avoid moisture. Done right, your bars can last up to eight months. That’s a lot of time to enjoy your homemade treats! 29
Don’t let your hard work go to waste. Store your bars in a cool, dry spot away from sunlight. Heat and light can make chocolate bloom – that’s when it gets a white, chalky look. It’s still safe to eat, but not as pretty.
If you’re a real chocoholic, make a bunch and freeze them. Just thaw them slowly in the fridge before eating. Your taste buds will thank you! 13
Avoiding Common Chocolate Making Mistakes
Chocolate making can be tricky. But don’t worry! We’ve got your back. First off, never add water to your melted chocolate. It’ll seize up faster than you can say “oops.” Trust me, I learned this the hard way.
Stick to oil-based add-ins like coconut oil instead. 12 Next, temper your chocolate right. It’s not just fancy talk – it’s key for that perfect snap and shine. I once skipped this step and ended up with dull, streaky bars.
Not cool.
Quality matters big time. Spring for good cocoa beans if you can. They’re the heart and soul of your chocolate. Cheap beans? You’ll taste it. And it won’t be pretty. I’ve tried both, and the difference is night and day. 30 Lastly, keep an eye on your heat. Too hot, and you’ll burn the chocolate. Too cool, and it won’t melt right. Aim for that sweet spot – around 110°F for dark chocolate. With these tips, you’ll be cranking out pro-level bars in no time.
People Also Ask
What’s the secret to making a gourmet chocolate bar at home?
The key is picking top-notch ingredients. Start with high-quality cacao beans or cocoa powder. Mix in the right type of chocolate – bittersweet works well. Don’t forget cocoa butter for that smooth texture. Line your countertop with parchment paper for easy cleanup.
Can I add fun stuff to my homemade chocolate bars?
You bet! Get creative with mix-ins. Try puffed rice for a Kit Kat vibe, or marshmallows for a rocky road twist. Sprinkles add a pop of color. For a minty fresh kick, whip up some peppermint bark. The sky’s the limit!
How do I make sugar-free chocolate bars?
It’s totally doable! Swap out sugar for liquid sweeteners like stevia or monk fruit. Use unsweetened cocoa powder as your base. Remember, sugar-free doesn’t mean flavor-free. Play with bitter flavors to balance things out.
What equipment do I need to make chocolate bars?
You don’t need fancy gadgets. A double boiler works great for melting chocolate. If you’re feeling fancy, a sous-vide machine can help with tempering. Molds are handy, but not must-haves. A baking sheet and some elbow grease will do the trick!
How long does it take to make chocolate bars from scratch?
It depends on your recipe, but plan for a few hours. Melting and tempering chocolate takes time. Cooling is crucial – rushing this step is a no-go. Think of it as a labor of love, like baking the perfect brownies or whipping up a killer pudding.
Can I use my homemade chocolate bars in other desserts?
Absolutely! Chop them up for cookies or melt them for a fondue. They’re great in baked goods or as a topping for ice cream. Just remember, homemade bars might behave differently than store-bought ones. It’s all part of the sweet adventure!
References
^ https://thechocolatelife.com/cocoa-butter-as-the-first-ingredient-in-a-bar/
^ https://devilsfoodkitchen.com/2016/07/02/food-science-cocoa-butter/
^ https://www.instructables.com/Homemade-chocolate-using-cocoa-powder/
^ https://thecookscook.com/columns/a-chef-writes/write-chocolate-recipes-work-hint-secret-cacao-percentage/
^ https://forums.egullet.org/topic/159246-making-sugar-free-chocolate-from-unsweetened-chocolate/ (2019-07-30)
^ https://www.sugarfreemom.com/recipes/sugar-free-dark-chocolate-candy-bars-nut-dairy-gluten-free/
^ https://www.onehappydish.com/homemade-dark-chocolate/
^ https://www.theroastedroot.net/how-to-make-chocolate-bars/
^ https://www.thesweetsavorylife.com/blog/gourmet-milk-chocolate-bar-recipe (2021-03-15)
^ https://www.davidlebovitz.com/how-to-make-chocolate-bars-recipe/ (2013-01-14)
^ https://www.alphafoodie.com/how-to-make-white-chocolate/ (2021-04-23)
^ https://chocolatealchemy.com/how-to-make-chocolate-the-complete-text-guide
^ https://chefcynthialouise.com/how-to-make-chocolate-at-home/
^ https://www.youtube.com/watch?v=v4hWoznk7l4
^ https://www.isugarcoatit.com/2018/08/how-to-prepare-chocolate-molds.html/
^ https://www.lilcookie.com/salted-almonds-chocolate-bark/
^ https://www.katheats.com/super-salty-salted-almond-chocolate-bark
^ https://forums.egullet.org/topic/151355-infusing-chocolate-bars/ (2015-05-29)
^ https://greenkitchenstories.com/mint-chocolate-power-bars/comment-page-2/
^ https://www.floraandvino.com/raspberry-swirl-chocolate-cheesecake-bars/
^ https://theardentcookblog.wordpress.com/2021/02/11/salted-raspberry-swirled-chocolate-chip-cookie-bars/ (2021-02-11)
^ https://www.davidlebovitz.com/tempering-choco/
^ https://devilsfoodkitchen.com/2016/07/30/science-tempering-chocolate/ (2016-07-30)
^ https://handletheheat.com/temper-chocolate/ (2023-03-24)
^ https://www.ncbi.nlm.nih.gov/pmc/articles/PMC7641343/
^ https://www.amazon.com/ZTHapwa-Chocolate-Silicone-Shapes-Mold/dp/B0CKXQB7DM
^ https://www.ice.edu/blog/custom-chocolate-mold (2021-09-25)
^ https://www.hillcountrychocolate.com/blogs/recipe-ideas/crafting-gourmet-chocolate-bars-with-unique-ingredients?srsltid=AfmBOopNHpc8k8qtXq0EoyYvKe8OmQVuhtj89gOf2zoyAgUPsbmQASzK (2024-08-11)
^ https://food-hacks.wonderhowto.com/how-to/easy-diy-gourmet-chocolate-bars-0160159/ (2015-02-13)
^ https://loskitchenco.com/2020/12/14/homemade-chocolate-bars/ (2020-12-14)
