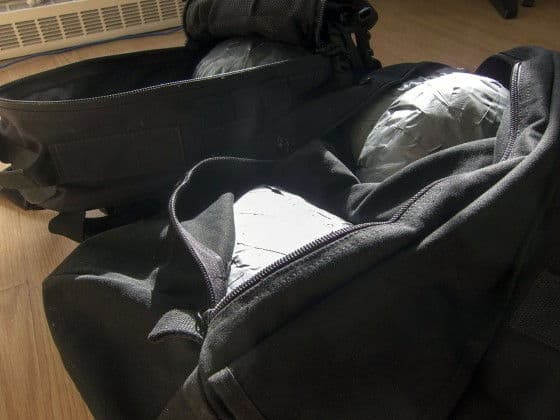
A few weeks ago, I got this idea into my head that I really wanted to make a weighted duffel bag for weight training. I already train at home anyway, and figured, why not? It couldn’t be that complicated to make, and it would allow me to add some much needed variety to my workouts.
After browsing around a bit, I stumbled onto an article about creating sandbags for weight training at a website called ITS Tactical. In short, they took a large military duffel bag, and filled it with rubber mulch. That’s pretty simple, right? But what if you also want to use the sandbag for say, weighted pullups and pushups? For that, I would need to take a slightly different approach.
Building “Pills” for Duffel Bags and Backpacks
After doing a bit more research, I realized that there was already a military term for this crazy contraption. Soldiers call them “pills” (take your pills, soldier!), and they use them to weigh down backpacks for training. Since I needed the weights to be modular for easy transport between my backpack and duffel bag, this sounded perfect.
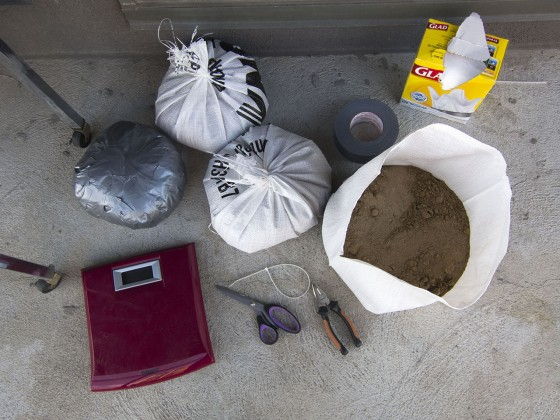
Creating a pill is pretty damn simple, but it is going to take a bit of time and patience. To make a pill, you need the following items:
- Heavy duty freezer bags or cloth bags. I used a sort of canvas material
- Strong Zip Ties
- Lots and lots of Duct Tape
- Garbage Bags
- Sand
- Scissors or a knife to cut the bags (if necessary) and the duct tape
- A scale to check the weight
Now, this isn’t a hard and fast list. There is plenty of room for substitution, and you’ll see why in a moment. Basically if it holds sand, doesn’t leak, and you can set it at the weight you want, then you’re golden. Consider this inspiration for your own design.
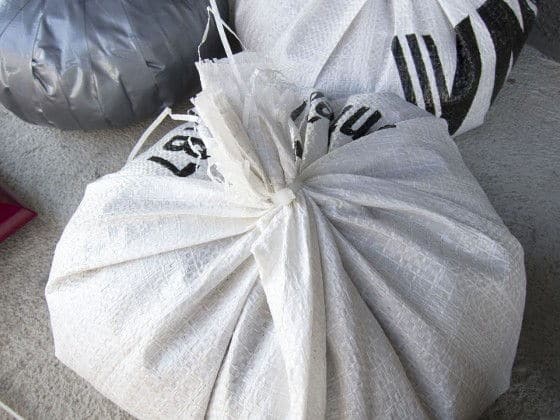
Basically, you’re going to start by either cutting your sack to the correct size if you’ve gone the cloth route, or picking out the right size of freezer bag. Place the bag on a scale, and start filling it with sand until you’ve reached the desire weight. I made all of mine 20lbs, and if you’re smart, you’ll also make a few in smaller increments as well. Once that’s done, use a zip tie to seal the bag up tight, and you’re done the first step.
It should look like this…
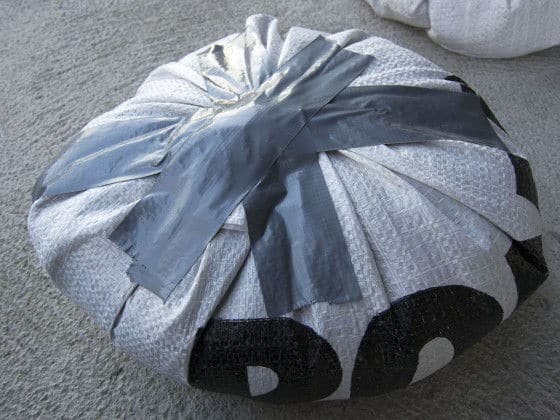
Next, you’re going to use that duct tape of yours and tape down the nub sticking out from the top of your sandbag. Feel free to use lots and lots of tape. Trust me, you haven’t seen anything yet in the tape department.
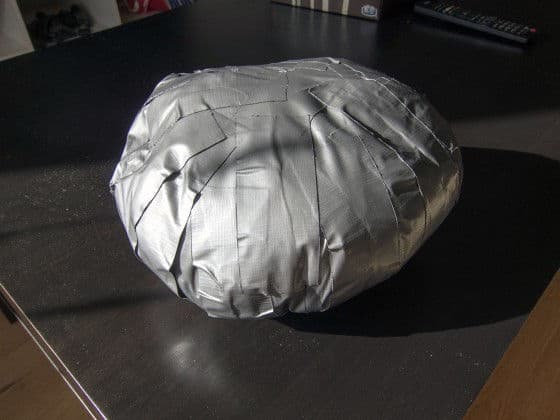
Now this is where the “patience and time” part come into the picture. At this point, you need to cover the entire surface of the sandbag pill in long strips of duct tape. I suggest working from the center outwards until the whole thing is covered. If you used cloth like I did, I suggest wrapping the pill in two layers of heavy garbage bags BEFORE you begin the “cover the whole thing in duct tape” phase. This is simply to prevent bits of sand from escaping. If you’re using heavy freezer bags, then this will be a non issue for you.
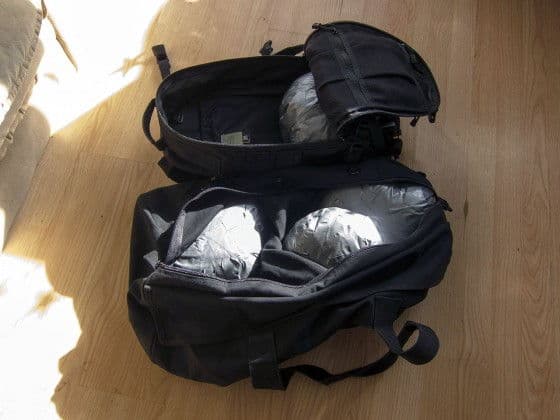
Once you’re done, it should look like this…
I know, it’s not pretty, but believe me… it works. After that, you can toss as many of these as you want into a duffel bag or backpack and go to town.
And that, my friends… is it. Just make sure that you use a strong duffel bag and backpack. I’m using a FAST Pack Litespeed from Triple Aught Design, as well as a military duffel bag that I picked up from the milsurp store down the road. Both have held up perfectly to the abuse I’ve slung at them.
Now, if you’re interested in learning more about what exercises you can do with these, then this video below should help get you started.
Basic Sandbag Training

Also worth checking out is the article on sandbags over at ITS Tactical. That’s the article I mentioned earlier that inspired me, and they’ve got a ton of great training ideas over there as well.
I hope you found this guide to making your own sandbag pill useful, and if you have any questions or comments, don’t hesitate to leave me a message below.
