Are your kitchen cabinets looking tired and worn? You’re not alone. Many homeowners dream of a kitchen makeover but dread the hefty price tag. Here’s a surprising fact: painting your cabinets can cost as little as $200, compared to over $5,000 for new ones. 2 This guide will walk you through six simple steps to transform your kitchen on a budget. 3
Ready for a jaw-dropping change?
Key Takeaways
Painting kitchen cabinets can cost as little as $200, compared to over $5,000 for new ones.
Clean cabinets thoroughly with a degreaser like TSP or Krud Kutter before painting. Dish soap leaves a film that messes up paint.
Label cabinet doors, drawers, and hardware when removing them to make reassembly easier later.
Choose between oil-based paints (durable but slow-drying) and latex paints (quick-drying and easy cleanup). 100% acrylic latex offers the best of both.
Use primer like Zinsser’s B-I-N for better paint adhesion and longer-lasting results. Apply 2-3 thin, even coats of paint for the best finish.
Preparing Your Kitchen Cabinets for Painting
Ready to give your kitchen a facelift? Let’s kick things off with prep work. It’s the key to a paint job that’ll make your buddies green with envy.
Cleaning Cabinet Surfaces
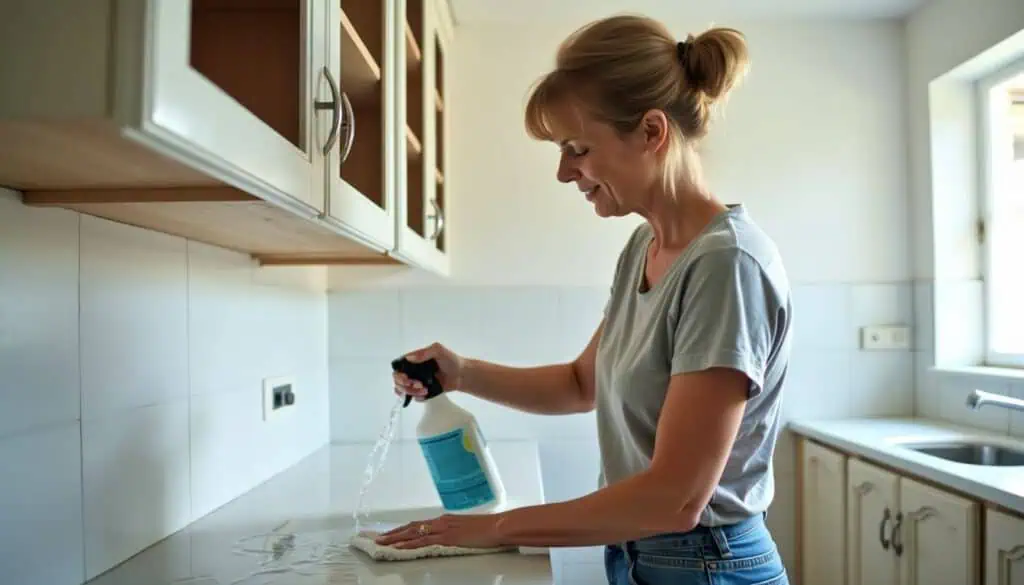
Cleaning your cabinets is the first step to a killer paint job. Grab a degreaser like TSP or Krud Kutter. These bad boys will knock out all the gunk and grease on your custom kitchen cabinets. 1 I once used dish soap… big mistake! It left a film that messed up my paint. Trust me, stick to the pros’ picks.
Now, don’t skimp on rinsing. Hit every nook with clean water. Then, let ’em dry completely. Patience is key here, fellas. Rushing this step? You’re asking for trouble. Wet wood and paint don’t mix.
It’s like oil and water – a recipe for disaster. 2
A clean cabinet is the canvas for your kitchen masterpiece.
Removing Cabinet Doors, Drawers, and Hardware
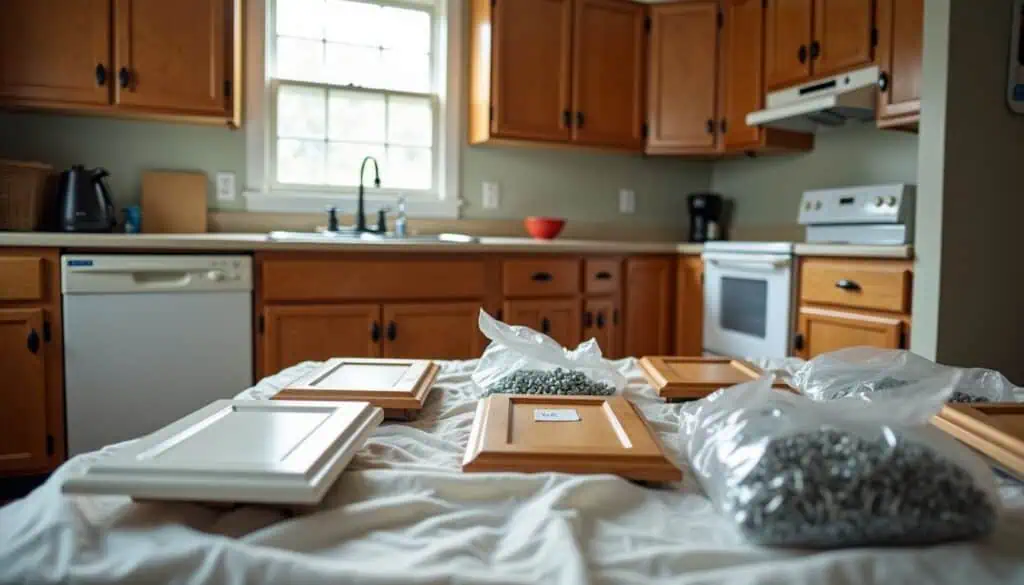
Taking off cabinet doors, drawers, and hardware is a key step in painting your kitchen. It’s not hard, but you need to be careful and organized. Here’s how to do it:
- Label everything: Use tape and a marker to number each door and drawer. Put the same number on the cabinet frame where it goes. 3
- Remove doors: Unscrew the hinges from the cabinet frame. Keep the screws in a safe spot – a small jar works great. 2
- Take out drawers: Pull them all the way out. Some might have a release catch to lift them off the slides.
- Detach hardware: Unscrew knobs and pulls from doors and drawers. Put these in a labeled bag to keep track of them.
- Store parts: Keep all screws, hinges, and hardware in labeled bags or containers. This makes putting everything back much easier.
- Protect surfaces: Lay out a drop cloth or old sheets. Place doors and drawers on this to avoid scratches.
- Clean as you go: Wipe down each piece as you remove it. This saves time later when you start prepping for paint.
- Make a map: Sketch a quick layout of your kitchen. Mark where each numbered piece goes. This helps if you forget the order later.
Scuffing the Wood for Paint Adherence
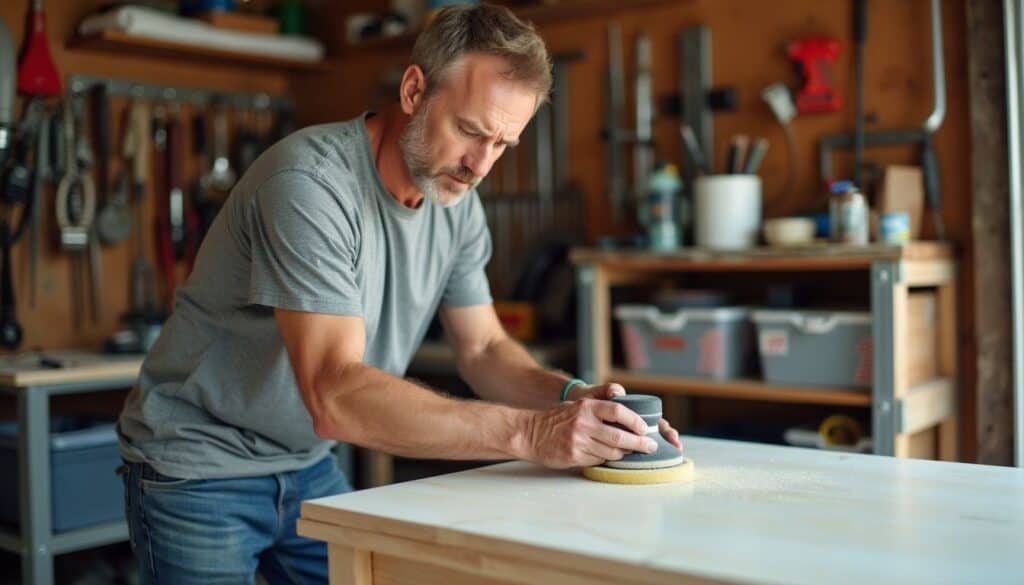
Grab your foam sanding block and get ready to rough up those cabinets! Scuffing creates tiny scratches on the wood surface. These little grooves give the paint something to grip onto.
It’s like making a road less slippery for better traction. Don’t go overboard, though. A light scuff is all you need.
For a quicker option, try a liquid deglosser with an abrasive pad. It’s like sandpaper in a bottle. Wipe it on, then quickly wipe it off. The chemicals do the hard work for you. This method saves time and elbow grease. 4 Next up, we’ll talk about picking the right paint and tools for your cabinet makeover. 5
Selecting the Best Paint and Tools for Cabinets
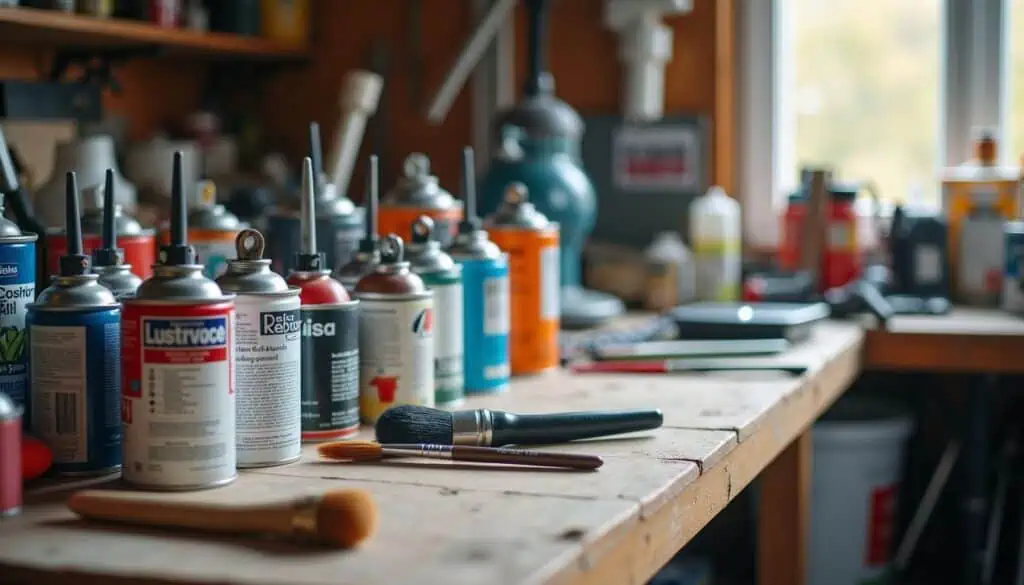
Picking the right paint and tools can make or break your cabinet makeover. Let’s dive into the nitty-gritty of choosing between oil-based and latex paints, and whether to brush or spray your way to success.
Choosing Between Oil-Based and Latex Paints

Guys, let’s talk paint. For your kitchen remodel, you’ve got two main options: oil-based or latex.
Oil-based paints are tough as nails. They create a rock-solid finish that’ll stand up to years of abuse. 6 But here’s the catch – they take forever to dry. We’re talking up to three weeks before you can slam those cabinet doors shut.
Now, latex paints? They’re the easygoing cousin. Quick to dry and a breeze to clean up with just water. 6 Plus, if you go for 100% acrylic latex, you’re getting the best of both worlds.
It’s durable and user-friendly. So, unless you’ve got all the time in the world, latex might be your best bet. 7 It’ll have your kitchen looking sharp in no time, without the long wait.
Deciding on Brush or Spray Application
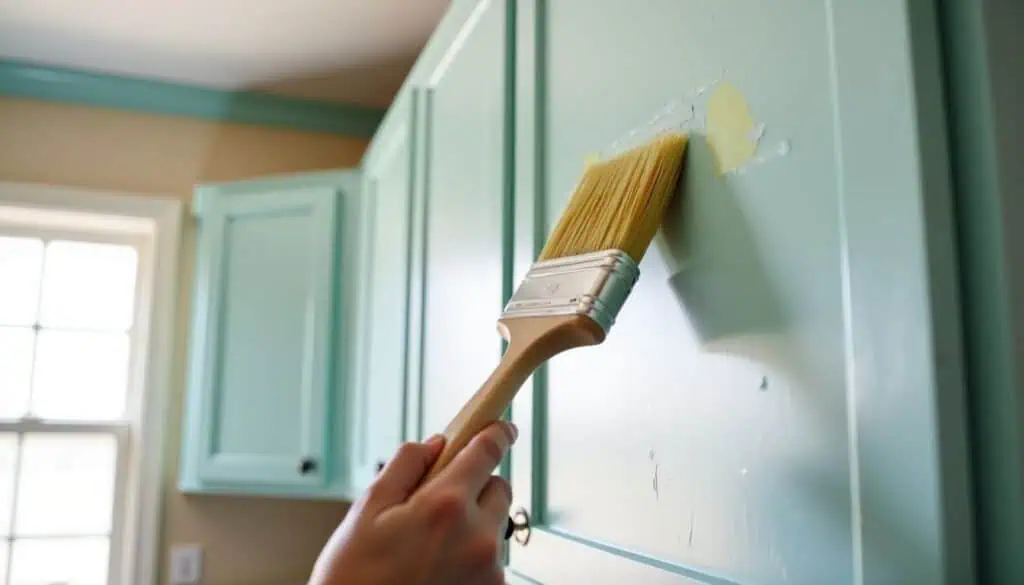
Brush or spray? That’s the big question when painting cabinets. Brushing is cheap and easy. You just need some good brushes and elbow grease. But spraying gives a smoother finish – if you know what you’re doing.
It’s faster too, once you get the hang of it. The downside? You’ll need to rent or buy a sprayer. Plus, you’ve gotta mask off everything you don’t want painted. And I mean everything. 2
I’ve tried both ways. Brushing works fine for small jobs. But for a whole kitchen? Man, spraying is the way to go. It’s a game-changer. Just practice on some scrap wood first. And use high-quality paint meant for cabinets.
Cheap stuff won’t cut it. Oh, and don’t forget to grab a 3-inch square brush for flat parts and an angled one for corners. Trust me, it’ll make your life way easier. 8
Essential Tools and Materials for Cabinet Painting
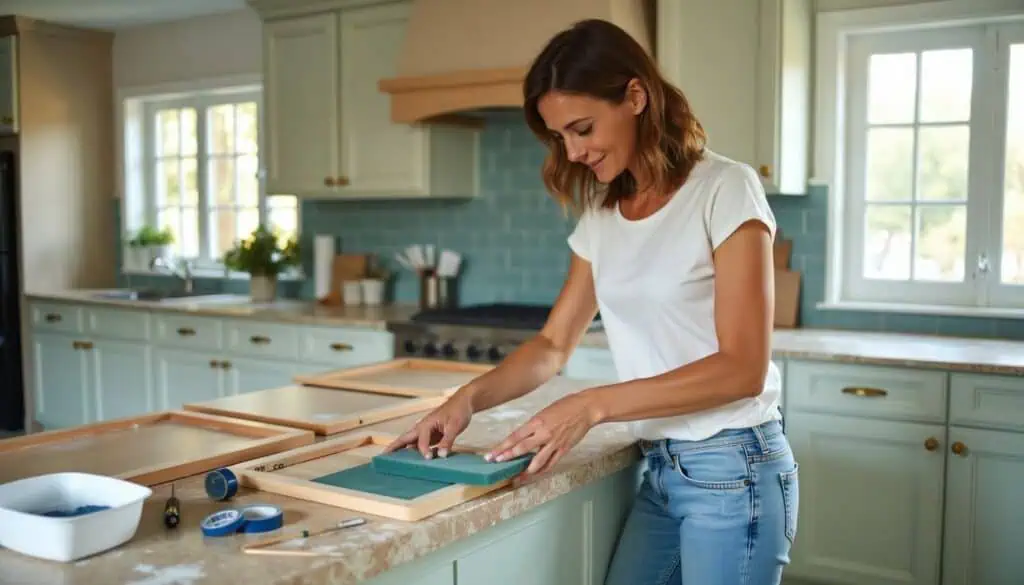
Painting cabinets isn’t rocket science, but you’ll need the right gear. Here’s a list of must-haves to tackle your kitchen makeover like a pro:
- Screwdriver or screw gun: You’ll use this to remove cabinet doors and hardware. It’s a real time-saver. 3
- Permanent marker: Label your doors and hardware. Trust me, you’ll thank yourself later. 9
- Rags and tack cloth: These are your cleaning buddies. They’ll wipe away dust and grime like nobody’s business.
- Foam sanding block: This little guy will rough up the surface so paint sticks better. It’s a game-changer.
- Paint tray: Pour your paint here. It makes the job neater and easier.
- Paintbrush and mini roller: These are your painting weapons of choice. The brush hits corners, while the roller covers large areas fast.
- Primer: Don’t skip this step! Zinsser or Behr primers work great on cabinets. They help paint stick and last longer.
- Durable paint: Pick a tough paint made for kitchens. It’ll stand up to spills, splatters, and daily use.
- Drop cloths: Protect your floors and countertops. Paint drips are no joke.
- Painter’s tape: Use this to create clean lines and protect areas you don’t want painted.
Priming Kitchen Cabinets
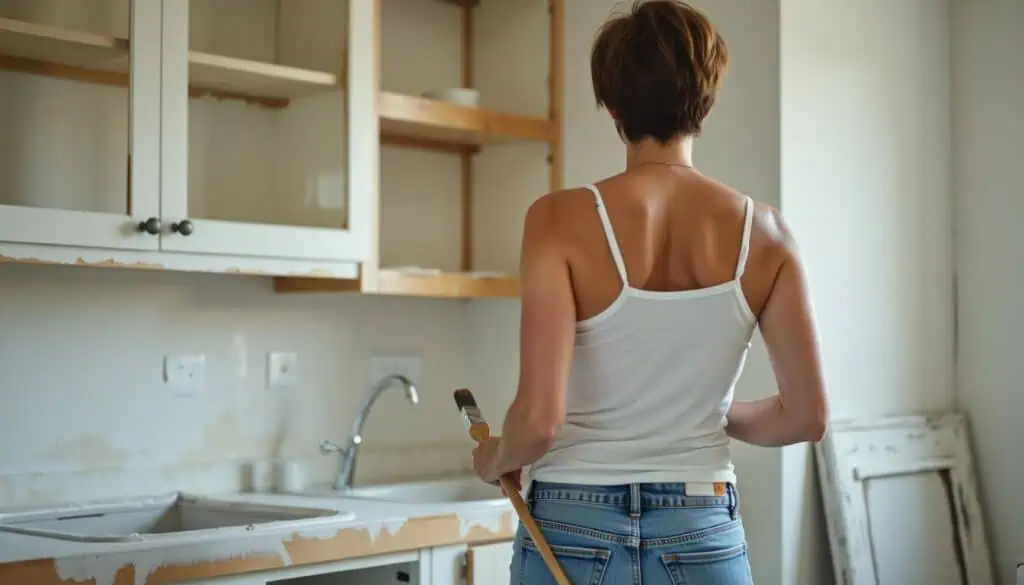
Priming your cabinets is a game-changer. It’s the secret sauce for a paint job that lasts. Want to know how to do it right? Keep reading!
The Importance of Primer for Durable Results
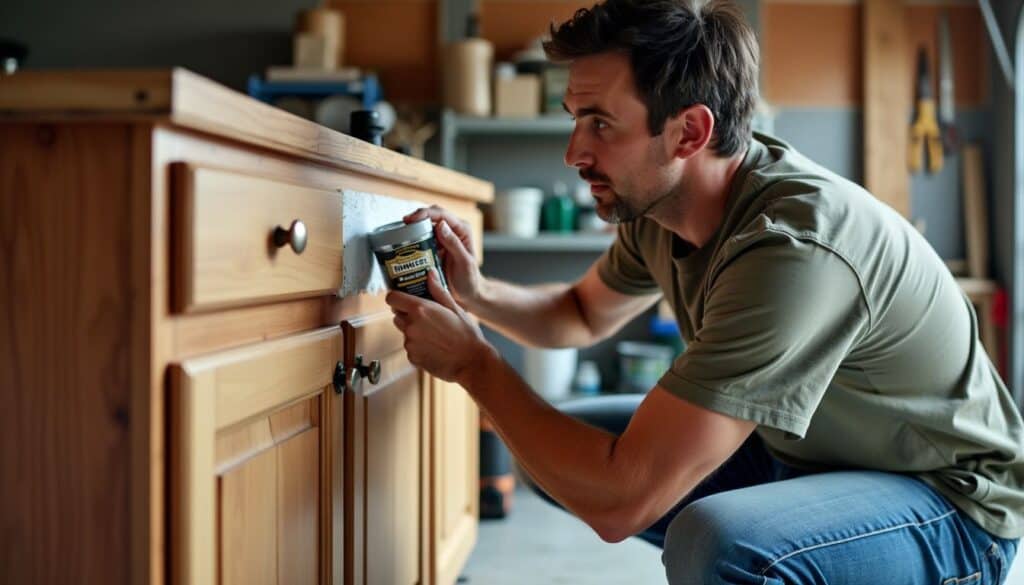
Primer is your secret weapon for a killer cabinet paint job. It’s like the foundation of a house – you can’t see it, but it’s doing all the heavy lifting. Without primer, your paint won’t stick right.
It’ll chip faster than you can say “oops.” 9 Trust me, I learned this the hard way when I skipped primer on my first DIY cabinet project. Big mistake. Huge.
Zinsser’s B-I-N Primer is the go-to for many pros. It’s tough as nails and sticks to almost anything. 4 Plus, it dries fast, so you’re not twiddling your thumbs all day. Here’s a pro tip from my buddy, a seasoned painter:
Primer is like insurance for your paint job. It might seem like extra work, but it’ll save you headaches down the road.
He’s right. A good primer seals the wood, blocks stains, and gives your paint something to grab onto. It’s the difference between a paint job that lasts a year and one that lasts a decade.
Step-by-Step Guide to Priming Cabinets
Priming cabinets is a crucial step in your kitchen makeover. Let’s dive into the nitty-gritty of getting those cabinets ready for their new look.
- Clean surfaces: Wipe down cabinets with trisodium phosphate to remove grime and grease. 2
- Sand lightly: Use fine-grit sandpaper to scuff up the wood, helping the primer stick better.
- Vacuum and wipe: Get rid of dust from sanding with a thorough vacuum and damp cloth wipe.
- Tape off areas: Use painter’s tape to protect areas you don’t want primed, like hinges or nearby walls.
- Choose your primer: Pick a stain-blocking or 100% acrylic latex primer for best results. 4
- Apply primer: Use a brush for edges and tight spots, and a roller for large flat areas.
- Let it dry: Give the primer ample time to dry completely before moving on.
- Sand again: Once dry, lightly sand flat surfaces with 220-grit sandpaper for a smooth finish.
- Clean up: Wipe away any dust from sanding before you start painting.
Now that your cabinets are primed and ready, it’s time to move on to the fun part – painting!
The Cabinet Painting Process
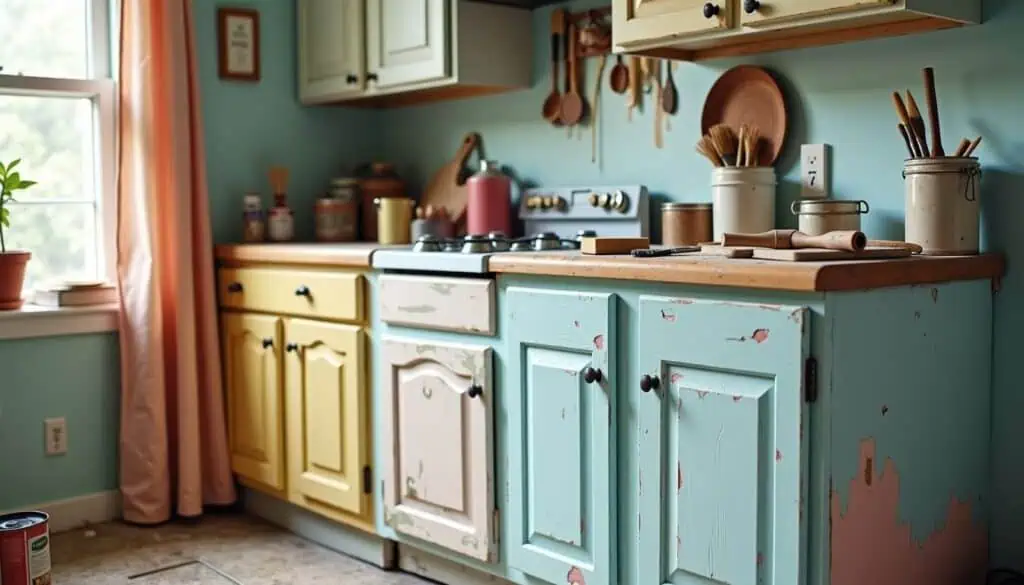
Ready to get your hands dirty? Let’s dive into the nitty-gritty of painting those cabinets! We’ll cover everything from slapping on that first coat to adding those final touches. Trust me, it’s easier than you think – and the results? They’ll knock your socks off!
Steps for Painting Cabinet Boxes, Doors, and Drawers
Alright, guys, let’s tackle the main event – painting those cabinets. Grab your brushes and rollers, ’cause we’re about to transform your kitchen from drab to fab. 2
- Start with the cabinet boxes. Apply paint in thin, even coats. Work from top to bottom, following the wood grain.
- Move on to doors and drawers. Paint the backs first, then flip ’em over after an hour to do the fronts.
- For paneled doors, paint this order: panel edges, main field, stiles and rails. It’ll give you the smoothest finish.
- Use a foam roller for large, flat areas. It’ll speed things up and leave fewer brush marks.
- Don’t skimp on coats. Two is the minimum, but darker colors might need three for full coverage. 10
- Let each coat dry completely before the next. Patience pays off – trust me on this one.
- Sand lightly between coats with fine-grit sandpaper. It’ll knock down any bumps or dust nibs.
- Clean up any drips or runs right away. A damp cloth works wonders if you catch ’em quick.
- Keep a wet edge as you paint to avoid lap marks. It’s like mowing the lawn – overlap your strokes.
- Use a small brush for tight spots and corners. Get in there and show those nooks who’s boss.
Tips for a Smooth Paint Finish
Now that you’ve got the basics down, let’s talk about getting that smooth finish. Guys, this is where the magic happens. A smooth paint job can make your cabinets look like a million bucks.
Here’s the secret sauce: thin, even coats are your best friend. Don’t glob it on like you’re frosting a cake. Instead, think of it like you’re applying sunscreen at the beach – light and even.
Patience is the key to a perfect paint job. 11
Use a combo of roller and brush for best results. The roller covers large areas fast, while the brush gets into those tricky spots. 2 And here’s a pro tip: sand lightly between coats with fine-grit paper.
It might seem like overkill, but trust me, it’s worth it. You’ll end up with a finish so smooth, you’ll catch yourself admiring your work every time you grab a snack.
Reassembling and Adding Finishing Touches
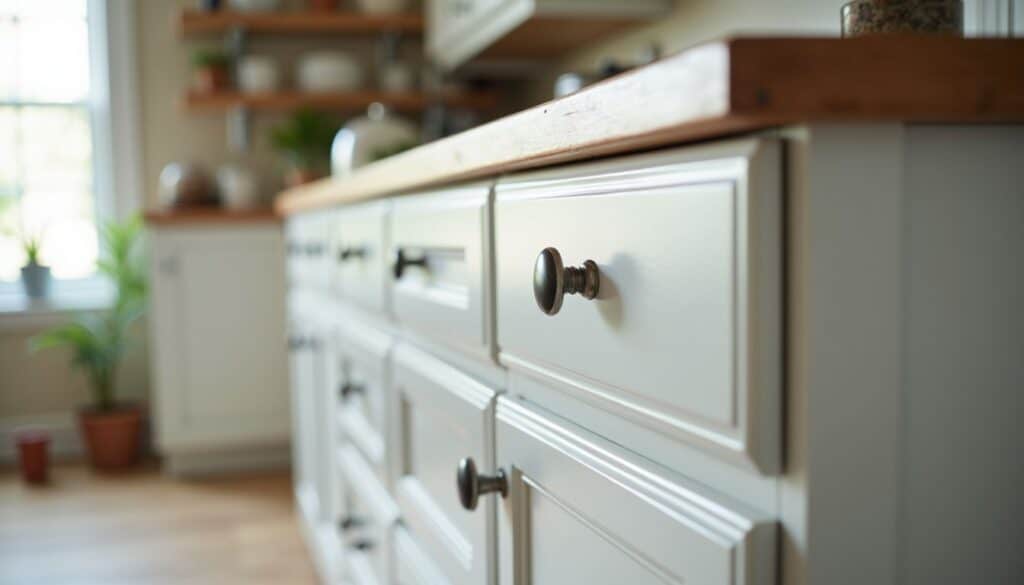
Once you’ve painted your cabinets, it’s time for the grand finale. You’ll put everything back together and add those little touches that make your kitchen pop. Want to know how to make your cabinets look like they’re straight out of a magazine? Keep reading!
Reinstalling Cabinet Doors and Hardware
Time to put your kitchen back together! Let’s get those cabinet doors and hardware back where they belong.
- Clean up: Wipe down all surfaces with a damp cloth to remove dust. 12
- Sort hardware: Group screws, hinges, and pulls by cabinet door. 10
- Align doors: Hold each door in place to check its fit before screwing.
- Attach hinges: Screw hinges to cabinet frame, then to door.
- Hang doors: Start with top cabinets, working your way down.
- Add pulls: Mark spots for new pulls. Drill holes if needed.
- Screw in pulls: Use a screwdriver to attach pulls firmly.
- Check alignment: Open and close doors to ensure they’re even.
- Adjust as needed: Loosen screws slightly to shift doors for perfect fit.
- Final touches: Wipe down doors and hardware with a clean, dry cloth.
Final Cleanup and Inspection of Painted Cabinets
Time to wrap up your cabinet makeover! Grab a damp cloth and wipe down all surfaces. This gets rid of any dust or paint specks. 13 Now, step back and take a good look. Check for missed spots or drips.
Touch up as needed. Your cabinets should look fresh and smooth all over.
Once dry, it’s showtime! Put the hardware back on and hang those doors. Make sure everything lines up just right. Open and close each door and drawer. They should move smoothly without sticking.
If all looks good, pat yourself on the back. You’ve just given your kitchen a jaw-dropping new look! 14
People Also Ask
What’s the first step to painting kitchen cabinets?
Start by clearing out your cabinets and removing all hardware. Next, give ’em a good scrub and sand ’em down. Fill any holes or dents with wood filler. Don’t forget to vacuum up the dust!
Can I paint over plastic laminate cabinets?
You bet! Plastic-laminate cabinets can get a facelift too. Just make sure to use a primer made for laminate surfaces. Then, go to town with acrylic enamel paint for a durable finish.
What kind of paint works best for kitchen cabinets?
Acrylic enamel is your best buddy here. It’s tough as nails and easy to clean. Oil paints are another option, but they take forever to dry. Avoid regular acrylic paints – they won’t stand up to the heat in the kitchen.
Do I need to remove my countertops and sink before painting?
Nope! Just tape off your counters, sink, and appliances like your dishwasher. Use painter’s tape and plastic sheeting to protect these areas from paint splatters.
What’s the deal with spray painting cabinets?
Spray painting can give you a smooth, pro-looking finish. You’ll need a paint sprayer or spray gun. It’s faster than brushing, but it can be messy. Make sure to practice your technique first!
6. How can I add some pizzazz to my cabinets?
Get creative! Try a faux finish for a unique look. You could go for an earth tone or wood finish. Or channel your inner Roberto Dutesco and add some artsy flair. Just remember, your cabinets should still look at home in your kitchen!
References
^ https://www.dododsondesigns.com/how-to-clean-kitchen-cabinets-before-painting-prep/
^ https://www.architecturaldigest.com/story/how-to-paint-kitchen-cabinets (2023-09-13)
^ https://www.lowes.com/n/how-to/how-to-paint-kitchen-cabinets
^ https://www.confessionsofaserialdiyer.com/how-to-paint-kitchen-cabinets-a-step-by-step-guide/ (2014-06-23)
^ https://www.consumerreports.org/home-garden/painting/how-to-prep-your-kitchen-cabinets-for-painting-a7741477613/?srsltid=AfmBOorUnr3t1GatDJQcyjMv8gR2MiER5tuNOqY5ag-e8_0LU-VUKD1u (2024-02-12)
^ https://booth7.com/kitchen-cabinet-oil-vs-water-latex-paints/ (2023-03-13)
^ https://thepalettemuse.com/best-way-paint-kitchen-cabinets/
^ https://www.thehandcraftedhaven.com/how-to-paint-cabinets/
^ https://withlovemercedes.com/2021/09/24/how-to-paint-your-kitchen-cabinets-the-right-way/ (2021-09-24)
^ https://www.younghouselove.com/how-to-paint-your-cabinets-aka-hallelujah/
^ https://www.11magnolialane.com/how-to-paint-your-kitchen-cabinets-tips-tricks-for-a-smooth-finish/ (2015-08-14)
^ https://stylebyemilyhenderson.com/blog/diy-painting-kitchen-cabinets (2021-04-15)
^ https://thefullheartedhome.com/how-to-repaint-painted-cabinets-for-a-professional-finish/ (2024-04-17)
^ https://www.northcountrynest.com/how-to-repaint-painted-cabinets/
