Got a clogged drain or leaky faucet, and wondering “what plumbing work can I do myself”? Minor plumbing repairs, like fixing faucets or unclogging drains, often don’t need special permits.
In this guide you’ll learn five easy DIY plumbing fixes to save cash and prevent bigger problems—like mold and mildew. Read on to keep your money in your pocket!
Key Takeaways
Fix a leaking faucet yourself—just swap out worn washers or O-rings—to skip pricey plumber fees.
Clear blocked drains easily with a plunger, plumbing snake, or a mix of baking soda and vinegar before resorting to harsh chemicals.
Toilets that run all day waste water and hike your bills, but you can usually fix them within an hour by adjusting the flapper, float height, or chain.
Big tasks like repairing broken pipes, setting up new water lines, and sewer maintenance require professional plumbers to stay safe, follow codes, and avoid costly headaches.
Always shut off your water supply before tackling any plumbing project, and double-check local rules to know if you need permits beforehand.
Table of Contents
Plumbing Work You Can Do Yourself
Many plumbing fixes don’t need a pro and can save you big bucks. You can tackle these common issues with basic tools from your local hardware store and some simple know-how.
Fixing a Leaky Faucet
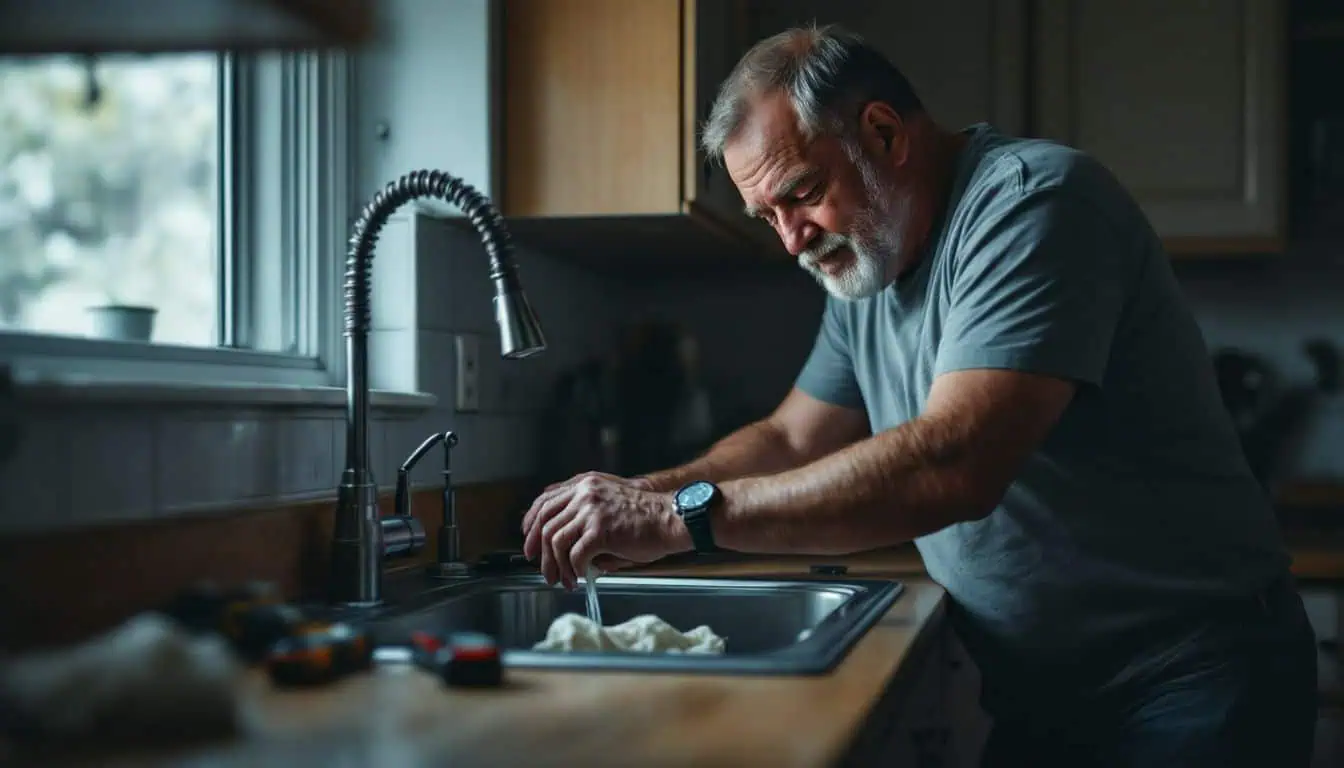
Leaky faucets drip away gallons of water—and dollars—from your home each day. According to a plumber in San Jose, you can usually fix these drips yourself, using simple tools found at the local hardware store. However, they suggest that while DIY works for leaky faucets, more serious plumbing jobs should be handled by a professional.
Follow these easy steps:
- Shut off the water supply valve beneath your sink before starting work.
- Stuff a clean rag into the drain to stop tiny faucet parts from slipping down the pipe.
- Remove the faucet handle by taking off the decorative cap and loosening the screw hidden beneath it.
- Carefully take apart the faucet pieces, laying them out neatly—in order—for simpler reassembly later.
- Look closely for worn-out washers or O-rings, since plumbing specialist Kelly W. notes these usually cause faucet leaks.
- Bring the damaged washers or O-rings with you to the hardware store to get precise replacements.
- Scrub away mineral buildup on faucet parts with white vinegar and an old toothbrush.
- Spread plumber’s grease on the new O-rings for a tighter seal and longer-lasting fix.
- Rebuild the faucet by replacing the parts in reverse of how you removed them, being careful not to tighten excessively.
- Turn the water back on and carefully inspect your faucet for any sign of dripping.
- Gently tighten connections if the faucet still leaks—but be cautious to avoid overdoing it.
- Keep a few extra washers and O-rings handy in your toolbox, just in case a new leak pops up later.
Unclogging Drains
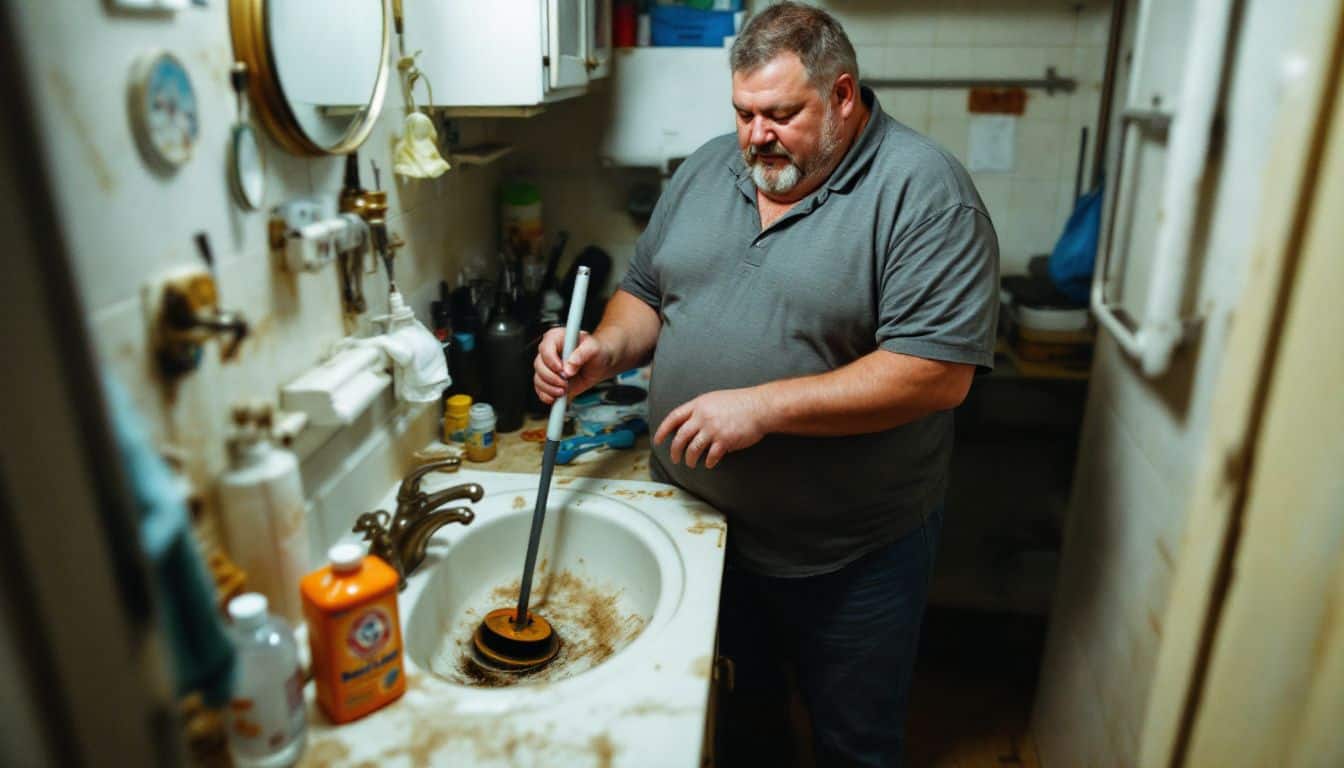
Dealing with clogged drains is one of those everyday hassles you can tackle yourself, no plumber needed. Usually, blockages stem from regular stuff like hair, grease, or food bits that collect gradually inside your pipes. Ready to give it a go? Here are simple, hassle-free tips for handling drain clogs:
- Start off simple with a sink plunger. Place it snugly over the drain opening, pump firmly up and down several times, and the suction may dislodge whatever’s stuck.
- Hot boiling water is a quick fix worth trying next. Carefully pour a pot of boiling water down the drain—great for melting away greasy buildup and soap residue.
- Baking soda paired with vinegar makes a strong yet natural drain cleaner. Pour half a cup of baking soda and then half a cup of vinegar, cover the drain for about 30 minutes, and rinse it with hot water afterward.
- A plumbing snake is perfect for clogs that refuse to budge. Insert it into the drain opening, gently twist the handle until you hit resistance, then slowly pull the blockage back out.
- Toilet clogs respond especially well to cable augers. These handy plumbing tools dig deep into pipes, breaking apart even tough blockages.
- Store-bought drain cleaners like Drano Max Gel safely dissolve hair and grease—just always follow the instructions carefully, and wear gloves to protect your hands.
- The FlexiSnake Drain Weasel is fantastic for easily pulling out hair from bathroom drains. I’ve relied on this little tool many times to clear my shower without needing professional help.
- Green Gobbler Drain Clog Remover provides an eco-friendly cleaning alternative, powerful enough to handle stubborn drain issues effectively.
- Electric power augers can manage extremely difficult clogs. They’re available for rent at hardware stores, far cheaper than hiring a plumber.
- Place drain strainers in your kitchen sink and bathroom drains—these clever little gadgets catch hair and food scraps before they cause problems.
- Steer clear of pouring cooking grease into kitchen sinks. Let it cool down in the pan instead, and toss it straight into the garbage to avoid future backups.
- Weekly hot-water flushes down your drains help keep pipes running smooth. Just turn the tap to hot and let it flow, washing away buildup before it creates a blockage.
Repairing a Running Toilet
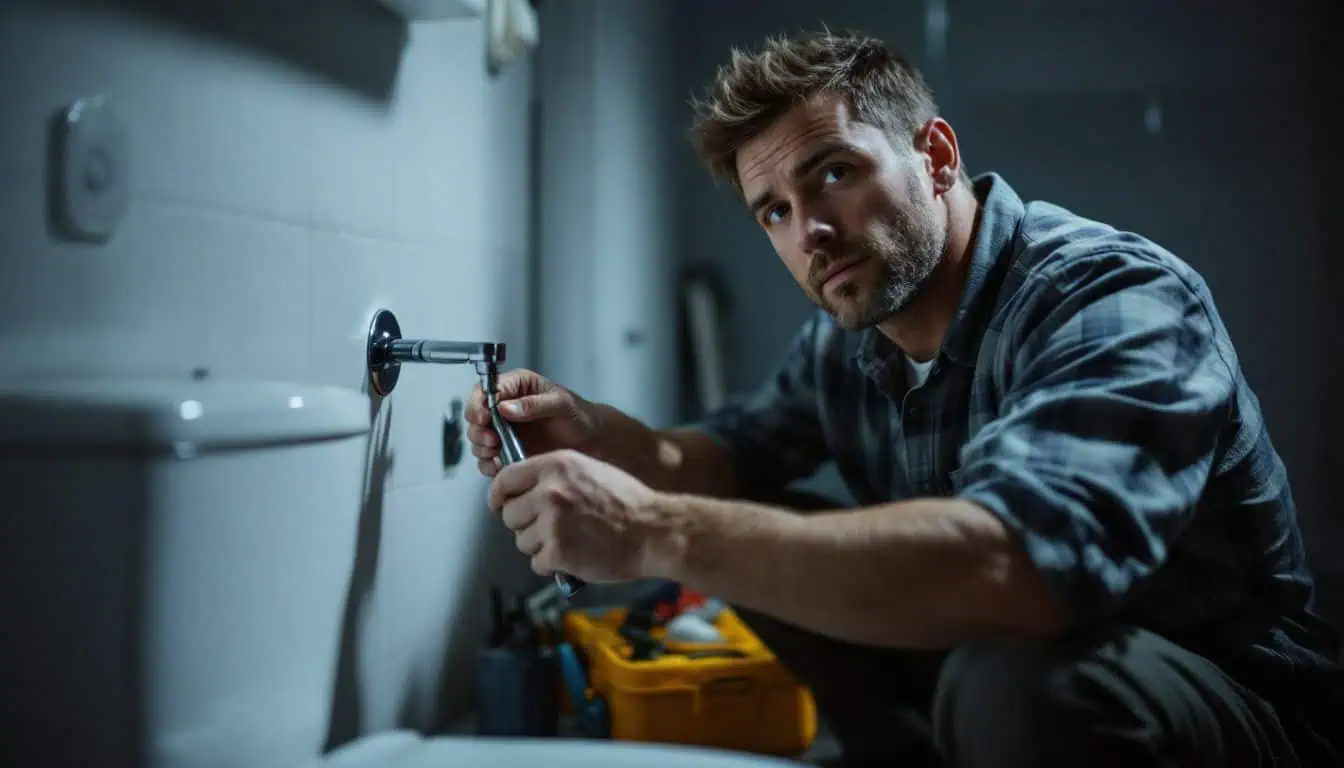
A running toilet can waste water—and your money—with every passing minute. Thankfully, fixing most toilets takes under an hour and needs only basic household tools.
- Shut off the water supply by turning the valve behind your toilet clockwise until it stops completely.
- Gently lift the tank lid off, place it carefully on a flat surface, and avoid cracks or chips.
- Often, the flapper causes the trouble—a rubber seal that slowly warps or gathers grime, allowing water to leak continuously.
- Inspect the chain connecting the flapper and flush lever for correct length—it should be a bit loose, but not excessively.
- Examine the float arm or float cup height; if set too high, water will constantly flow into the overflow tube.
- To adjust an arm float, slightly bend its metal rod downward; for cup floats, carefully rotate the adjustment screw.
- Check your fill valve if you hear a constant hissing or notice water trickling down into the bowl—it might need cleaning or even a replacement.
- Most hardware stores sell toilet repair kits priced between $15 and $25, complete with new fill valves, flappers, and clear instructions.
- After repair work, flush the toilet thoroughly to test everything—the water should refill to the right level and stop smoothly.
- Fixing these little problems now can save your plumbing system—and hot water heater—from costly headaches later on.
Replacing Showerheads or Sink Sprayers
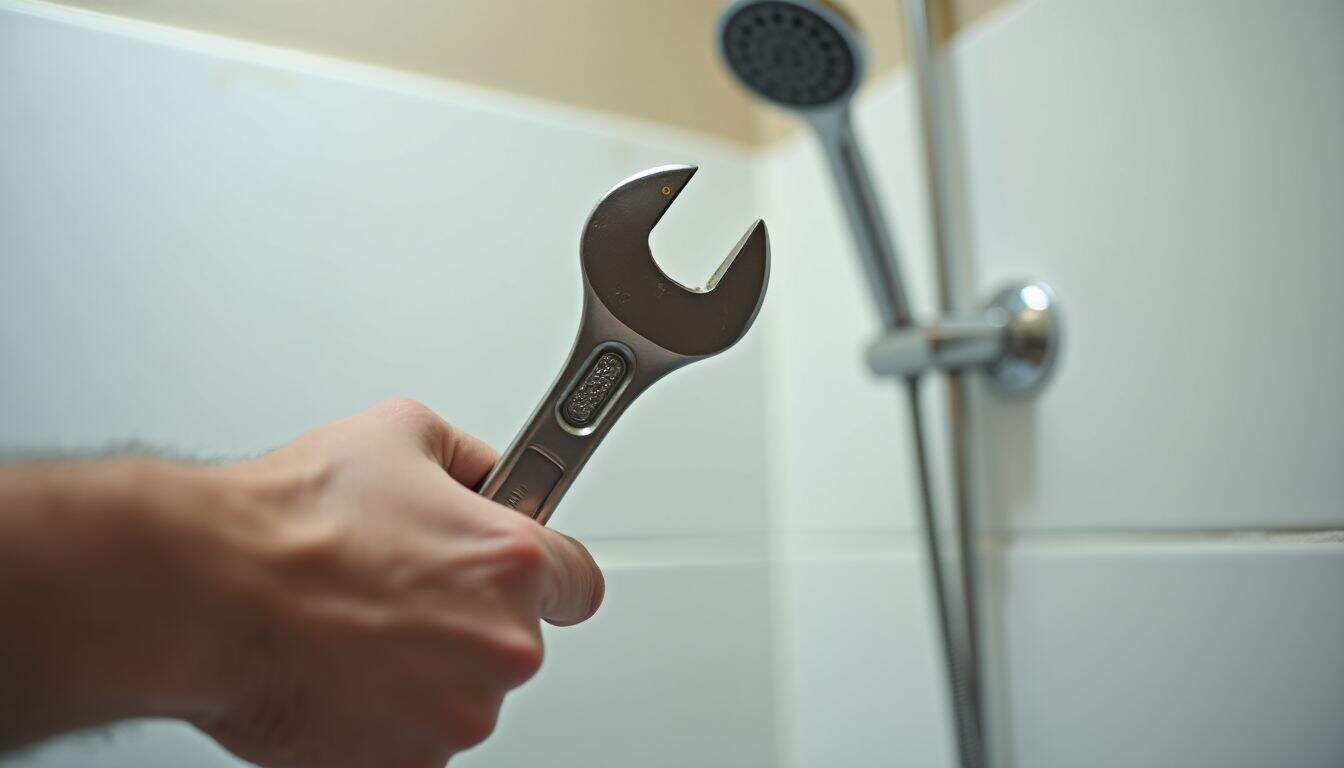
Fixing that annoying running toilet feels good—so why not give your bathroom another small boost? Changing your showerhead or sink sprayer gives the room a quick upgrade, without needing a plumber.
- First, shut off the water supply to prevent leaking or flooding while working.
- With your wrench, loosen and remove the old showerhead by turning it counterclockwise until it comes off.
- Wrap Hercules Megatape thread sealant around the shower arm threads, making sure it’s tight enough to stop leaks.
- Screw the new showerhead onto the shower arm by hand—then tighten gently with a wrench, being careful not to overtighten.
- Choosing low-flow showerheads helps lower your water bill and still provides solid water pressure for your showers.
- Take your old sink sprayer—or at least a clear picture—to the hardware store, so you can match it exactly.
- Always inspect the sprayer hose too, since older hoses tend to crack or leak over time.
- Loosen and remove the old sprayer head carefully by unscrewing it from the bottom of the sink hose.
- Next, attach the replacement sprayer head to the hose, if the existing hose still looks good.
- Now, turn the water back on and carefully look for any drips or leaks around the new connections.
- If something leaks or drips, just apply extra thread sealant tape and gently tighten the connections again.
- Most showerhead installations need about 30 minutes—or even less—to finish from beginning to end.
Caulking Bathtubs and Showers
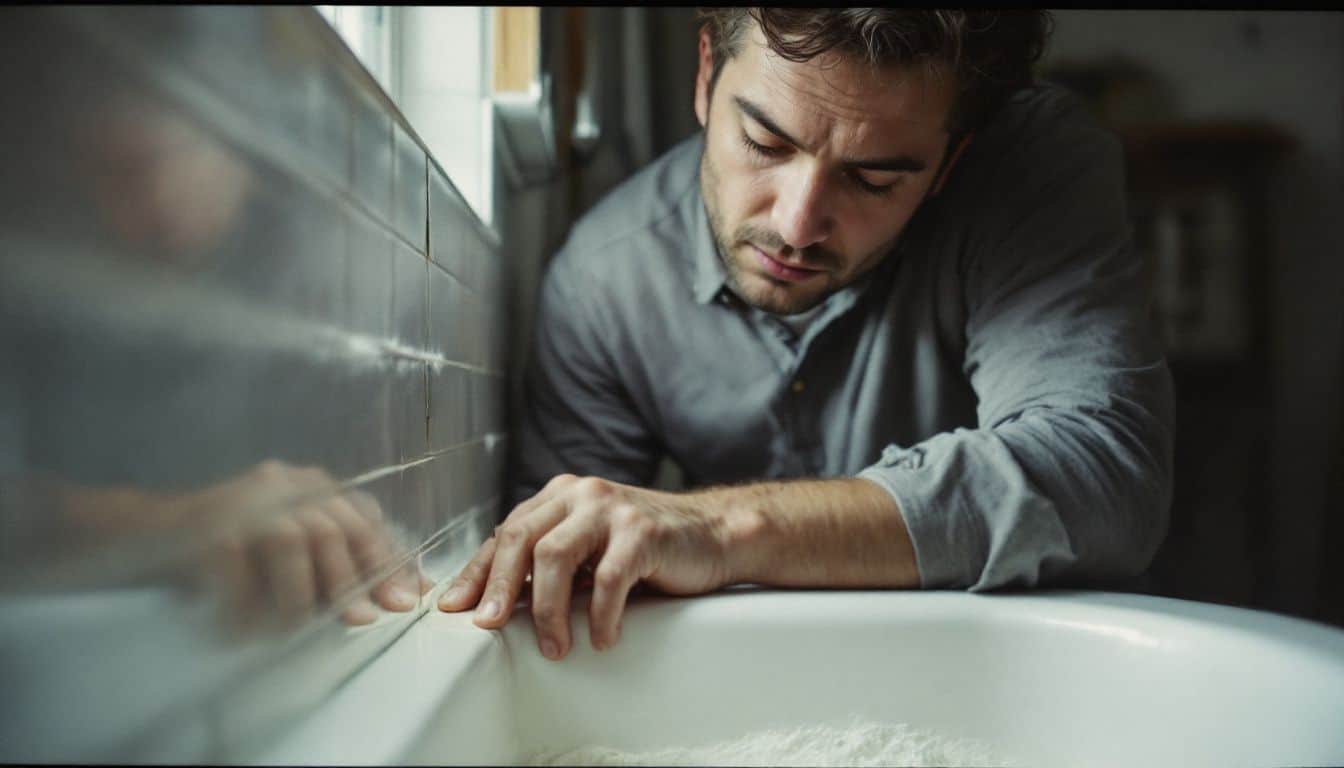
If you’ve got the hang of replacing showerheads, here’s another easy bathroom project—re-caulking your bathtub. Fresh caulk prevents water leaks and mold growth, keeping your bathroom dry, clean, and mold-free.
Follow these quick steps to apply fresh caulking easily:
- Inspect bathtub caulk carefully for mold, mildew, or small cracks—these signs mean it’s definitely time for new caulk.
- Gather necessary supplies before you begin: silicone caulk, caulking gun, putty knife, painter’s tape, paper towels, and rubbing alcohol.
- Turn off the water supply to avoid accidental leaks or unexpected wet messes during your work.
- Carefully scrape all old caulk using a putty knife—remove every bit until surfaces appear smooth and clean.
- Rub surfaces thoroughly with rubbing alcohol to get rid of dirt, grime, or leftover soap film that could prevent proper caulk sticking.
- Stick painter’s tape on both sides of the caulking line first; this creates neat edges without hassle or cleanup afterward.
- Slice the caulk tube tip at an angle of about 45 degrees; cutting it small gives control over how thick the line turns out.
- Squeeze your caulking gun slowly and move smoothly along the seam, applying steady and even pressure for a clean line.
- Smooth the fresh caulk carefully with your fingertip dipped in water—this step fills in tiny gaps and seals the edges nicely.
- Allow fresh caulk to completely dry for at least 24 hours before using the bathtub or shower; waiting helps it bond securely into place.
- After drying, check your work closely—spot-fix any missed areas immediately as small gaps may lead to leaks later on.
- Replace bathtub caulking regularly—every 1 to 2 years—as part of routine bathroom maintenance to avoid water damage.
Plumbing Work That May Require a License
Some plumbing jobs need a professional with proper credentials. Tackling these tasks without a license could lead to code violations, safety hazards, or costly water damage to your home.
Major Pipe Repairs
Major pipe repairs definitely belong at the very top of your “call a pro” checklist—for good reason. Replacing cracked water lines, repairing sewer pipes, or handling main line issues involve specialized tools and skills most homeowners simply don’t possess.
Your local building codes will probably forbid any DIY plumbing work on pipes deeper than 5 feet underground. A qualified journeyman plumber is trained to handle these challenging tasks safely and according to local code.
The most expensive plumbing repair is the one you have to do twice.
Trying to tackle pipe repairs yourself—and failing—can cause serious consequences. Water damage, mold growth, and even dangerous sewage exposure can result. Fixing these mistakes can cost more than hiring a licensed plumber from the start.
Plus, doing plumbing without proper permits may lead to hefty fines or could create headaches later if you try to sell the home. Wise homeowners recognize their limits, allowing certified plumbers to handle difficult pipe jobs correctly the first time.
Installing New Water Lines

Installing a new water line usually isn’t a job for DIY enthusiasts. In California, the law requires hiring a licensed contractor for plumbing projects costing above $500. The task involves detailed plumbing know-how, pipefitting expertise, and awareness of local building rules.
Texas regulations offer some flexibility depending on area populations, but most locations still mandate professional help. Water line installation also connects directly with your home’s main plumbing vent system, which demands specialized tools most homeowners simply don’t own.
Doing your own water line carries high risks—one misstep, and your home could face serious flooding or expensive damage. Skilled pipefitters train for years as apprentices to develop proper plumbing techniques.
These professionals understand exactly how to prevent leaks, maintain solid water flow, and connect pipes correctly to your home’s water heater. Smart homeowners save their DIY energy for smaller, manageable projects, leaving complex water line jobs to licensed specialists who handle permitting and guarantee reliable results.
Sewer Line Work
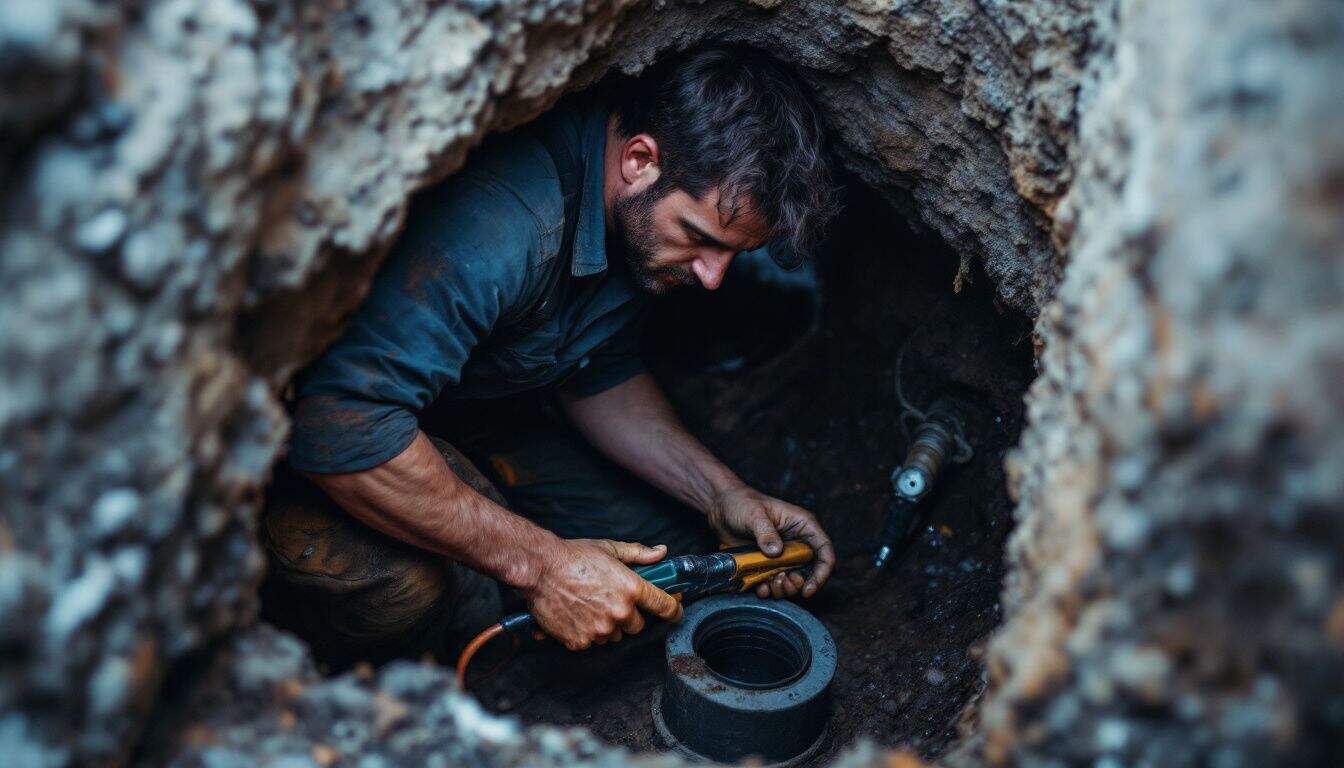
New water lines bring fresh water into your home, but sewer lines carry waste out. Fixing a sewer issue is one job you really shouldn’t attempt yourself. These lines sit deep underground, and you’ll need special tools and equipment to reach them.
A simple drain snake won’t clear these stubborn clogs or fix serious pipe damage. Only a professional plumber has the right tools—and experience—to tackle this kind of repair. It’s not just about avoiding plumber fees or saving on card charges, either.
Local plumbing codes strictly regulate sewer line repairs for good reason. If sewer repairs aren’t done properly, health risks and property damage can follow quickly.
Experienced plumbers spend years training and working under senior professionals to get this right. They understand exactly what’s causing the issue, from minor clogs to fully collapsed pipes, without causing further damage.
In many cities, repairs to sewer lines require city-issued permits—and only licensed plumbers can apply for these. Trying to fix things yourself often ends up costing more money in the end, factoring in repairs for your mistakes, plumber charges, and extra fees.
Tips for Safe DIY Plumbing
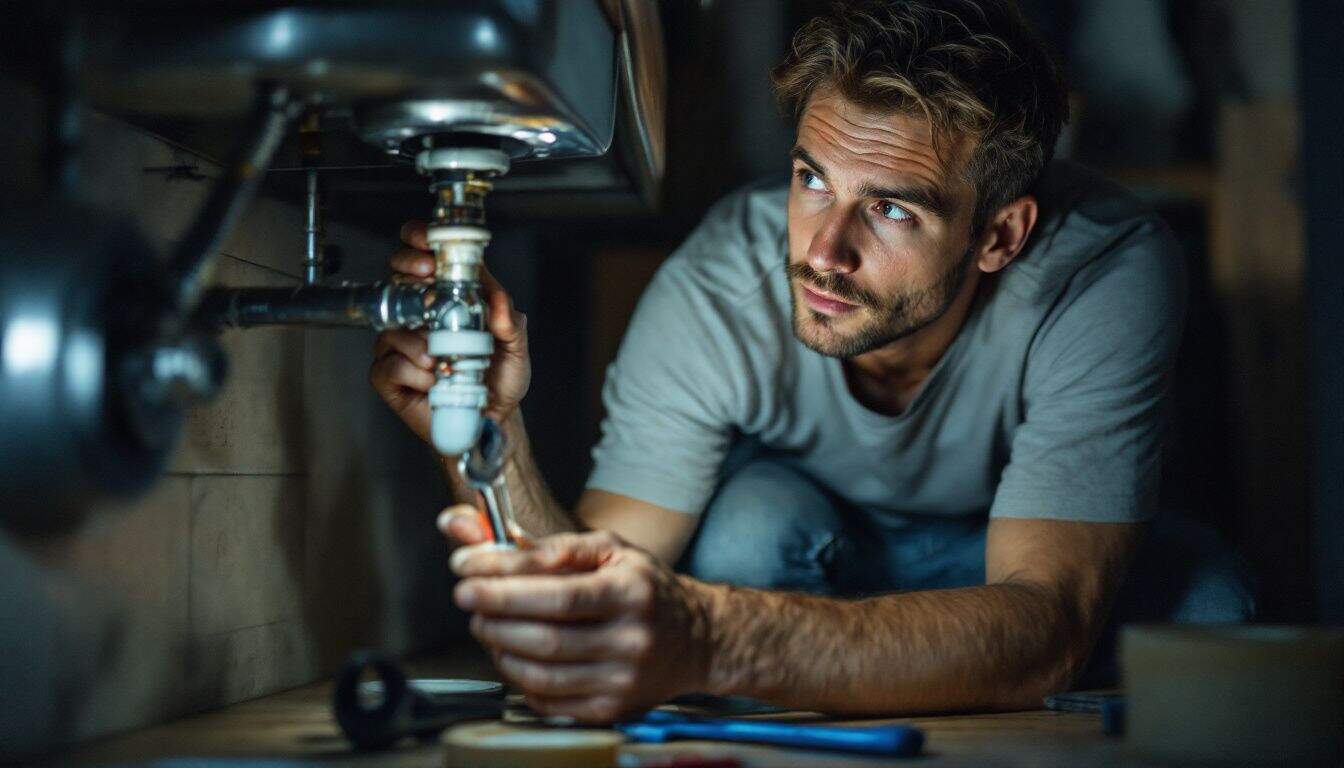
Safety comes first when you tackle plumbing jobs at home. A few simple steps can prevent floods, injuries, and costly mistakes that might require a plumber’s help later.
Use Proper Tools
Having the proper tools makes plumbing tasks simpler—and prevents risky mishaps. A basic home plumbing set usually includes pipe cutters, pliers, wrenches, Teflon tape, and plungers.
I found out the importance of these tools through personal frustration, once spending three hours repairing a leaky faucet that should’ve taken just 20 minutes. Every plumbing tool has its own job.
Pipe cutters, for instance, ensure smooth pipe ends for tight-fitting connections. Adjustable wrenches firmly hold pipes without causing dents or damage.
https://m.youtube.com/watch?v=Dg56chdr-FQ&t=0s
“A craftsman is only as good as his tools – and knowing how to use them”.
It’s helpful to know each tool’s function before starting plumbing repairs. Take Teflon tape, for example—you wrap it in a clockwise motion around pipe threads to stop leaks and drips.
Also, plungers aren’t all the same; the shape for a toilet plunger differs from one designed for sinks. Hardware stores often provide free demonstrations, showing correct tool use and helpful tips.
Next up, we’ll talk about correctly shutting off your home’s water supply before any plumbing tasks begin.
Shut Off the Water Supply
Turning off your water is the first thing to do before tackling a DIY plumbing project. Usually, you’ll see shut-off valves close to each fixture—think under your sinks, near toilets, or beside washing machines.
The main shut-off valve is often located near the spot where your main water line enters the house, right by the water meter. I once skipped this simple step during a toilet fix—and, unsurprisingly, flooded my bathroom.
To shut off the water, just turn the valve clockwise until it won’t turn anymore. Doing this step first protects your floors, walls, and pipes from messy water damage.
After you turn off the main valve, open all faucets to let water still in the pipes drain out. Draining the system lowers pressure and keeps showers, sinks, or toilets from dripping while you work.
Most simple plumbing repairs won’t call for permits or experts, as long as you handle this safety step first. But, for tougher situations—like big leaks or hot water heater failures—it may be safer to check when to call a plumber instead of risking serious property damage.
Check Local Plumbing Codes
Local plumbing codes keep you safe and protect your home’s water system. Each city has its own rules about plumbing permits. Some places let you fix toilets or swap out sink sprayers without paperwork.
Other cities are stricter and require permits even for small pipe repairs. Ignoring these rules might lead to fines, home inspection issues, or costly property damage. Smart DIY enthusiasts quickly check city websites or call local building offices before grabbing their tools.
City codes also state clearly which materials you can use for each type of job. PVC pipes can work fine for certain drain lines—but often they’re not allowed near hot water hookups.
These days, many cities insist on using low flow showerheads to reduce water usage. Your area’s plumbing rules might limit some tasks to licensed plumbers only. Knowing these details ahead of time saves you money on future repairs, keeps your home safe, and helps you stay compliant with local standards.
How Will DIY Plumbing Change in 2025?

Doing your own plumbing will change a lot by 2025. Smart technologies will catch leaks early—before they soak through your ceiling or walls—saving you from frantic emergency payments to plumbers.
Recently, I tested some new leak sensors that sync with your phone and send alerts if water flows where it shouldn’t. These devices will soon become standard fixtures within home plumbing systems, letting you handle minor fixes before they balloon into costly headaches.
Even toilets will get smarter, with built-in sensors to diagnose exactly why the water won’t stop running—eliminating guesswork for good.
Paying expensive fees for basic plumbing repairs will soon fade into the past. More professional plumbers will offer virtual sessions, guiding you step-by-step through simple repairs using video chat.
Last month, for example, I solved an issue with my water heater this way for just $20—instead of paying $200 for a plumber to walk through my front door. New plumbing tools, created specifically for beginners, will also cut down the time and energy needed to learn from experienced pros.
Soon you’ll see simple snap-together pipe kits on shelves, making repairs easy without special training or advanced tools—perfect for homeowners who like fixing small leaks themselves.
People Also Ask
What plumbing repairs can I do without calling a pro?
Several small plumbing issues are easy enough to tackle yourself. Basic tasks include unclogging toilets, checking sump pumps, or addressing simple water heater problems. These tasks don’t require special training or plumbing classes—just some basic know-how.
How can I save money on plumbing repairs?
Doing easy plumbing fixes yourself helps cut costs on labor and service charges. Watching online videos can boost your plumbing skills quickly—then you’ll only pay for necessary parts. Keep a set of basic tools handy, so you’re always ready when minor issues pop up.
Is it worth learning to fix my own plumbing problems?
Definitely! Handling plumbing jobs yourself saves money you’d otherwise spend on plumber fees. It also brings a sense of accomplishment, and you won’t end up stuck waiting on professional help during a water emergency.
What payment methods do plumbers typically accept?
Most plumbers take personal checks, debit and credit cards, money orders, and online payment platforms. Be sure to ask about accepted forms of payment early on—that way you’ll avoid unexpected billing headaches later.
References
https://www.justanswer.com/plumbing/qos0r-leaky-faucet-need-know-fix.html (2024-11-29)
https://www.thisoldhouse.com/plumbing/reviews/how-to-clear-any-clogged-drain (2024-11-21)
https://www.fordsplumbingandheating.com/how-to-fix-a-running-toilet-a-quick-diy-guide/
https://kandkplumbing.com/blog/diy-plumbing-fixes-a-guide-to-simple-repairs-and-knowing-when-to-call-a-professional (2025-01-21)
https://www.oatey.com/faqs-blog-videos-case-studies/blog/diy-bathroom-repairs-to-save-you-money
https://www.servicetitan.com/licensing/plumbing/california
https://archovavisuals.com/can-i-do-plumbing-without-a-license-legal-guidelines/
https://alpinehomeexperts.com/what-plumbing-work-requires-a-license/
https://redcapnow.com/help-guides/can-do-my-own-plumbing-fl
https://hi-spec.com/blogs/news/exploring-diy-plumbing-tips-for-homeowners (2024-01-30)
https://broussardservices.com/diy-plumbing-fixes-easy-tips/ (2024-02-15)
https://www.plumbingkingsllc.com/blog/2019/12/how-to-shut-off-the-water-for-plumbing-repairs/ (2019-12-23)
https://www.waterwiselv.com/blog/plumbing-safety-tips-when-diy
https://colonyheating.com/2025/03/27/diy-plumbing-projects-what-you-can-and-cant-do-yourself/
